SpringBoot学习(1)-入门介绍
1. 了解SpringBoot
- 什么是SpringBoot
- 为什么要学习SpringBoot
- SpringBoot的特点
1.1什么是SpringBoot
SpringBoot是Spring项目中的一个子工程,与我们所熟知的Spring-framework 同属于spring的产品:
在这里插入图片描述
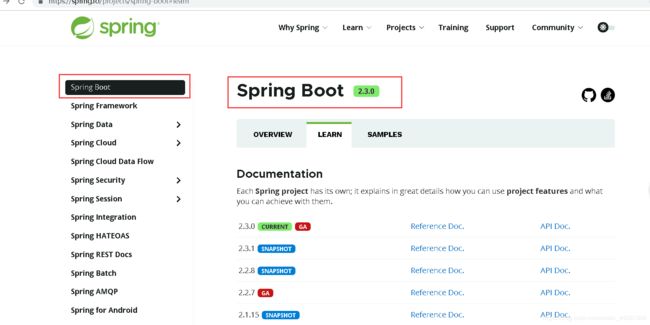
我们可以看到这样一段话:
Spring Boot makes it easy to create stand-alone, production-grade Spring based Applications that you can “just run”.
We take an opinionated view of the Spring platform and third-party libraries so you can get started with minimum fuss. Most Spring Boot applications need minimal Spring configuration.
翻译一下:
Spring Boot你只需要“run”就可以非常轻易的构建独立的、生产级别的spring应用。
我们为spring平台和第三方依赖库提供了一种固定化的使用方式,使你能非常轻松的开始开发你的应用程序。大部分Spring Boot应用只需要很少的配置。
其实人们把Spring Boot称为搭建程序的脚手架。其最主要作用就是帮我们快速的构建庞大的spring项目,并且尽可能的减少一切xml配置,做到开箱即用,迅速上手,让我们关注于业务而非配置。
我们可以使用SpringBoot创建java应用,并使用java –jar 启动它,就能得到一个生产级别的web工程。
1.2.为什么要学习SpringBoot
java一直被人诟病的一点就是臃肿、麻烦。当我们还在辛苦的搭建项目时,可能Python程序员已经把功能写好了,究其原因主要是两点:
- 复杂的配置
项目各种配置其实是开发时的损耗, 因为在思考 Spring 特性配置和解决业务问题之间需要进行思维切换,所以写配置挤占了写应用程序逻辑的时间。 - 混乱的依赖管理
项目的依赖管理也是件吃力不讨好的事情。决定项目里要用哪些库就已经够让人头痛的了,你还要知道这些库的哪个版本和其他库不会有冲突,这也是件棘手的问题。并且,依赖管理也是一种损耗,添加依赖不是写应用程序代码。一旦选错了依赖的版本,随之而来的不兼容问题毫无疑问会是生产力杀手。
而SpringBoot让这一切成为过去
1.3.SpringBoot的特点
Spring Boot 主要特征是:
- 创建独立的spring应用程序
- 直接内嵌tomcat、jetty和undertow(不需要打包成war包部署)
- 提供了固定化的“starter”配置,以简化构建配置
- 尽可能的自动配置spring和第三方库
- 提供产品级的功能,如:安全指标、运行状况监测和外部化配置等
- 绝对不会生成代码,并且不需要XML配置
总之,Spring Boot为所有 Spring 的开发者提供一个开箱即用的、非常快速的、广泛接受的入门体验
更多细节,大家可以到官网 官网查看。
2.马上开始
2.1 创建一个module
创建一个空工程,再创建一个maven module,步骤省略
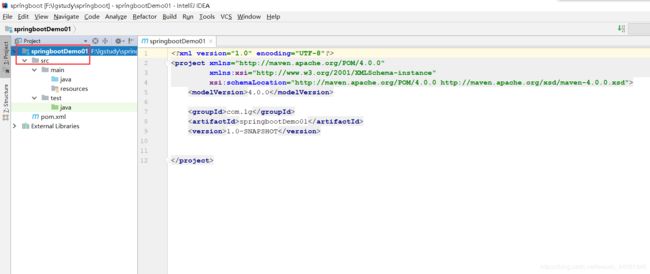
2.2.引入依赖
SpringBoot提供了一个名为spring-boot-starter-parent的工程,里面已经对各种常用依赖(并非全部)的版本进行了管理,我们的项目需要以这个项目为父工程,这样我们就不用操心依赖的版本问题了,需要什么依赖,直接引入坐标即可!
<project xmlns="http://maven.apache.org/POM/4.0.0"
         xmlns:xsi="http://www.w3.org/2001/XMLSchema-instance"
         xsi:schemaLocation="http://maven.apache.org/POM/4.0.0 http://maven.apache.org/xsd/maven-4.0.0.xsd">
    <modelVersion>4.0.0modelVersion>

    <groupId>com.lggroupId>
    <artifactId>springbootDemo01artifactId>
    <version>1.0-SNAPSHOTversion>

    <parent>
        <groupId>org.springframework.bootgroupId>
        <artifactId>spring-boot-starter-parentartifactId>
        <version>2.0.6.RELEASEversion>
    parent>


    <dependencies>
        <dependency>
            <groupId>org.springframework.bootgroupId>
            <artifactId>spring-boot-starter-webartifactId>
        dependency>
    dependencies>

project>
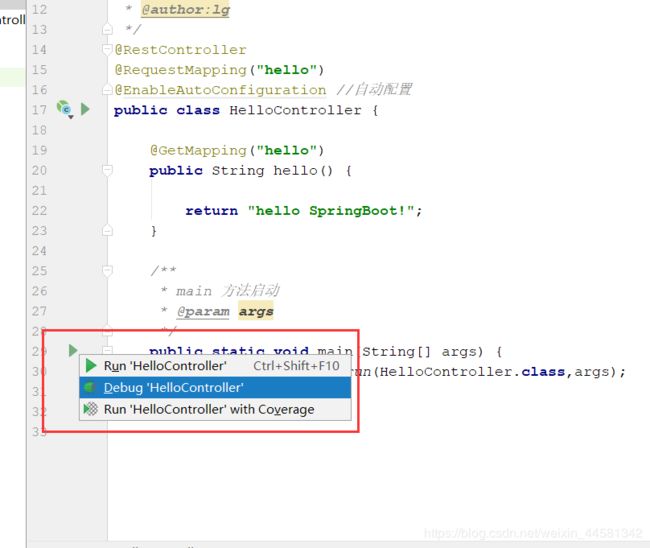
2.3.编写HelloController
代码
/**
 * Date:2020/5/18
 *
 * @author:lg
 */
@RestController
@RequestMapping("hello")
@EnableAutoConfiguration //自动配置
public class HelloController {

    @GetMapping("hello")
    public String hello() {

        return "hello SpringBoot!";
    }

    /**
     * main 方法启动
     * @param args
     */
    public static void main(String[] args) {
        SpringApplication.run(HelloController.class,args);
    }
}
右键运行启动
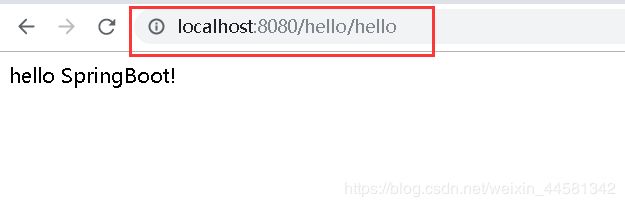
没有修改默认配置,默认8080端口

访问刚才写的代码controller,这时候已经成功编写了一个简单的Springboot应用程勋
http://localhost:8080/hello/hello
2.5 简单介绍
2.5.1.@EnableAutoConfiguration
关于这个注解,官网上有一段说明:
Enable auto-configuration of the Spring Application Context, attempting to guess and configure beans that you are likely to need. Auto-configuration classes are usually applied based on your classpath and what beans you have defined.
简单翻译以下:
开启spring应用程序的自动配置,SpringBoot基于你所添加的依赖和你自己定义的bean,试图去猜测并配置你想要的配置。比如我们引入了spring-boot-starter-web,而这个启动器中帮我们添加了tomcat、SpringMVC的依赖。此时自动配置就知道你是要开发一个web应用,所以就帮你完成了web及SpringMVC的默认配置了!
总结,SpringBoot内部对大量的第三方库或Spring内部库进行了默认配置,这些配置是否生效,取决于我们是否引入了对应库所需的依赖,如果有那么默认配置就会生效。
所以,我们使用SpringBoot构建一个项目,只需要引入所需依赖,配置就可以交给SpringBoot处理了。
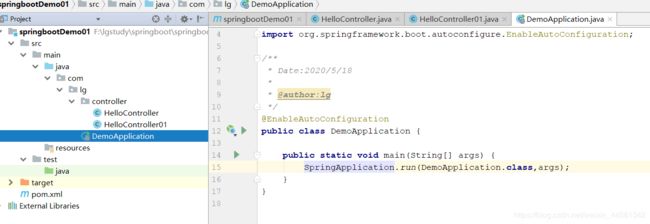
2.6修改引导类
- 修改HelloController,去掉main方法及@EnableAutoConfiguration
- 与controller同级穿件启动引导类
@EnableAutoConfiguration
public class DemoApplication {

    public static void main(String[] args) {
        SpringApplication.run(DemoApplication.class,args);
    }
}
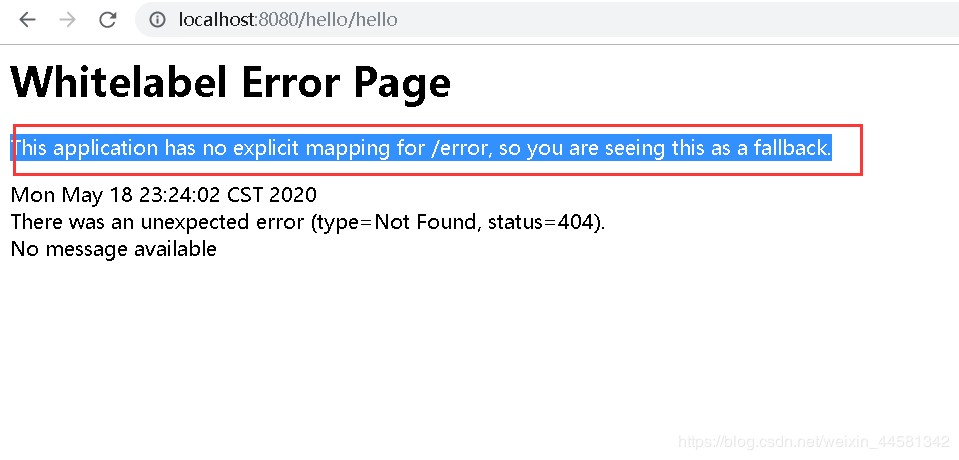
重启启动项目
访问原来路径,报错,原因是这样的配置扫描不到相应的controller,无法将bena交给Spring管理
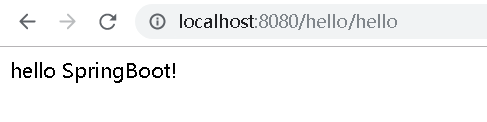
spring框架除了提供配置方式的注解扫描
在启动类中,使用@ComponentScan注解:
访问成功
- 但这样需要两个注解,SpringBoot提供一种更方便的的注解实现方式:
我们现在的引导类中使用了@EnableAutoConfiguration和@ComponentScan注解,有点麻烦。springboot提供了一种简便的玩法:@SpringBootApplication注解
使用@SpringBootApplication改造
//@EnableAutoConfiguration
//@ComponentScan
@SpringBootApplication
public class DemoApplication {

    public static void main(String[] args) {
        SpringApplication.run(DemoApplication.class,args);
    }
}
点进去注解看源码
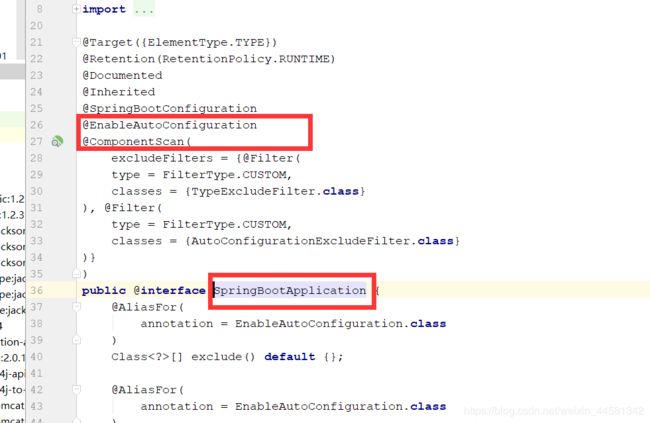
发现@SpringBootApplication其实是一个组合注解,这里重点的注解有3个:
- @SpringBootConfiguration
- @EnableAutoConfiguration:开启自动配置
- @ComponentScan:开启注解扫描
@SpringBootConfiguration注解的源码:
我们继续点击查看源码:
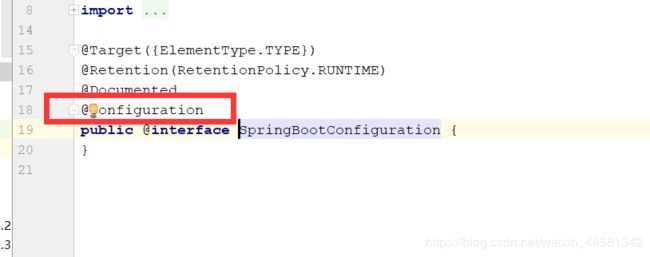
这个注解的作用就是声明当前类是一个配置类,然后Spring会自动扫描到添加了@Configuration的类,并且读取其中的配置信息。而@SpringBootConfiguration是来声明当前类是SpringBoot应用的配置类,项目中只能有一个。所以一般我们无需自己添加。