SpringBoot配置redis本地测试与Linux整合测试
SpringBoot配置redis
GitHub 地址:https://github.com/wannengdek/springboot-redis-linux
1、官方网站
https://redis.io/download
linux 配置
$ wget http://download.redis.io/releases/redis-5.0.5.tar.gz
$ tar xzf redis-5.0.5.tar.gz
$ cd redis-5.0.5
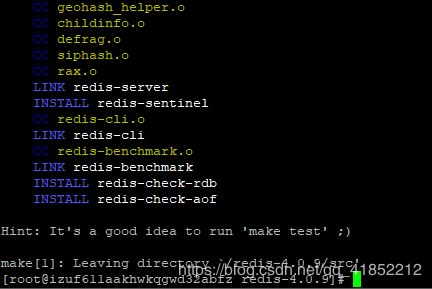
$ make
显示上图为成功安装
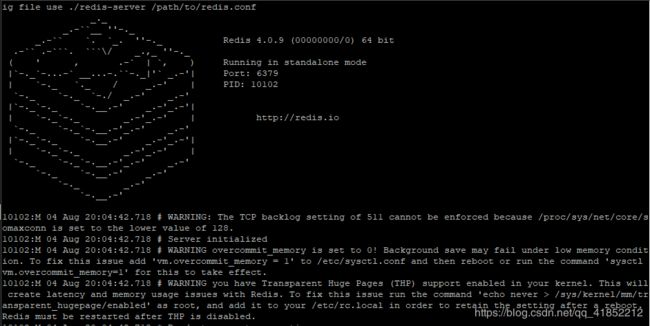
执行命令:cd src/ ./redis-server
redis 成功开启
错误解决
https://www.cnblogs.com/Gnnnny/p/7851147.html
设置开机自启动
(1)先将redis.conf中daemonize设置为yes,确保守护进程开启。
(2) https://blog.51cto.com/itafei/2095276
2、本地安装redis
https://www.cnblogs.com/PollyLuo/p/9635324.html
3、使用springboot-starter整合reids实战
1、官网:https://docs.spring.io/spring-boot/docs/2.1.0.BUILD-SNAPSHOT/reference/htmlsingle/#boot-features-redis
集群文档:https://docs.spring.io/spring-data/data-redis/docs/current/reference/html/#cluster
	2、springboot整合redis相关依赖引入

            org.springframework.boot
            spring-boot-starter-data-redis
配置:
#=========redis基础配置=========
spring.redis.database=0
spring.redis.host=127.0.0.1
spring.redis.port=6379
# 连接超时时间 单位 ms(毫秒)
spring.redis.timeout=3000

#=========redis线程池设置=========
# 连接池中的最大空闲连接,默认值也是8。
spring.redis.pool.max-idle=200

#连接池中的最小空闲连接,默认值也是0。
spring.redis.pool.min-idle=200

# 如果赋值为-1,则表示不限制;pool已经分配了maxActive个jedis实例,则此时pool的状态为exhausted(耗尽)。
spring.redis.pool.max-active=2000

# 等待可用连接的最大时间,单位毫秒,默认值为-1,表示永不超时
spring.redis.pool.max-wait=1000
pom.xml
   org.springframework.boot
   spring-boot-starter-web


   org.springframework.boot
   spring-boot-devtools
   true


           org.springframework.boot
           spring-boot-starter-data-redis


   org.springframework.boot
   spring-boot-starter-test
   test
项目配置
RdisTestController
@RestController
@RequestMapping("/api/v1/redis")
public class RdisTestController {
   @Autowired
   private StringRedisTemplate redisTpl;
   //jdbcTemplate
   @Autowired
   private RedisClient redis;
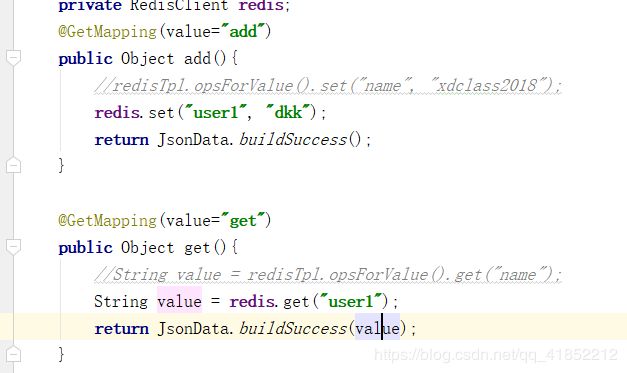
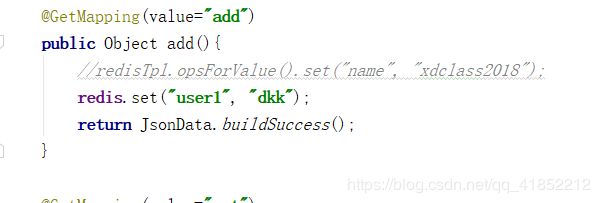
   @GetMapping(value="add")
   public Object add(){
      //redisTpl.opsForValue().set("name", "xdclass2018");
      redis.set("username", "xddddddd");
       //封装之后的set方法
      return JsonData.buildSuccess();
   }

   @GetMapping(value="get")
   public Object get(){
      //String value = redisTpl.opsForValue().get("name");
      String value = redis.get("username");
      return JsonData.buildSuccess(value);
   }

   @GetMapping(value="save_user")
   public Object saveUser(){
      User user = new User(1, "abc", "11", new Date());
      String userStr = JsonUtils.obj2String(user);
      boolean flag = redis.set("base:user:11", userStr);
      return JsonData.buildSuccess(flag);

   }

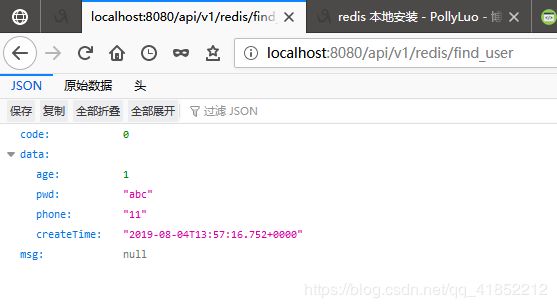
   @GetMapping(value="find_user")
   public Object findUser(){
      String userStr = redis.get("base:user:11");
      User user = JsonUtils.string2Obj(userStr, User.class);
      return JsonData.buildSuccess(user);

   }


}
RedisClient
@Component
public class RedisClient {


   @Autowired
   private StringRedisTemplate redisTpl;
   //jdbcTemplate

   /**
    * 功能描述:设置key-value到redis中
    * @param key
    * @param value
    * @return
    */
   public boolean set(String key ,String value){
      try{
         redisTpl.opsForValue().set(key, value);
         return true;
      }catch(Exception e){
         e.printStackTrace();
         return false;
      }
   }

   /**
    * 功能描述:通过key获取缓存里面的值
    * @param key
    * @return
    */
   public String get(String key){
      return redisTpl.opsForValue().get(key);
   }
}
4、本地测试
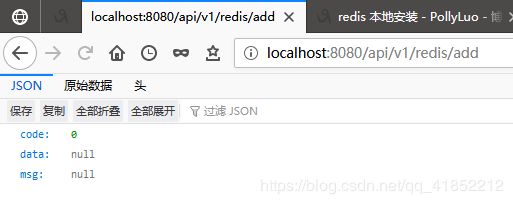
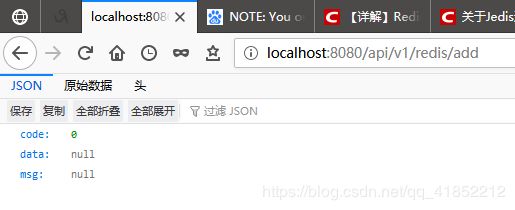
localhost:8080/api/v1/redis/add
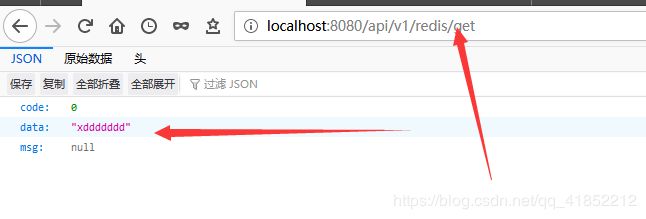
http://localhost:8080/api/v1/redis/get
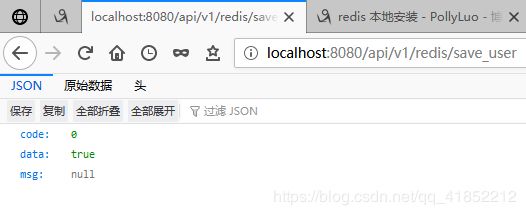
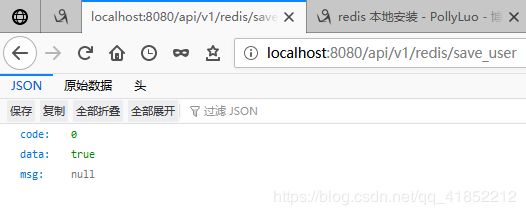
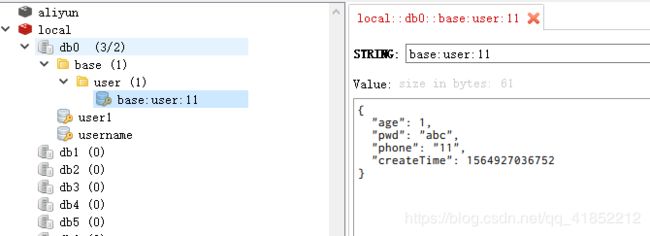
save_user
@GetMapping(value="save_user")
public Object saveUser(){
   User user = new User(1, "abc", "11", new Date());
   String userStr = JsonUtils.obj2String(user);
   boolean flag = redis.set("base:user:11", userStr);
   return JsonData.buildSuccess(flag);

}
5、线上测试
修改host 为自己的服务器地址
linux 在配置之后 需要在src 目录下 ./src/redis-server redis.conf
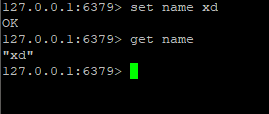
然后 ./redis-cli 进入到 redis 中
无法连接的错误解决:https://blog.csdn.net/michaelehome/article/details/79513002
