开始
每次创建文件加上,避免中文乱码问题
# -*-coding:utf-8-*-
如果还遇到中文乱码问题可在Python文件代码上右键选择File Encoding,并选择UTF-8编码格式
matplotlib : https://matplotlib.org/
matplotlib各种示例画廊,单击图标即可查看用于生成图表的代码
绘制图之前注意安装matplotlib
pip install matplotlib
pip安装包加速器国内镜像,命令添加-i参数
pip install matplotlib -i https://pypi.tuna.tsinghua.edu.cn/simple
绘制简单的折线图
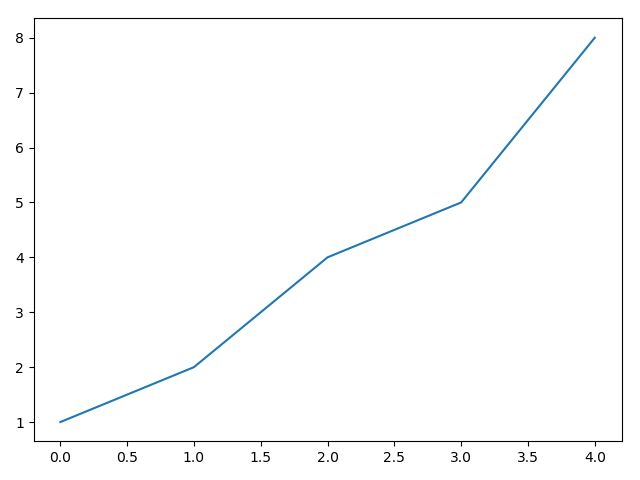
示例
import matplotlib.pyplot as plt

squares = [1, 2, 4, 5, 8]
plt.plot(squares)
plt.show()
效果如下:
修改标签文字和线条粗细
import matplotlib.pyplot as plt

squares = [1, 2, 4, 5, 8]
plt.plot(squares)
# 设置图标标题,并给坐标轴加上标签
plt.title("Hello Squares", fontsize=24)
plt.xlabel("Value", fontsize=14)
plt.ylabel("Square of Value", fontsize=14)
# 设置刻度标记的大小
plt.tick_params(axis='both',labelsize=14)
plt.show()
效果如下:
校正图形
仔细观察横坐标发现坐标的点是从零开始的
import matplotlib.pyplot as plt

squares = [1, 2, 4, 5, 8]
input_value = [1, 2, 3, 4, 5]
plt.plot(input_value, squares, linewidth=5)
# 设置图标标题,并给坐标轴加上标签
plt.title("Hello Squares", fontsize=24)
plt.xlabel("Value", fontsize=14)
plt.ylabel("Square of Value", fontsize=14)
# 设置刻度标记的大小
plt.tick_params(axis='both',labelsize=14)
plt.show()
效果如下:
绘制散点图
使用scatter()绘制散点图并设置其样式
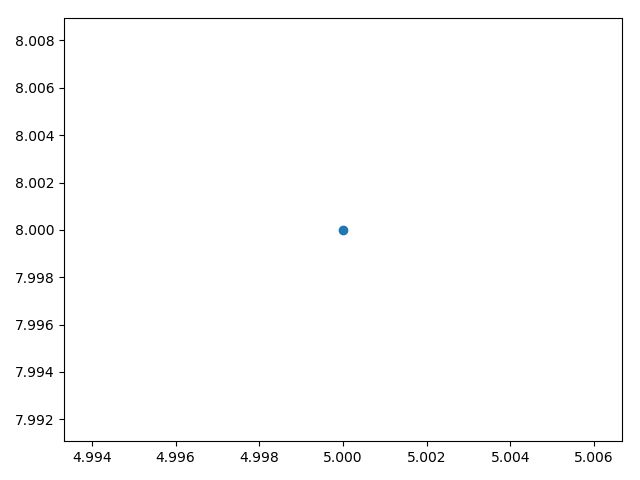
绘制单个点
import matplotlib.pyplot as plt
#
plt.scatter(5, 8)
plt.show()
效果如下:
添加样式,使其更加有趣
import matplotlib.pyplot as plt
import matplotlib as mpl

# 解决中文乱码问题
# sans-serif就是无衬线字体,是一种通用字体族。
# 常见的无衬线字体有 Trebuchet MS, Tahoma, Verdana, Arial, Helvetica, 中文的幼圆、隶书等等。
# 指定默认字体 SimHei为黑体
mpl.rcParams['font.sans-serif'] = ['SimHei']
# 用来正常显示负号
mpl.rcParams['axes.unicode_minus'] = False
plt.scatter(-5, 8, s=200)
# 设置图表标题并给坐标轴加上标签
plt.title(u"单点散点图", fontsize=24)
plt.xlabel("Value", fontsize=14)
plt.ylabel("Square of Value", fontsize=14)
# 设置刻度标记的大小
plt.tick_params(axis='both', which='major', labelsize=14)

plt.show()
效果如下:
绘制一系列点
import matplotlib.pyplot as plt
#
x_value = [1, 2, 3, 4, 5]
y_value = [1, 2, 4, 5, 8]
plt.scatter(x_value, y_value, s=100)
plt.show()
效果如下:
自动计算数据
import matplotlib.pyplot as plt

x_values = list(range(1, 1001))
y_values = [x ** 2 for x in x_values]
plt.scatter(x_values, y_values, s=40)
# 设置每个坐标轴的取值范围
plt.axis([0, 1100, 0, 1100000])
plt.show()
效果如下:
删除数据点的轮廓
plt.scatter(x_values, y_values, s=40, edgecolors='none')
自定义颜色
plt.scatter(x_values, y_values, s=40, edgecolors='none', c='yellow')
plt.scatter(x_values, y_values, s=40, edgecolors='none', c=(0, 0.8, 0.8))
使用颜色映射
颜色映射是一系列颜色,从起始颜色渐变到结束颜色
plt.scatter(x_values, y_values, s=40, edgecolors='none', c=y_values, cmap=plt.cm.Blues)
效果如下:
自动保存图标
import matplotlib.pyplot as plt

x_values = list(range(1, 1001))
y_values = [x ** 2 for x in x_values]
plt.scatter(x_values, y_values, s=40)
# 设置每个坐标轴的取值范围
plt.axis([0, 1100, 0, 1100000])
bbox_inches='tight' 指定将图表多余的空白区域裁剪掉
# 如果要保留图表周围多余的空白区域,可省略bbox_inches实参
plt.savefig('save_plot.png', bbox_inches='tight')
随机漫步
什么是随机漫步?类似水滴中的分子运动,分子受到挤压而产生运动
创建RandomWalk() 类
from random import choice
import matplotlib.pyplot as plt


class RandomWalk:
    """生成随机漫步的类"""
    def __init__(self, num_points=5000):
        """初始化随机漫步的属性"""
        self.num_points = num_points
        # 所有随机漫步都始于(0,0)
        self.x_values = [0]
        self.y_values = [0]

    def fill_walk(self):
        """计算随机漫步包含的所有点"""
        # 生成漫步包含的点,并决定每次漫步的方向
        # 不断漫步,也就是遍历列表
        while len(self.x_values) < self.num_points:
            # 给x_direction 选择一个值,结果要么是表示向右走的1,要么是表示向左走的-1
            x_direction = choice([-1, 1])
            # 随机地选择一个0~4之间的整数,决定走多远
            x_distance = choice([0, 1, 2, 3, 4])
            # 将移动方向乘以移动距离,确定沿 x 和 y 轴移动的距离
            # x_step 为正,将向右移动,为负将向左移动,而为零将垂直移动
            x_step = x_direction * x_distance
            # y轴也类似
            y_direction = choice([-1, 1])
            y_distance = choice([0, 1, 2, 3, 4])
            y_step = y_direction * y_distance
            # 拒绝原地踏步
            if x_step == 0 and y_step ==0:
                continue
            # 计算下一个点的x和y值,-1指示列表最后一个数
            next_x = self.x_values[-1] + x_step
            next_y = self.y_values[-1] + y_step
            # 附加到列表末尾
            self.x_values.append(next_x)
            self.y_values.append(next_y)
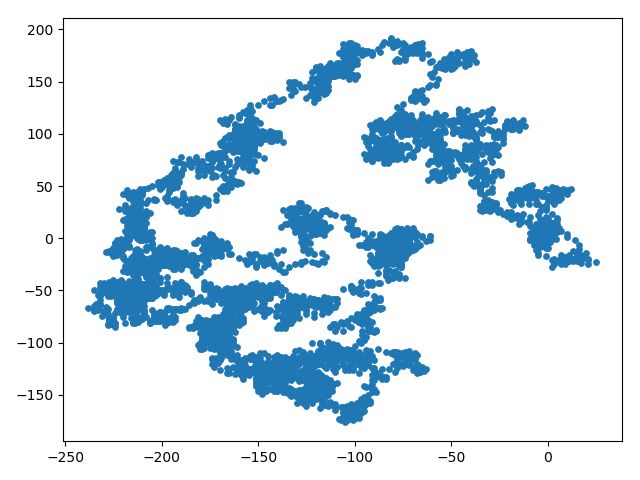
- 简单绘制随机漫步图
rw = RandomWalk()
rw.fill_walk()
plt.scatter(rw.x_values, rw.y_values, s=15)
plt.show()
效果如下:
- 模拟多次随机漫步
while True:
    创建一个RandomWalk实例,并将其包含的点都绘制出来
    rw = RandomWalk()
    rw.fill_walk()
    plt.scatter(rw.x_values, rw.y_values, s=15)
    plt.show()
    keep_running = input("Make another walk? (y/n): ")
    if keep_running == 'n':
        break
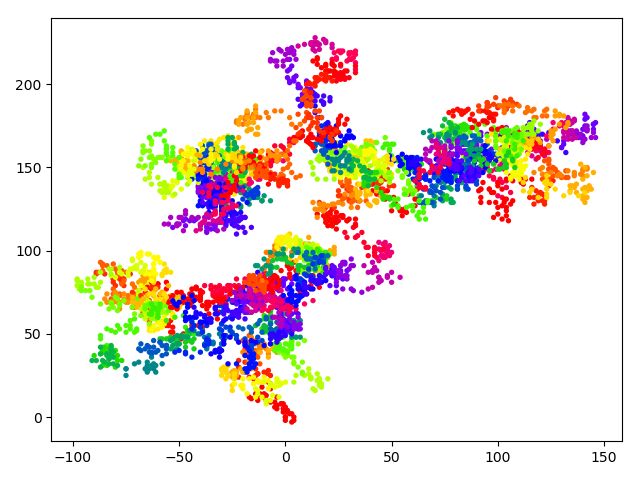
- 设置随机漫步图的样式——着色
rw = RandomWalk()
rw.fill_walk()
point_numbers = list(range(rw.num_points))
plt.scatter(rw.x_values, rw.y_values, c=point_numbers, cmap=plt.cm.prism, edgecolors='none', s=15)
plt.show()
效果如下:
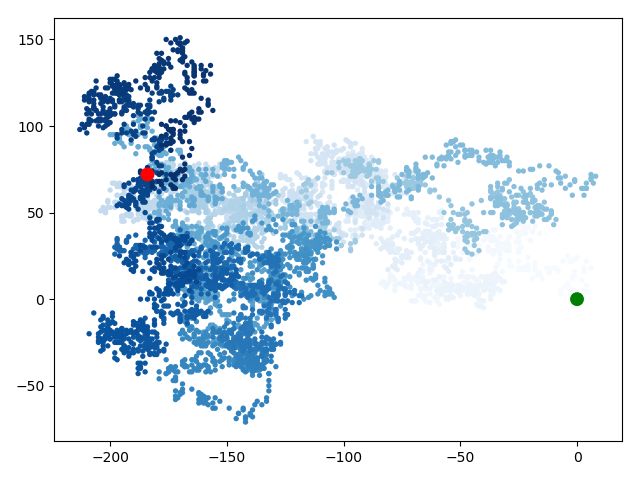
- 绘制起点和终点
rw = RandomWalk()
rw.fill_walk()
point_numbers = list(range(rw.num_points))
plt.scatter(rw.x_values, rw.y_values, c=point_numbers, cmap=plt.cm.Blues, edgecolors='none', s=15)
plt.scatter(0, 0, c='green', edgecolors='none', s=100)
plt.scatter(rw.x_values[-1], rw.y_values[-1], c='red', edgecolors='none', s=100)
plt.show()
效果如下:
- 隐藏坐标轴
rw = RandomWalk()
rw.fill_walk()
plt.scatter(rw.x_values, rw.y_values, s=15)
plt.axes().get_xaxis().set_visible(False)
plt.axes().get_yaxis().set_visible(False)
plt.show()
效果如下:
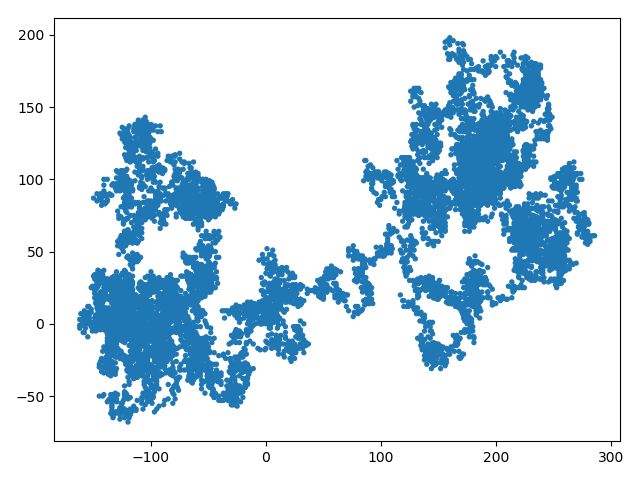
- 增加点数
rw = RandomWalk(10000)
rw.fill_walk()
plt.scatter(rw.x_values, rw.y_values, edgecolors='none', s=15)
plt.show()
效果如下:
- 调整尺寸以适合屏幕
rw = RandomWalk()
rw.fill_walk()
plt.figure(figsize=(10, 6))
# 1000 * 600像素
plt.scatter(rw.x_values, rw.y_values, edgecolors='none', s=15)
plt.show()
效果如下:
matplotlib其它图形库可参考 : https://matplotlib.org/api/_as_gen/matplotlib.pyplot.html#module-matplotlib.pyplot
绘图库除了matplotlib,还有pygal、ggplot、plotly等等
