ubuntu16.04 更新源 以及更新源出现出错问题+ 解决办法
1.寻找国内镜像源
https://mirrors.tuna.tsinghua.edu.cn/help/ubuntu/
2.配置source list源
sources.list系统自带的,源是来Ubuntu的官网!安装包比较慢,所以最好切换成国内的
linuxidc.com@ubuntu:~$ cd /etc/apt
linuxidc.com@ubuntu:/etc/apt$ sudo cp sources.list sources.list.bak
linuxidc.com@ubuntu:/etc/apt$ vim sources.list
ubuntu16.04源 # 默认注释了源码镜像以提高 apt update 速度,如有需要可自行取消注释
deb https://mirrors.tuna.tsinghua.edu.cn/ubuntu/ xenial main restricted universe multiverse
# deb-src https://mirrors.tuna.tsinghua.edu.cn/ubuntu/ xenial main restricted universe multiverse
deb https://mirrors.tuna.tsinghua.edu.cn/ubuntu/ xenial-updates main restricted universe multiverse
# deb-src https://mirrors.tuna.tsinghua.edu.cn/ubuntu/ xenial-updates main restricted universe multiverse
deb https://mirrors.tuna.tsinghua.edu.cn/ubuntu/ xenial-backports main restricted universe multiverse
# deb-src https://mirrors.tuna.tsinghua.edu.cn/ubuntu/ xenial-backports main restricted universe multiverse
deb https://mirrors.tuna.tsinghua.edu.cn/ubuntu/ xenial-security main restricted universe multiverse
# deb-src https://mirrors.tuna.tsinghua.edu.cn/ubuntu/ xenial-security main restricted universe multiverse
# 预发布软件源,不建议启用
# deb https://mirrors.tuna.tsinghua.edu.cn/ubuntu/ xenial-proposed main restricted universe multiverse
# deb-src https://mirrors.tuna.tsinghua.edu.cn/ubuntu/ xenial-proposed main restricted universe multiverse
ubuntu18.04源
deb https://mirrors.tuna.tsinghua.edu.cn/ubuntu/ bionic main restricted universe multiverse
# deb-src https://mirrors.tuna.tsinghua.edu.cn/ubuntu/ bionic main restricted universe multiverse
deb https://mirrors.tuna.tsinghua.edu.cn/ubuntu/ bionic-updates main restricted universe multiverse
# deb-src https://mirrors.tuna.tsinghua.edu.cn/ubuntu/ bionic-updates main restricted universe multiverse
deb https://mirrors.tuna.tsinghua.edu.cn/ubuntu/ bionic-backports main restricted universe multiverse
# deb-src https://mirrors.tuna.tsinghua.edu.cn/ubuntu/ bionic-backports main restricted universe multiverse
deb https://mirrors.tuna.tsinghua.edu.cn/ubuntu/ bionic-security main restricted universe multiverse
# deb-src https://mirrors.tuna.tsinghua.edu.cn/ubuntu/ bionic-security main restricted universe multiverse
# 预发布软件源,不建议启用
# deb https://mirrors.tuna.tsinghua.edu.cn/ubuntu/ bionic-proposed main restricted universe multiverse
# deb-src https://mirrors.tuna.tsinghua.edu.cn/ubuntu/ bionic-proposed main restricted universe multiverse
3. 更新源
出现问题
E: Problem executing scripts APT::Update::Post-Invoke-Success 'if /usr/bin/test -w /var/cache/app-info -a -e /usr/bin/appstreamcli; then appstreamcli refresh > /dev/null; fi'
E: Sub-process returned an error code
解决办法
sudo pkill -KILL appstreamcliwget -P /tmp https://launchpad.net/ubuntu/+archive/primary/+files/appstream_0.9.4-1ubuntu1_amd64.deb https://launchpad.net/ubuntu/+archive/primary/+files/libappstream3_0.9.4-1ubuntu1_amd64.debsudo dpkg -i /tmp/appstream_0.9.4-1ubuntu1_amd64.deb /tmp/libappstream3_0.9.4-1ubuntu1_amd64.deb然后在次更新 就ok
linuxidc.com@ubuntu:/etc/apt$ sudo apt-get update
命中:1 http://mirrors.aliyun.com/ubuntu xenial InRelease
命中:2 http://mirrors.aliyun.com/ubuntu xenial-updates InRelease
命中:3 http://mirrors.aliyun.com/ubuntu xenial-backports InRelease
命中:4 http://mirrors.aliyun.com/ubuntu xenial-security InRelease
正在读取软件包列表... 完成
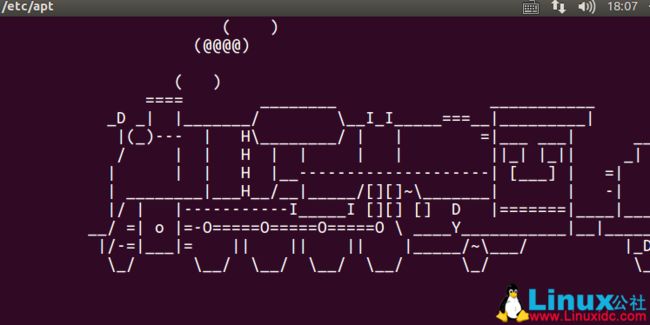
测试:安装sl包
linuxidc.com@ubuntu:/etc/apt$ sudo apt-get install sl
linuxidc.com@ubuntu:/etc/apt$ sl
4.其他一些命令
sudo apt-get update 更新源
sudo apt-get install package 安装包
sudo apt-get remove package 删除包
sudo apt-cache search package 搜索软件包
sudo apt-cache show package 获取包的相关信息,如说明、大小、版本等
sudo apt-get install package --reinstall 重新安装包
sudo apt-get -f install 修复安装
sudo apt-get remove package --purge 删除包,包括配置文件等
sudo apt-get build-dep package 安装相关的编译环境
sudo apt-get upgrade 更新已安装的包
sudo apt-get dist-upgrade 升级系统
sudo apt-cache depends package 了解使用该包依赖那些包
sudo apt-cache rdepends package 查看该包被哪些包依赖
sudo apt-get source package 下载该包的源代码
sudo apt-get clean && sudo apt-get autoclean 清理无用的包
sudo apt-get check 检查是否有损坏的依赖
更多Ubuntu相关信息见Ubuntu 专题页面 http://www.linuxidc.com/topicnews.aspx?tid=2
本文永久更新链接地址:http://www.linuxidc.com/Linux/2017-11/148627.htm
