使用eclipse搭建spring boot框架搭建
传统spring 项目框架的搭建需要大量的配置,而且项目的开发,测试都需要依赖服务器,使得开发相对比较耗时。spring boot 很好的解决了上述问题。它把繁琐的spring配置进行了分装,搭建spring boot 框架一般而言几乎不需要对spring做任何的配置便可运行。另外,由于spring boot自带服务器,所以项目可以以jar的形式直接运行,便利了开发及测试的部署环节。下面对spring boot框架的搭建及运行做简单的介绍。
1. 配置sts插件
点击Eclipse上的help——>Eclipse marketplace...——>Popular
找到STS插件
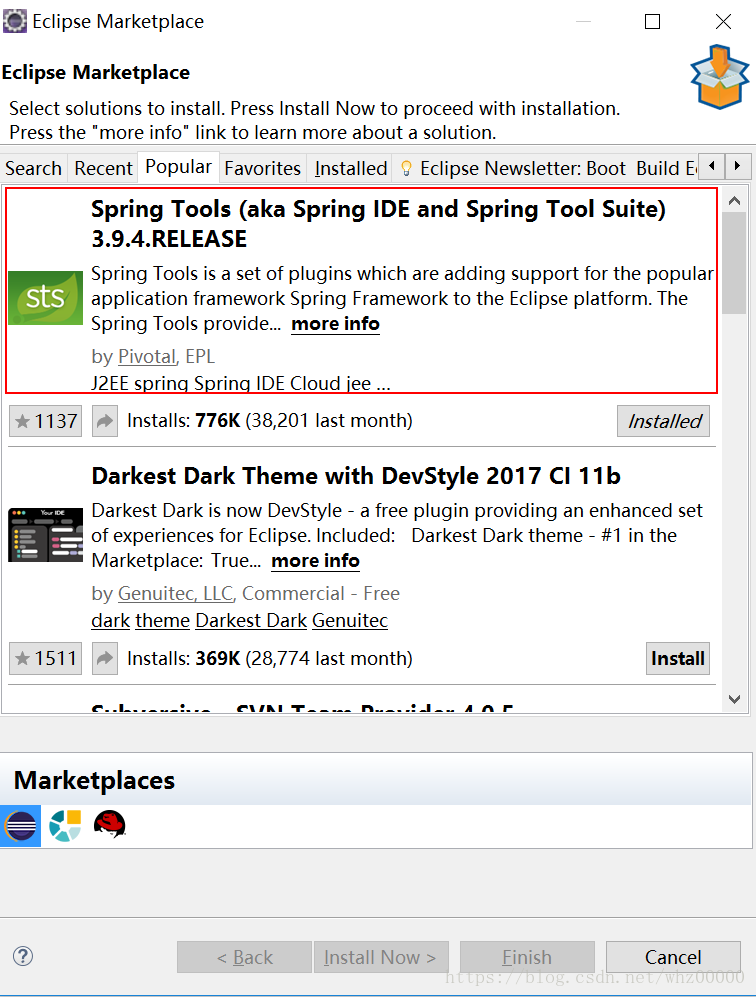
如果左下角显示install,则说明没有安装STS,点击install完成STS安装
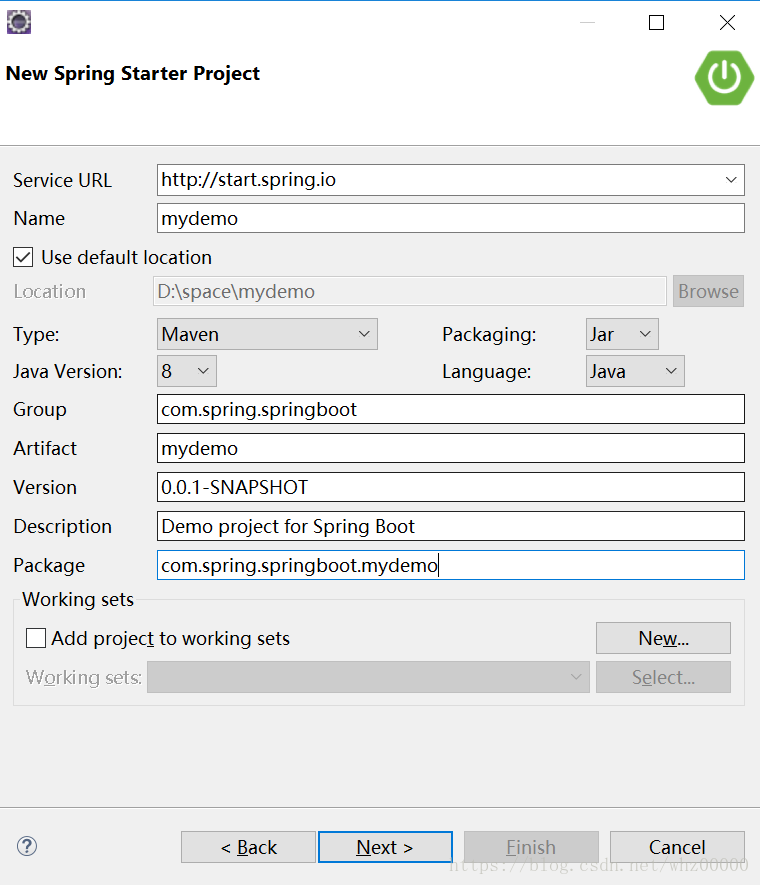
2. 新建Spring Start Project
File——>New ——>Other...
找到Spring Boot下面的Spring Start Project点击新建项目

点击next,视情况修改name,Group,Artifact,Version,Package等信息
点解next,添加所需支持,作为示例,这里只添加web支持
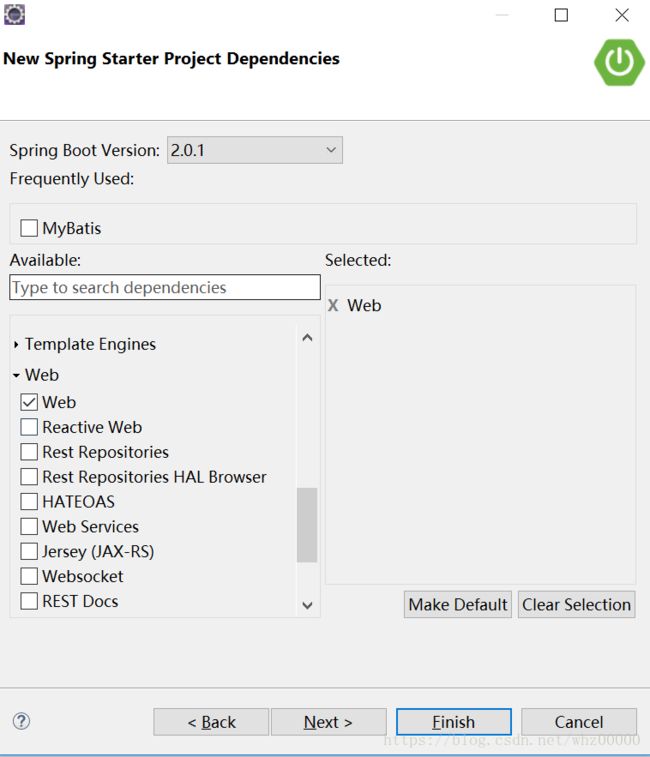
点解finish,稍等片刻完成对项目创建

3. 编写测试代码
在src/main/java下的com.spring.springboot.mydemo里新建controller包,并新建TestMyDemoController类

类中代码如下:
package com.spring.springboot.mydemo.controller;

import org.springframework.web.bind.annotation.RequestMapping;
import org.springframework.web.bind.annotation.RestController;

@RestController
@RequestMapping("/")
public class TestMyDemoController {
	@RequestMapping("/hello")
	public String hello(String from) {
		return "hello "+from +" returned by server";
	}
}
打开MydemoApplication类,右键——>run as ——>spring boot app启动项目
访问http://localhost:8080/hello?from=client
返回hello client returned by server表示项目搭建成功
4.部署
在项目上右键——>run as——>maven install打包运行完成后刷新target,这时候在target下就出现打好的jar
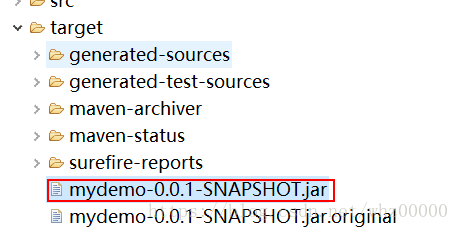
打开target文件夹,双击mydemo-0.0.1-SNAPSHOT.jar启动jar
访问http://localhost:8080/hello?from=client
返回hello client returned by server
也可以cmd回车打开dos页面,输入java -jar jar所在全路径启动项目
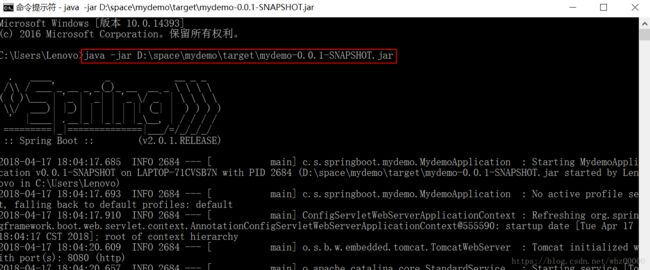
访问http://localhost:8080/hello?from=client
返回hello client returned by server