Android 动画学习(一)之View Animation
转载请注明出处:http://blog.csdn.net/yegongheng/article/details/38366081
Android动画初步
动画(Animation)在我们日常的Android开发工作当中使用得较为频繁,尤其对于Android游戏这个动画的集合体,掌握动画开发的重要性毋庸置疑。同样的,在Android应用开发中我们也经常使用动画效果来提升APP用户体验,比如应用中的图片的旋转,页面和页面之间的淡入淡出、左右渐入渐出切换效果等等。那从今天开始我们将进入Android 动画的学习阶段,我将带领大家学习并实现一些比较炫的动画效果。
动画的分类
Android FrameWork向开发人员提供了丰富的API用于实现各种各样的动画效果,而若要对动画分类,一般可将Android动画分为以下两类的动画系统:
View Animation
View Animation动画系统又可以分类成Tween Animation 和Frame Animation:
Tween Animation
Tween Animation是Android系统比较老的一种动画系统,它的特点是通过对场景里的对象不断做图像变换(渐变、平移、缩放、旋转)产生动画效果,且这种动画只适用于View对象。
Frame Animation
Frame Animation也是常用到的动画,它的原理比较简单,就是将一系列准备好的图片按照顺序播放,形成动画效果。
Property Animation
Property Animation(属性动画)是在Android3.0(API 11)之后引入的一种动画系统,该动画提供了比View Animation更加丰富、强大和灵活的功能,Android官方推荐开发人员使用该动画系统来实现动画。Property Animation的特点是动态地改变对象的属性从而达到动画效果。该动画实现使用于包括View在内的任何对象。
初步了解了Android各种动画的分类及特点后,下面我们将一一对这些不同的动画系统进行深入地学习和分析。
Tween Animation
上面我们了解到Tween Animation是Android中比较老的一种动画系统,且其只能实现对View对象动画设置,不过其虽然没有Property Aniamtion功能那么强大和灵活,但是使用Tween Animation依然能完成我们日常大部分的开发需求。灵活地掌握Tween Animation的使用方法,十分有必要。那Tween Animation实现View的动画,一般分为以下几种效果:
Alpha:渐变透明动画效果;
Scale:渐变尺寸伸缩动画效果;
Translate:位置位移动画效果;
Rotate:位置旋转动画效果。
接下来我们通过实例来一一学习如何实现以上几种动画效果,实现Tween Animation分为xml实现和代码实现,下面我们都会分别使用这两种方式来实现上面的的几种动画效果。首先我们使用xml方式来实现View的Alpha渐变透明动画效果,在项目目录结构中创建res/anim文件夹,然后在文件夹中创建view_animation_alpha.xml文件,文件中的代码如下:
/**
* xml文件加载图片渐变(Alpha)动画
*/
Animation mAnimation = AnimationUtils.loadAnimation(this, R.anim.view_animation_alpha);
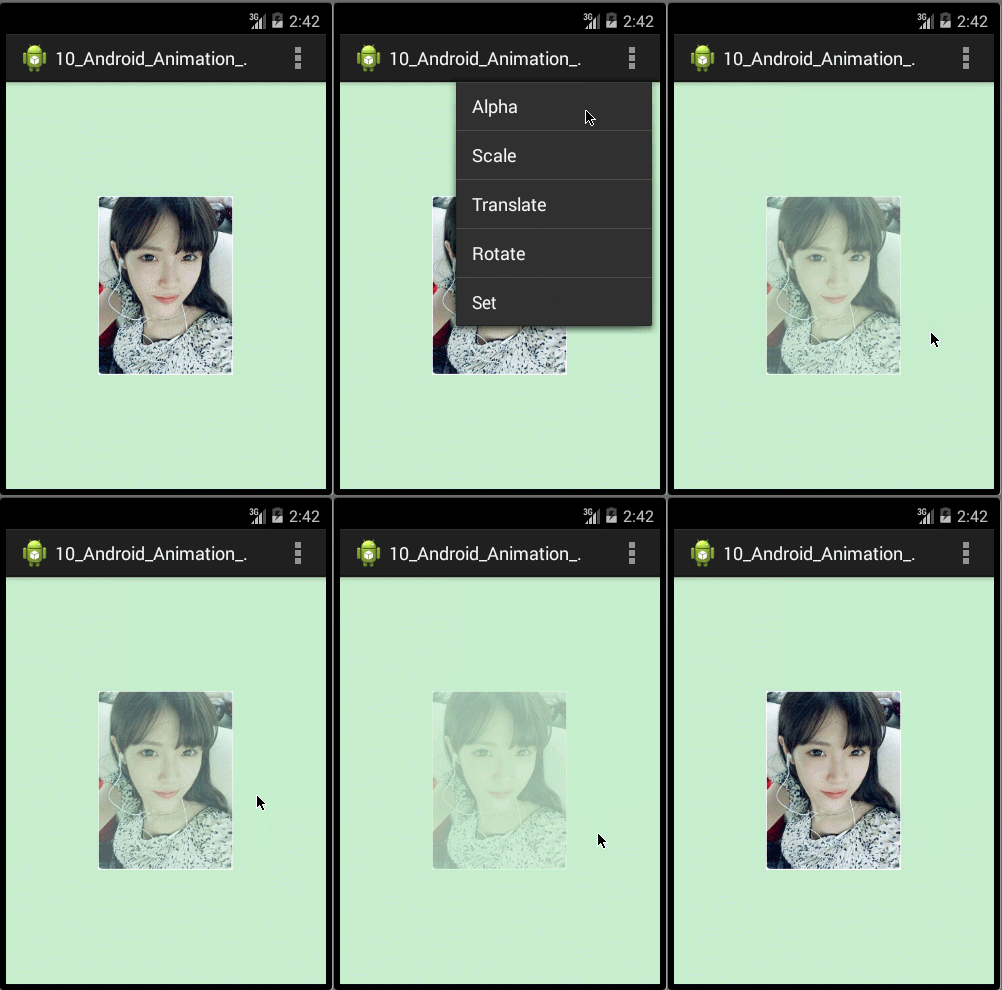
上面是使用xml实现Alpha的动画效果,下面我们来看看如何在代码中实现Alpha的动画,很简单,只需要实例化一个AlphaAnimation对象,然后传递相关参数就行,具体代码如下:
/**
* 代码创建图片渐变(Alpha)动画
* 实例化AlphaAnimation对象:
* mAnimation = new AlphaAnimation(fromAlpha, toAlpha);
* fromAlpha:设置动画开始时控件的透明度,0.0为透明,控件不显示,1.0为不透明,控件全部显示
* toAlpha:设置动画结束时的控件的透明度
*/
Animation mAnimation = new AlphaAnimation(0.0f, 1.0f);ImageView mImageView = (ImageView)findViewById(R.id.view_animation_imageview);
//设置控件开始执行动画
mImageView.startAnimation(mAnimation);
最后运行程序,操作效果效果图如下:
/**
* xml文件加载图片缩放(Scale)动画
*/
mAnimation = AnimationUtils.loadAnimation(this, R.anim.view_animation_scale);Animation mAnimation = null;
/**
* 代码创建图片渐变(Scale)动画
* mAnimation = new ScaleAnimation(fromX, toX, fromY, toY, pivotXType, pivotXValue, pivotYType, pivotYValue);
* fromX:设置动画开始时X轴方向的缩放起始值。0.0为X轴方向的控件缩成一点,1.0为X轴方向的控件不缩放;
* toX:设置动画结束时X轴方向的缩放结束值;
* fromY:设置动画开始时Y轴方向的缩放起始值。0.0为Y轴方向的控件缩成一点,1.0为Y轴方向的控件不缩放;
* toY:设置动画结束时Y轴方向的缩放结束值;
* pivotXtype:动画在X轴相对于物件位置类型 ,分为RELATIVE_TO_SELF、RELATIVE_TO_PARENT和ABSOLUTE三种类型:
* 1、RELATIVE_TO_SELF:相对于控件自身;
* 2、RELATIVE_TO_PARENT:相对于父控件;
* 3、ABSOLUTE:绝对坐标;
* pivotXValue:动画相对于物件的X坐标的开始位置;
* pivotYType:动画在Y轴相对于物件位置类型 ,分为RELATIVE_TO_SELF、RELATIVE_TO_PARENT和ABSOLUTE三种类型;
* pivotYValue:动画相对于物件的Y坐标的开始位置;
*/
//mAnimation = new ScaleAnimation(fromX, toX, fromY, toY)
//mAnimation = new ScaleAnimation(fromX, toX, fromY, toY, pivotX, pivotY)
//mAnimation = new ScaleAnimation(fromX, toX, fromY, toY, pivotXType, pivotXValue, pivotYType, pivotYValue)
mAnimation = new ScaleAnimation(0.0f, 1.0f, 0.5f, 1.0f, Animation.RELATIVE_TO_SELF, 1.0f, Animation.RELATIVE_TO_SELF, 1.0f);接着实现Translate动画效果,同理,在res/anim/文件夹下创建view_animation_translate.xml,文件中的代码如下:
然后在代码中使用AnimationUtils类调用loadAniamtion(context,id)方法加载xml文件,具体代码如下:
//xml文件加载图片位置位移(Translate)动画
mAnimation = AnimationUtils.loadAnimation(this, R.anim.view_animation_translate);Animation mAnimation = null;
/**
* 代码创建图片位置位移(Translate)动画
* mAnimation = new TranslateAnimation(fromXType, fromXValue, toXType, toXValue, fromYType,
* fromYValue, toYType, toYValue);
* fromXType:动画开始执行时在X轴相对于物件位置类型
* fromXValue:动画开始执行时X轴方向的的起始位置,当位置类型为RELATIVE_TO_SELF时,Value取0.0f~1.0f之间,
* 当位置类型为RELATIVE_TO_PARENT或ABSOLUTE时, Value使用(px)像素值
* toXType:动画结束执行时在X轴相对于物件位置类型
* toXValue:动画结束执行时X轴方向的的结束位置,Value取值方式同上
* fromYType:动画开始执行时在Y轴相对于物件位置类型
* fromYValue:动画开始执行时Y轴方向的的起始位置,Value取值方式同上
* toYType:动画在结束执行时在Y轴相对于物件位置类型
* toYValue:动画结束执行时Y轴方向的的结束位置,Value取值方式同上
*/
//mAnimation = new TranslateAnimation(fromXDelta, toXDelta, fromYDelta, toYDelta);
mAnimation = new TranslateAnimation(Animation.RELATIVE_TO_SELF, 0.0f, Animation.RELATIVE_TO_SELF, 1.0f,
Animation.RELATIVE_TO_SELF, 0.0f, Animation.RELATIVE_TO_SELF, 1.0f);
接着实现Rotate动画效果,同理,在res/anim/文件夹下创建view_animation_rotate.xml,文件中的代码如下:
/**
* xml文件加载图片旋转(Rotate)动画
*/
mAnimation = AnimationUtils.loadAnimation(this, R.anim.view_animation_rotate);Animation mAnimation = null;
/**
* 代码创建图片旋转(Rotate)动画
* mAnimation = new RotateAnimation(fromDegrees, toDegrees, pivotXType, pivotXValue, pivotYType, pivotYValue);
* fromDegrees:动画开始执行时的控件起始状态的角度;
* toDegrees:动画结束执行时的控件结束状态的角度;
* pivotXType:动画在X轴相对于物件位置类型 ,分为RELATIVE_TO_SELF、RELATIVE_TO_PARENT和ABSOLUTE三种类型:
* 1、RELATIVE_TO_SELF:相对于控件自身;
* 2、RELATIVE_TO_PARENT:相对于父控件;
* 3、ABSOLUTE:绝对坐标;
* pivotXValue:动画开始执行时X轴方向的的起始位置,当位置类型为RELATIVE_TO_SELF时,Value取0.0f~1.0f之间,当位置类型为RELATIVE_TO_PARENT或ABSOLUTE时,
* Value使用(px)像素值;
* pivotYType:动画在Y轴相对于物件位置类型 ,分为RELATIVE_TO_SELF、RELATIVE_TO_PARENT和ABSOLUTE三种类型;
* pivotYValue:旋转动画的中心店的Y轴方向的纵坐标,原理同上;
*/
//mAnimation = new RotateAnimation(fromDegrees, toDegrees)
//mAnimation = new RotateAnimation(fromDegrees, toDegrees, pivotX, pivotY)
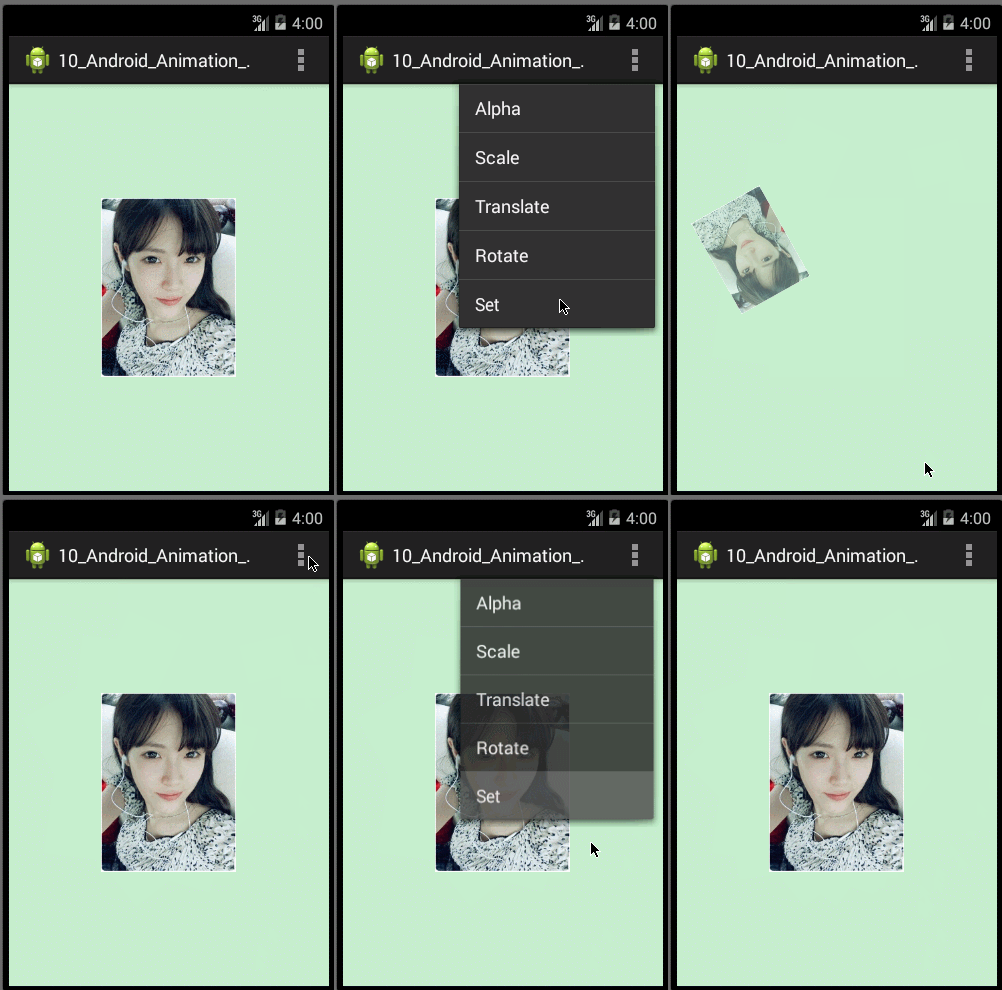
mAnimation = new RotateAnimation(-50f, 360f, Animation.RELATIVE_TO_SELF, 0.5f, Animation.RELATIVE_TO_SELF, 0.5f);至此我们就实现了Tween Animation中的Alpha、Scale、Translate和Rotate四种动画效果,那我们就可以根据我们APP的具体需求,定义我们自己的动画,不过除了单独使用这些动画效果外,Android还允许我们使用这几种动画里面的若干种组合成一个动画集合,从而实现更加炫更加多样的动画效果。下面我们也分别使用xml和代码来利用动画集合的方式实现一个图片飞进飞出的动画效果,首先也是在res/anim文件夹下创建一个view_animation_set.xml文件,文件中的代码如下:
/**
* xml文件加载图片集合(Set)动画
*/
mAnimation = AnimationUtils.loadAnimation(this, R.anim.view_animation_set);/**
* 代码创建图片集合(Set)动画
*/
AnimationSet mAnimationSet = new AnimationSet(true);
//定义渐变动画对象
AlphaAnimation mAlphaAnimation = new AlphaAnimation(1.0f, 0.0f);
mAlphaAnimation.setRepeatCount(1);
mAlphaAnimation.setRepeatMode(Animation.REVERSE);
mAlphaAnimation.setFillAfter(true);
mAlphaAnimation.setDuration(1000);
//定义缩放动画对象
ScaleAnimation mScaleAnimation = new ScaleAnimation(1.0f, 0.0f, 1.0f, 0.0f,
Animation.RELATIVE_TO_SELF,0.5f,Animation.RELATIVE_TO_SELF,0.5f);
mScaleAnimation.setRepeatCount(1);
mScaleAnimation.setRepeatMode(Animation.REVERSE);
mScaleAnimation.setFillAfter(true);
mScaleAnimation.setDuration(1000);
//定义位移动画对象
TranslateAnimation mTranslateAnimation = new TranslateAnimation(Animation.RELATIVE_TO_SELF, 0.0f,
Animation.RELATIVE_TO_SELF, 1.0f, Animation.RELATIVE_TO_SELF, 0.0f, Animation.RELATIVE_TO_SELF, 1.0f);
mTranslateAnimation.setRepeatCount(1);
mTranslateAnimation.setRepeatMode(Animation.REVERSE);
mTranslateAnimation.setFillAfter(true);
mTranslateAnimation.setDuration(1000);
//定义旋转动画对象
RotateAnimation mRotateAnimation = new RotateAnimation(0, 360, Animation.RELATIVE_TO_SELF, 0.5f,
Animation.RELATIVE_TO_SELF, 0.5f);
mRotateAnimation.setRepeatCount(1);
mRotateAnimation.setRepeatMode(Animation.REVERSE);
mRotateAnimation.setFillAfter(true);
mRotateAnimation.setDuration(1000);
//添加动画到集合动画对象中
mAnimationSet.addAnimation(mAlphaAnimation);
mAnimationSet.addAnimation(mScaleAnimation);
mAnimationSet.addAnimation(mTranslateAnimation);
mAnimationSet.addAnimation(mRotateAnimation);Frame Animation
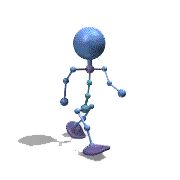
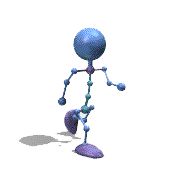
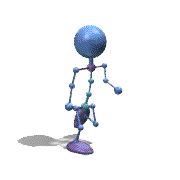
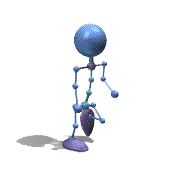
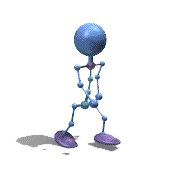
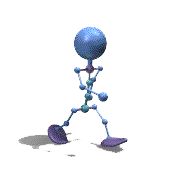
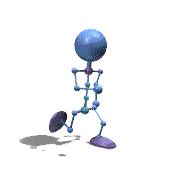
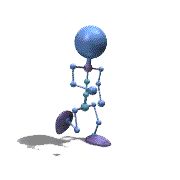
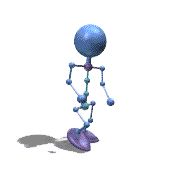
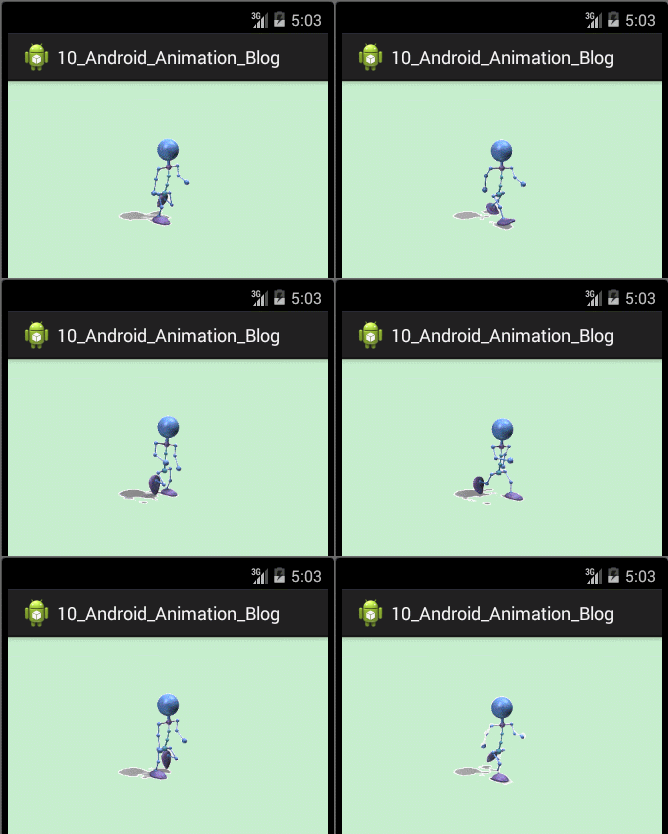
早期的老式电影放映机估计很多人都有所了解,它的播放原理就是在电影胶片上有一幅幅固定的画面,然后在放映的时候通过电机匀速推进切换画面,画面在人们视觉差作用下产生连续的动画效果。这里我们所要学习的Frame Animation的实现原理和老式电影放映机的播放原理是一样的,我们通过将一系列准备好的图片按照顺序播放,形成动画效果,就如同放电影一般。接下来我们就来学习如何在Android中使用Frame Animation,首先我们得准备一系列连续的图片,如图下:
上面是一系列小机器人走路的连续图片,我们将要做的就是将它们一张张匀速连续播放,从而感觉小机器人在走的动画效果。准备好图片后,我们就将它们一一组织起来,具体怎么设置呢?先在项目中的res/drawable/文件夹下创建drawable_animation_robot.xml文件,文件中具体代码如下:
设置完图片后,我们来播放动画,那需要播放连续动画,则我们需借助AnimationDrawable类来完成,AnimationDrawable是实现逐帧动画的帮助类。下面就是我们执行逐帧动画的具体代码实现,如下:
public class LoadingRobotProgressView extends ImageView {

	private AnimationDrawable mAnimationDrawable;

	public LoadingRobotProgressView(Context context) {
		super(context);
		// TODO Auto-generated constructor stub
		init();
	}
	public LoadingRobotProgressView(Context context, AttributeSet attrs) {
		super(context, attrs);
		// TODO Auto-generated constructor stub
		init();
	}
	public LoadingRobotProgressView(Context context, AttributeSet attrs, int defStyle) {
		super(context, attrs, defStyle);
		// TODO Auto-generated constructor stub
		init();
	}

	 private void init() {
		   //设置背景
	        this.setBackgroundResource(R.drawable.drawable_animation_robot);
	        //获取当前的背景
	        mAnimationDrawable = (AnimationDrawable) this.getBackground();
	    }

	    /**
	     * 当进入当前窗口时,开启动画
	     */
	    @Override
	    protected void onAttachedToWindow() {
	        super.onAttachedToWindow();
	        mAnimationDrawable.start();
	    }
        /**
         * 当离开当前窗口时,关闭动画
         */
	    @Override
	    protected void onDetachedFromWindow() {
	        super.onDetachedFromWindow();
	        mAnimationDrawable.stop();
	    }
}由于篇幅关系,本片文章就讨论Tween Animation 和Frame Animation,下一篇文章我们将学习功能更加强大、灵活的Property Animation,敬请期待!
源代码下载,请戳下面:
- GITHUB下载
- CSDN下载
