Flutter第五讲,底部导航栏搭建
今天我们正式进入项目实战,我们首先先把我们的App的框架搭建出来,我们先来搭建下底部的导航栏,就是iOS的UITabBarController,我们新建一个项目就叫wechat_demo,我们把系统生成的代码删除,自己来写下
import 'package:flutter/material.dart';

void main() => runApp(MyApp());

class MyApp extends StatelessWidget {
  // This widget is the root of your application.
  @override
  Widget build(BuildContext context) {
    return MaterialApp(
      title: 'Flutter Demo',
      theme: ThemeData(
        primarySwatch: Colors.blue,
      ),
      home: MyHomePage(),
    );
  }
}

class MyHomePage extends StatelessWidget {
  @override
  Widget build(BuildContext context) {
    return Container(
      child: Scaffold(
        bottomNavigationBar: BottomNavigationBar(
          items: [
            BottomNavigationBarItem(icon: Icon(Icons.chat), title: Text('微信')),
            BottomNavigationBarItem(icon: Icon(Icons.bookmark), title: Text('通讯录')),
            BottomNavigationBarItem(icon: Icon(Icons.history), title: Text('发现')),
            BottomNavigationBarItem(icon: Icon(Icons.person_outline), title: Text('我的')),
          ],
        ),
      ),
    );
  }
}
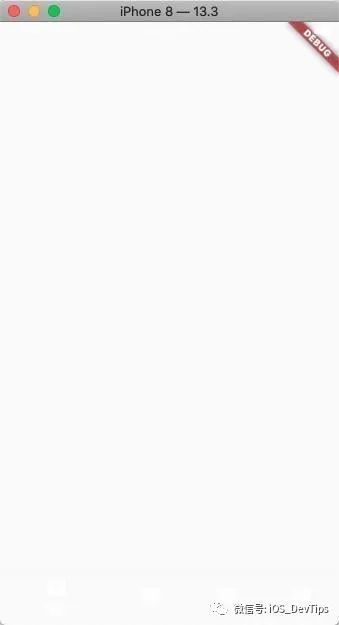
我们的Scaffold Widget里有个bottomNavigationBar,这个就是我们今天要搭建的底部导航栏,我们进去BottomNavigationBar发现里面有个items属性,是不是发现跟iOS的TabBarController很像了,我们上面的代码中的图片是随便先搞几个看看效果,后面我们再导入真正的资源,我们运行下看看效果
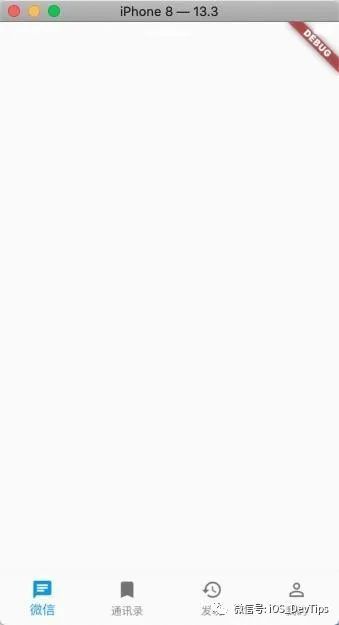
咦?怎么什么都没有呢?其实是有的只不过是默认的背景颜色是白色的我们看不见我们给BottomNavigationBar在加个 type: BottomNavigationBarType.fixed,在保存下看看这回是不是看见了
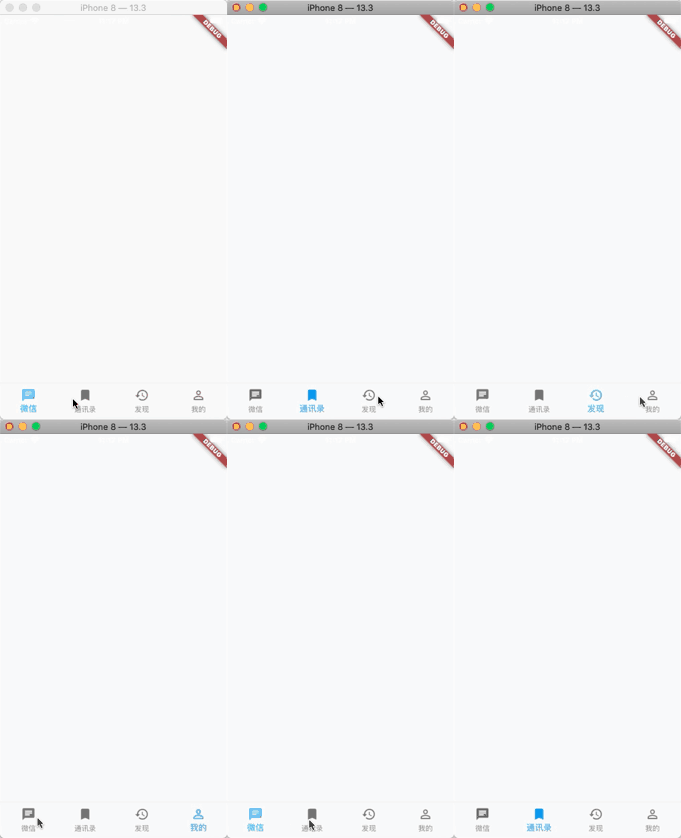
但是新的问题又出现了,点击其他的项并不会自动切换,Flutter并不像iOS那样方便给我们封装好了,那我们来看看如何切换呢?
我们看到BottomNavigationBar里还有个currentIndex属性,我们修改下这个值为1,保存果然切换了,那么我们就可以定义一个变量来保存当前点击的index,然后传给currentIndex。
但是现在又有状态变化了,而我们刚开始创建的MyHomePage是个StatelessWidget所以不行,我们再来创建一个Dart File 这次叫rootpage吧,然后把我们MyHomePage里的build方法copy到rootpage里的build方法里
然后我们再来写下,BottomNavigationBar的onTap属性,这个是个回调函数参数就是当前点击的index,然后我们把它赋给我们定义的_currentIndex,然后再把_currentIndex赋给currentIndex,记得调用setState刷新
修改选中的颜色可以设置 fixedColor: Colors.green,
最后附上我们的完整代码
main.dart
import 'package:flutter/material.dart';
import 'package:wechatdemo/rootpage.dart';

void main() => runApp(MyApp());

class MyApp extends StatelessWidget {
  // This widget is the root of your application.
  @override
  Widget build(BuildContext context) {
    return MaterialApp(
      title: 'Flutter Demo',
      theme: ThemeData(
        primarySwatch: Colors.blue,
      ),
      home: RootPage(),
    );
  }
}
rootpage.dart
import 'package:flutter/material.dart';

class RootPage extends StatefulWidget {
  @override
  _RootPageState createState() => _RootPageState();
}

class _RootPageState extends State {
  int _currentIndex = 0;
  @override
  Widget build(BuildContext context) {
    return Container(
      child: Scaffold(
        bottomNavigationBar: BottomNavigationBar(
          onTap: (index){
            _currentIndex = index;
            setState(() {
            });
          },
          items: [
            BottomNavigationBarItem(icon: Icon(Icons.chat), title: Text('微信')),
            BottomNavigationBarItem(icon: Icon(Icons.bookmark), title: Text('通讯录')),
            BottomNavigationBarItem(icon: Icon(Icons.history), title: Text('发现')),
            BottomNavigationBarItem(icon: Icon(Icons.person_outline), title: Text('我的')),
          ],
          type: BottomNavigationBarType.fixed,
          fixedColor: Colors.green,
          currentIndex: _currentIndex,
        ),
      ),
    );
  }
}
今天我们就先简单的搭建了下底部导航栏,后面我们会先从发现和我的这两个模块做起
喜欢的朋友可以扫描关注我的公众号(多多点赞,多多打赏,您的支持是我写作的最大动力)
iOS_DevTips


