如何在STM32CubeIDE实现printf功能?
搜索了一圈 ,STM32CubeIDE上的相关方法不多,记录一下两个过程,翻译自外网(导师提供内容,不是机翻,手打的,有删减无关内容,自己实践了一遍,芯片等等有些不同)
开篇
现在相当多的微控制器没有一个控制台的模块,但是debug的时候输出的信息相当的重要,已有的一种方法是使用半主机模式(semihosting with STM32CubeIDE)。
但是semihosting with STM32CubeIDE的速度太慢了,本文选择的更好的方式是“通过串口获取输出的调试信息”,调用 STM32 HAL functions (e.g. HAL_UART_Transmit) 来实现。但是,C语言的printf函数它不香吗?为此我们需要重写一些底层方法
两个步骤
- 实现printf()函数
- 通过串口调试助手展示效果
重写底层
首先,创建一个默认的STM32 工程(project),博主使用的是潘多拉(STM32L475VETx) 作为平台,板载ST-Link 微控制器
一定要先去按照芯片的手册设置好串口(UART),如果不会设置能搜索到的,这里不是重点,但是要用。
然后,我们要先让 syscalls.c 失效,里面定义了很多我们需要重写的功能,如果不这么做,很可能会出现多重定义的问题。
右键单击 syscalls.c 选中 Properties, 在C/C++ Build > Settings下,勾选 Exclude resource from build. 然后点击
Apply and Close.
你会发现它变成了灰色的并被置为末尾项

接下来,我们加入一些新的文件在我们运行STM32CubeIDE之前,这个过程和很多基于Eclipse的IDE类似。
在Inc文件夹下创建retarget.h,将以下代码复制到其中
// All credit to Carmine Noviello for this code
// https://github.com/cnoviello/mastering-stm32/blob/master/nucleo-f030R8/system/include/retarget/retarget.h
#ifndef _RETARGET_H__
#define _RETARGET_H__
#include "stm32l4xx_hal.h"
#include 记得保存
在Src文件夹下创建retarget.c,复制以下代码到其中。
// All credit to Carmine Noviello for this code
// https://github.com/cnoviello/mastering-stm32/blob/master/nucleo-f030R8/system/src/retarget/retarget.c
#include <_ansi.h>
#include <_syslist.h>
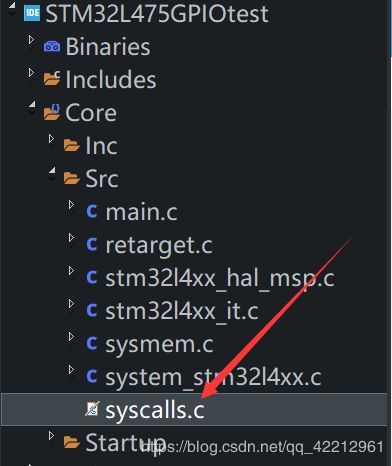
#include 整个工程的结构和内容大致如下

注意到我们并未删除掉syscalls.c
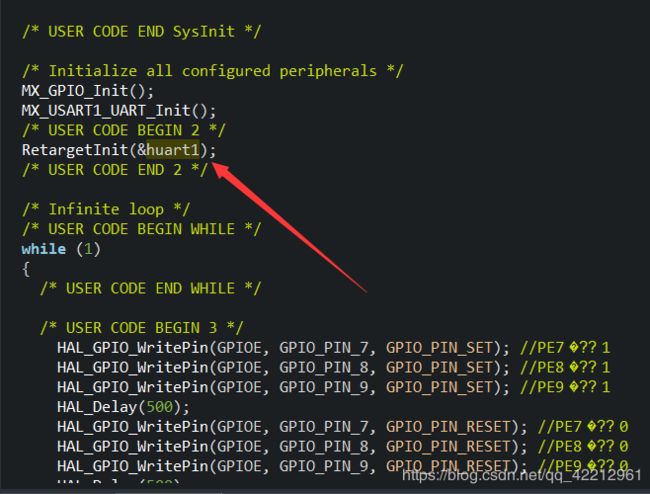
在main.c中加入stdio.h 和 retarget.h ,还有RetargetInit(&huart1(串口变量名)),如下面的两张图

串口调试
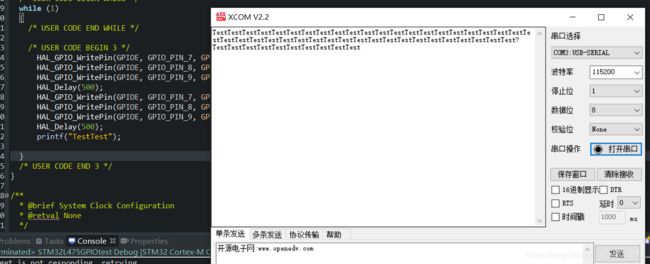
然后在main.c 的 while(1) 中就可以使用printf以及scanf函数了!
使用串口调试工具,选择串口(Windows下“设备管理器”可以查看),将波特率设置一致,然后调试工具中可以查看到设置的输出内容
![]()