1、检查环境
1.1、linux版本
[root@localhost ~]# cat /etc/redhat-release
CentOS Linux release 7.7.1908 (Core)
1.2、SSE 4.2
[root@localhost ~]# grep -q sse4_2 /proc/cpuinfo && echo "SSE 4.2 supported" || echo "SSE 4.2 not supported"
SSE 4.2 supported
2、安装rpm包
2.1、下载
~~ https://repo.yandex.ru/clickhouse/rpm/stable/x86_64/ ~~
wget https://repo.yandex.ru/clickhouse/rpm/stable/x86_64/clickhouse-client-20.3.9.70-2.noarch.rpm
wget https://repo.yandex.ru/clickhouse/rpm/stable/x86_64/clickhouse-server-20.3.9.70-2.noarch.rpm
wget https://repo.yandex.ru/clickhouse/rpm/stable/x86_64/clickhouse-common-static-dbg-20.3.9.70-2.x86_64.rpm
2.2、安装
[root@localhost clickhouse]# rpm -ivh clickhouse-common-static-20.3.9.70-2.x86_64.rpm

[root@localhost clickhouse]# rpm -ivh clickhouse-server-20.3.9.70-2.noarch.rpm
Created symlink from /etc/systemd/system/multi-user.target.wants/clickhouse-server.service to /etc/systemd/system/clickhouse-server.service.
Path to data directory in /etc/clickhouse-server/config.xml: /var/lib/clickhouse/

[root@localhost clickhouse]# rpm -ivh clickhouse-client-20.3.9.70-2.noarch.rpm
3、启动&连接
3.1、启动服务
[root@localhost clickhouse]# systemctl start clickhouse-server.service
[root@localhost clickhouse]# systemctl status clickhouse-server.service
3.2、命令行连接
[root@localhost clickhouse]# clickhouse-client
ClickHouse client version 20.3.9.70 (official build).
Connecting to localhost:9000 as user default.
Connected to ClickHouse server version 20.3.9 revision 54433.

localhost :) show databases;

SHOW DATABASES

┌─name────┐
│ default │
│ system  │
└─────────┘

2 rows in set. Elapsed: 0.004 sec.
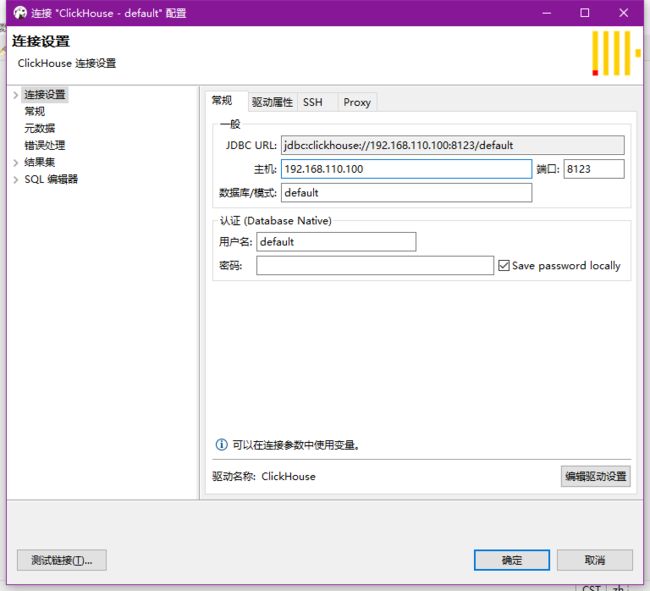
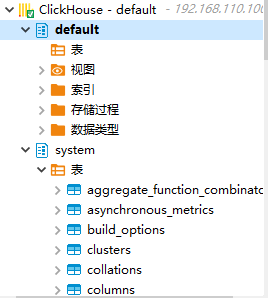
3.3、Dbeaver连接
默认监听的是localhost,需要修改为外网可访问的ip
# 修改配置文件
vim /etc/clickhouse-server/config.xml
0.0.0.0

# 重启服务
systemctl restart clickhouse-server.service
- 参考:
https://clickhouse.tech/docs/v20.3/zh/getting_started/install/

