构建hyperledger fabric测试和运行环境(最新版)
因为软件(docker fabric 0.6)和系统(Ubuntu 16.04TLS)运行环境版本的不断变化,所以网上罗列的各种教程上或者网友的个人总结都不一定能在自己的环境下走通,特别是对于新手而言,出了错无所适从。fabric 1.0马上就要在3月底发不了,所以对于那些想练下手的童鞋分享一下自己的总结吧。高手搭建测试环境的方式很多种,我这种newbie采用比较简单的基于的docker方式。
首先说一下我的环境:
主机操作系统是32位的Windows7 WMware workstations 10
虚拟机中装的是Ubuntu 16.04TLS(PS:32位host下装64位linux会出错,在BIOS中设置开启虚拟化),通过NAT的方式共享主机网络。IP ens33如下图所示
1.安装配置docker
1.1 如果对docker不熟悉建议可以先看一下《docker技术入门与实践》。Docker 官方为了简化安装流程,提供了一套安装脚本,Ubuntu 和 Debian 系统可以使用这套脚本安装:curl -sSL https://get.docker.com/ | sh
执行这个命令后,脚本就会自动的将一切准备工作做好,并且把 Docker 安装在系统中。不过,由于伟大的墙的原因,在国内使用这个脚本可能会出现某些下载出现错误的情况。国内的一些云服务商提供了这个脚本的修改版本,使其使用国内的 Docker软件源镜像安装,这样就避免了墙的干扰。
sudo apt-get remove docker docker-engine
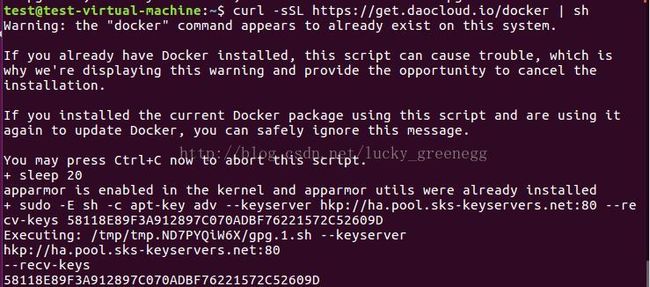
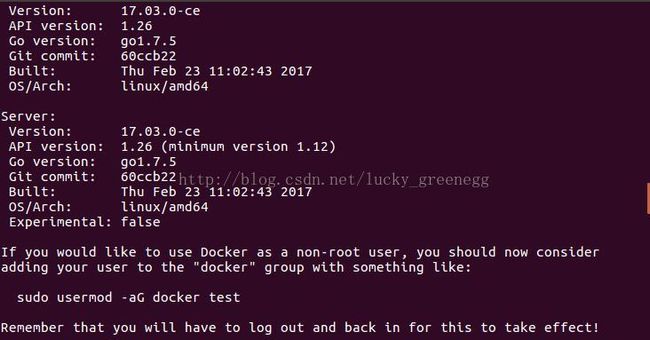
curl -sSL https://get.daocloud.io/docker | sh上面显示安装成功,如果一般用户需要使用docker命令,需要加入docker组中,那么我就把当前用户test加入。
sudo usermod -aG docker test接下来需要修改配置docker dns以及镜像加速器(),国内访问 Docker Hub 有时会遇到困难,此时可以配置镜像加速器。国内很多云服务商都提供了加速器服务。阿里云加速器、DaoCloud 加速器、灵雀云加速器
注册用户并且申请加速器,会获得如https://jxus37ad.mirror.aliyuncs.com 这样的地址。我们需要将其配置给Docker 引擎。注意这里不同系统不同docker版本在的位置文件不同
sudo vi /etc/systemd/system/multi-user.target.wants/docker.service修改ExecStart的值
ExecStart=/usr/bin/dockerd --dns 192.168.234.255 -H=tcp://0.0.0.0:2375 -H=unix:///var/run/docker.sock --registry-mirror=https://jxus37ad.mirror.aliyuncs.com
接下来,重新加载并开启docker
sudo systemctl daemon-reload
sudo systemctl restart docker
开启后我们可以确认一下
sudo ps -ef | grep docker
sudo netstat -anp | grep 2375
sudo netstat -a | grep docker.sock
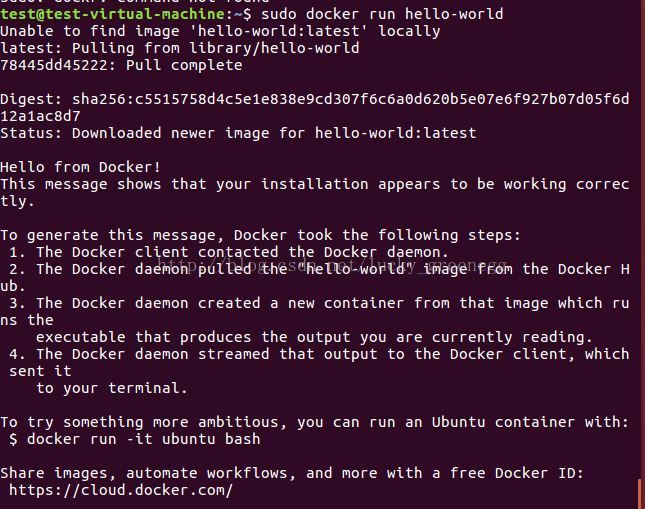
sudo docker run hello-world
docker images
docker ps -a
安装 docker-compose首先,安装 python-pip 软件包
sudo aptitude install python-pip
sudo pip install docker-compose>=1.8.0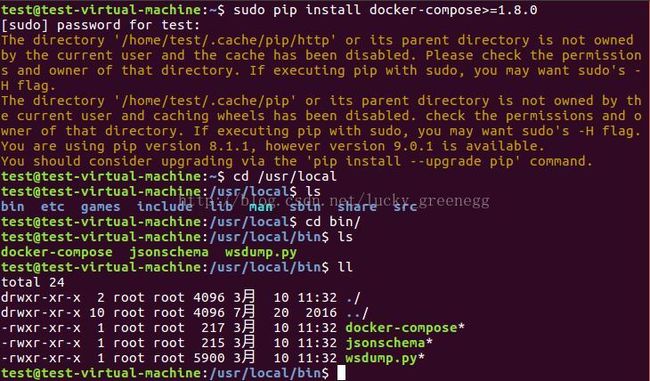
下载fabric 0.6 镜像
docker pull yeasy/hyperledger-fabric:0.6-dp \
&& docker pull yeasy/hyperledger-fabric-peer:0.6-dp \
&& docker pull yeasy/hyperledger-fabric-base:0.6-dp \
&& docker pull yeasy/blockchain-explorer:latest \
&& docker tag yeasy/hyperledger-fabric-peer:0.6-dp hyperledger/fabric-peer \
&& docker tag yeasy/hyperledger-fabric-base:0.6-dp hyperledger/fabric-baseimage \
&& docker tag yeasy/hyperledger-fabric:0.6-dp hyperledger/fabric-membersrvc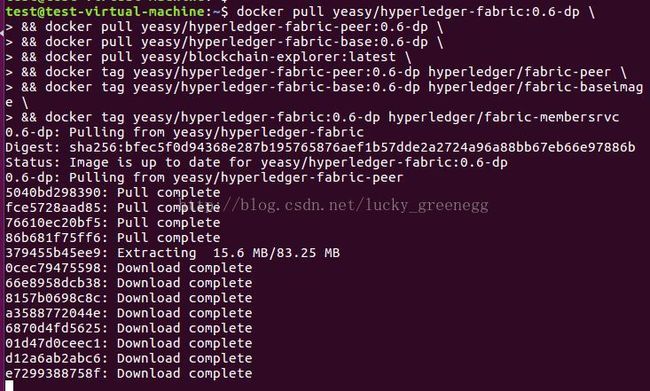
使用 PBFT 模式 下载 Compose 模板文件
git clone https://github.com/yeasy/docker-compose-files下载镜像
docker pull yeasy/hyperledger:latest
docker tag yeasy/hyperledger:latest hyperledger/fabric-baseimage:latest
docker pull yeasy/hyperledger-peer:latest
docker pull yeasy/hyperledger-membersrvc:latest
进入 hyperledger 项目,启动带成员管理的 PBFT 集群
cd docker-compose-files/hyperledger/0.6/pbft
docker-compose -f 4-peers-with-membersrvc.yml up查看
docker exec -it pbft_vp0_1 bash
peer network login jim
口令
6avZQLwcUe9b
部署
peer chaincode deploy -u jim -p github.com/hyperledger/fabric/examples/chaincode/go/ chaincode_example02 -c '{"Function":"init", "Args": ["a","100", "b", "200"]}'在账户 a、b 之间进行转账 10 元的操作
peer chaincode invoke -u jim -n ${CC_ID} -c '{"Function": "invoke", "Args": ["a", "b", "10"]}'如果baseimage没有latest版,则可能在query这里遇到了抛出异常:
LedgerError - ResourceNotFound: ledger: resource not found


