将智能合约部署到私有链
本文将介绍一下如何将智能合约部署到私有链(感觉就是令人窒息的操作)。
1. 建立新文件
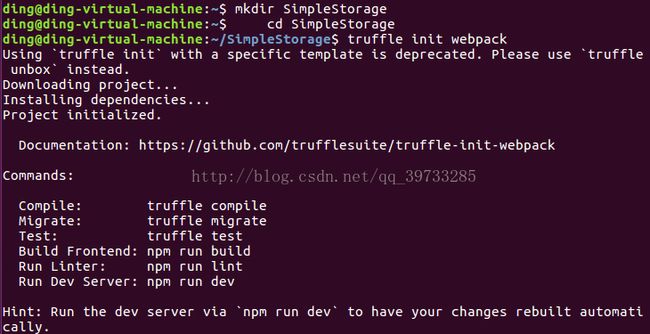
打开终端,输入
mkdir SimpleStorage//文件名可以任意替换
cd SimpleStorage
truffle init webpack
很多教程第三步都写的truffle init ,但这在新版本的truffle中编译会出现问题(文件没有完全生成,app文件和node文件缺失,会导致很多错误)。
自己编写智能合约(我是随便放的,但是要正确,可以通过编译,可以在remix上debug)放入目录中
SimpleStorage.sol保存到SimpleStorage/contracts目录中.
打开migration/2_deploy_contracts.js, 修改为:
var ConvertLib = artifacts.require(
"./ConvertLib.sol"
);
var MetaCoin = artifacts.require(
"./MetaCoin.sol"
);
var SimpleStorage = artifacts.require(
"./SimpleStorage.sol"
)
module.exports =
function
(deployer) {
deployer.deploy(ConvertLib);
deployer.link(ConvertLib, MetaCoin);
deployer.deploy(MetaCoin);
deployer.deploy(SimpleStorage);
};
2.部署私有链(可以看上一篇,这里也会详写,怕自己忘掉Orz)
在SimpleStorage建立文件piccgenesis.json,里面的内容为
    {

        "nonce":"0x0000000000000042",

        "mixhash":"0x0000000000000000000000000000000000000000000000000000000000000000",

        "difficulty": "0x4000",

        "alloc": {},

        "coinbase":"0x0000000000000000000000000000000000000000",

        "timestamp": "0x00",

        "parentHash":"0x0000000000000000000000000000000000000000000000000000000000000000",

        "extraData": "0x000000",

        "config":{
          "chainId":15,
          "homesteadBlock":0,
          "eip155Block":0,
          "eip158Block":0

    },

        "gasLimit":"0xffffffff"

} geth --datadir "./" init piccgenesis.jsongeth --datadir "./" --nodiscover console 2>>geth.logpersonal.newAccount("123456")//123456是密码阔以自己修改;
3.启动私有链
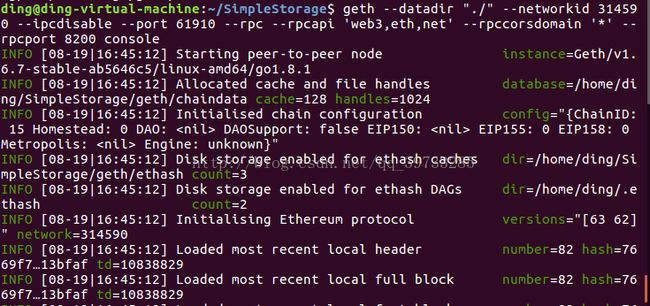
在终端中输入
geth --datadir "./" --networkid 314590 --ipcdisable --port 61910 --rpc --rpcapi 'web3,eth,net' --rpccorsdomain '*' --rpcport 8200 console打开SimpleStorage/truffle.js文件,然后修改prot: 8545为:8200
在geth中输入
acc0 = eth.accounts[0]
>personal.unlockAccount(eth.accounts[0],"123456//密码", 1000*60*30)
这一步为了解锁,不然后面程序无法执行。
并且开始挖矿,因为所有交易必须通过区块链才能执行。
4.启动节点
打开新的终端,输入
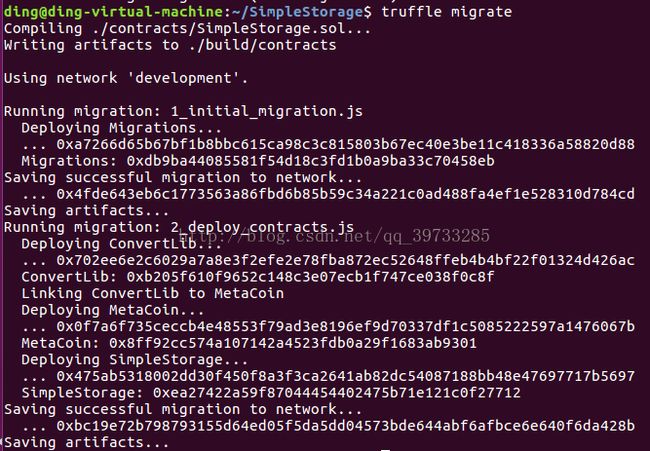
truffle migrate
过了很久便能看到

总的来说操作还是有点复杂,挖矿的时间也比较长,如果出现错误,还是耐心搜寻一下,最后可以解决。
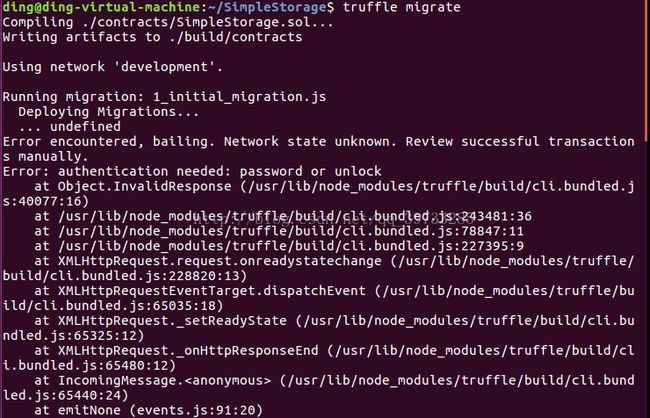
错误原因一:
账号被锁,再打开就好了


