小程序:滚动scroll-view和轮播图swiper
1.scroll-view
ScrollView是可滚动的视图区域,直接使用ScrollView组件即可实现滚动效果。如下:
在wxml中使用scroll-view组件,组件里面用几个view视图显示。也可以放置文字或图片等内容。
<scroll-view>
 <view id="green" class='scroll-view-item bc-green'>view>
 <view id="red" class='scroll-view-item bc-red'>view>
 <view id="blue" class='scroll-view-item bc-blue'>view>
 <view id="yellow" class='scroll-view-item bc-yellow'>view>
scroll-view>
在wxss中设置样式。
/* demo.wxss */
.scroll-view-item {
  height: 200px;
}
.bc-green {
  background-color: green;
}
.bc-red {
  background-color: red;
}
.bc-blue {
  background-color: blue;
}
.bc-yellow {
  background-color: yellow;
}
因为这里页面没有交互事件爱你,所以对应的js文件中Page内容为空。
Page({
  data: {

  },
})
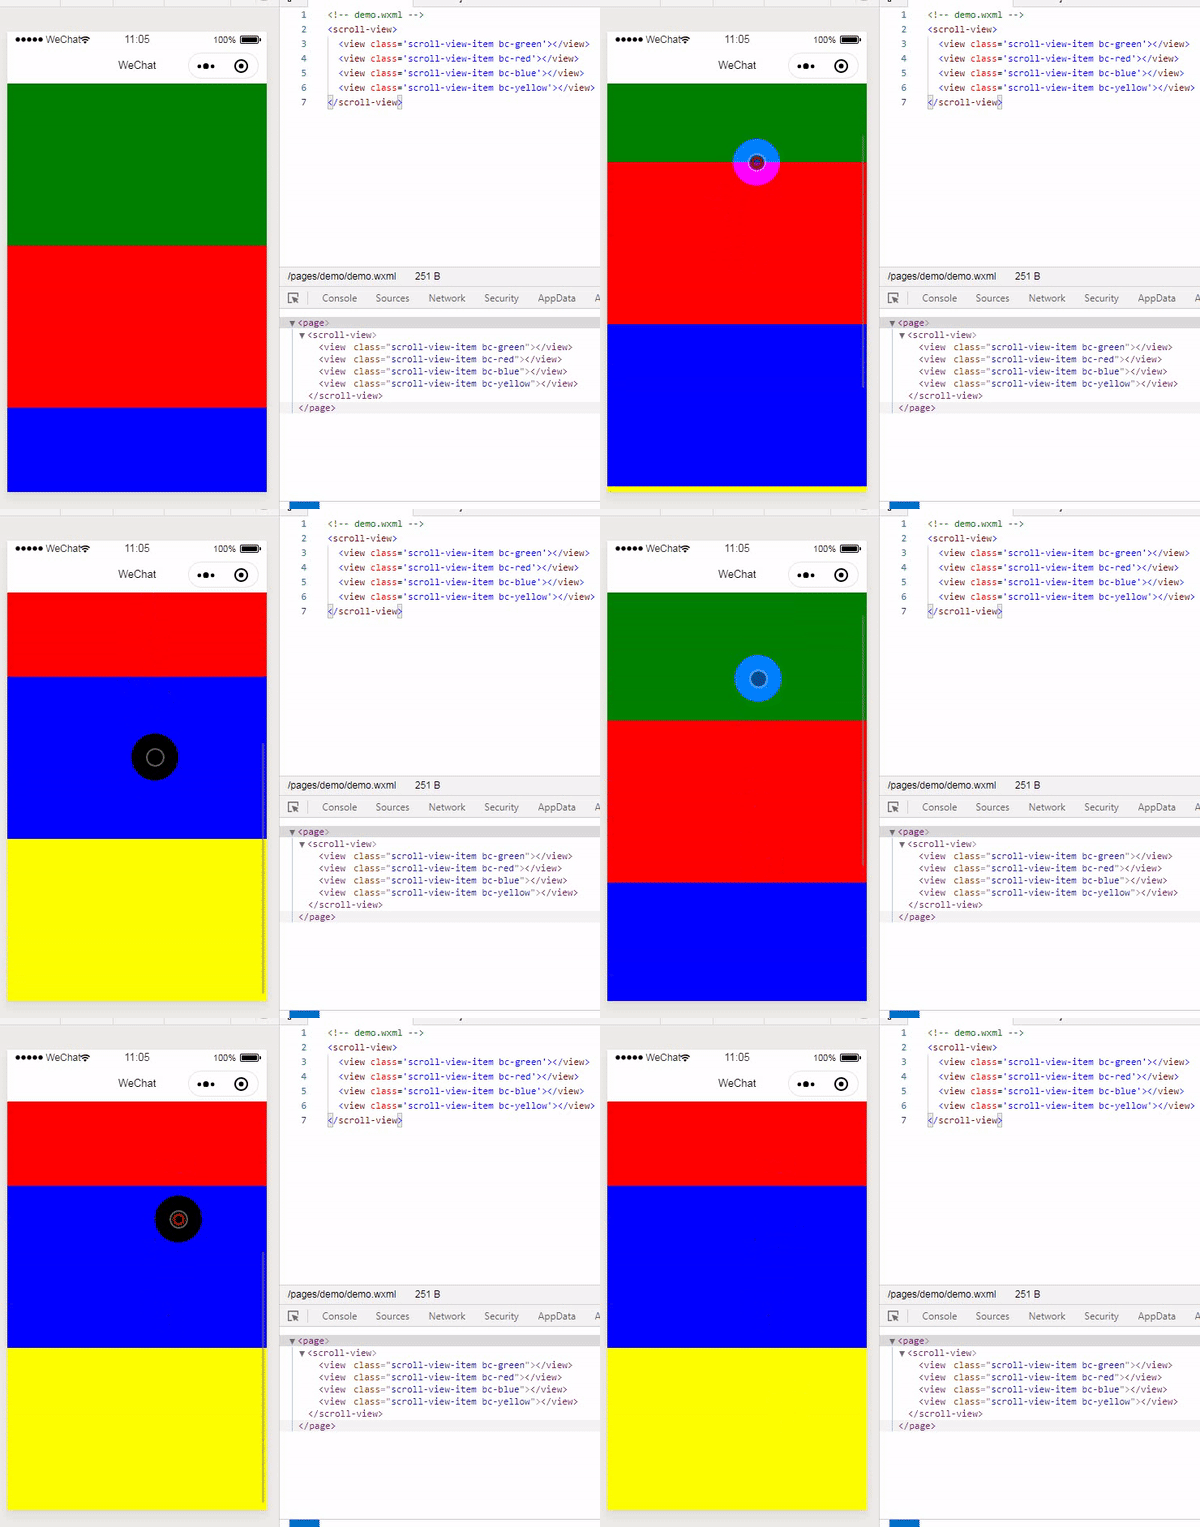
这就可以实现页面滚动效果了,如下:
2.scroll-view属性
scroll-view组件使用竖向滚动时,需要给
-
scroll-y:允许纵向滚动,默认值false。
scroll-x:允许横向滚动属性,默认值false,使用方法与纵向滚动scroll-y相同。
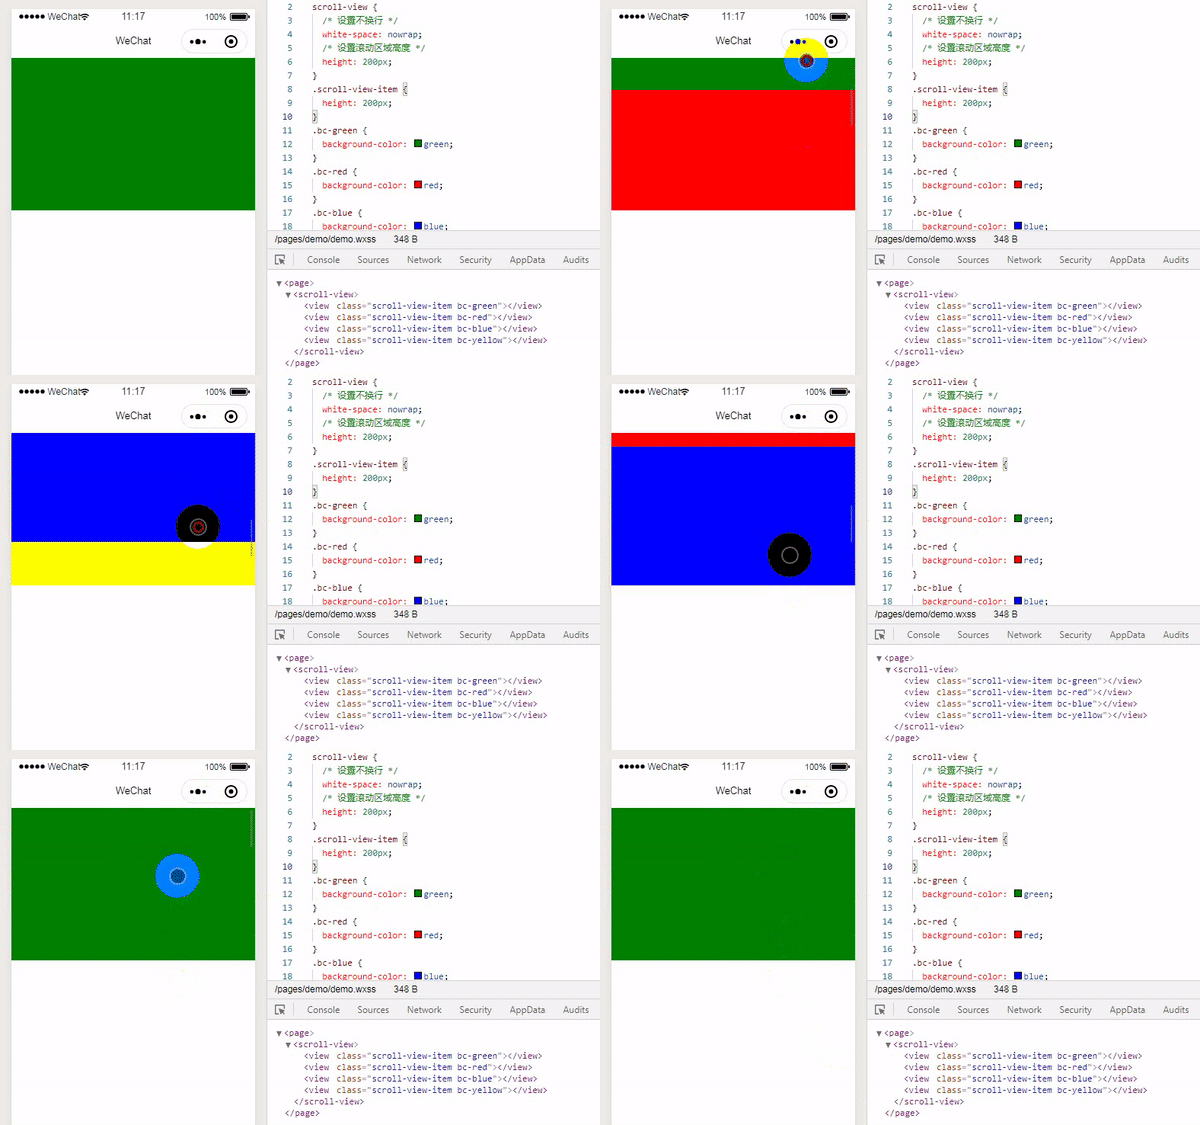
在上面的例子wxml中为scroll-view设置scroll-y属性,在wxss中设置滚动区域高度,即不需要再整屏滚动。如下;
<scroll-view scroll-y="true">scroll-view { /* 设置不换行 */ white-space: nowrap; /* 设置滚动区域高度 */ height: 200px; }上面就实现了在高度200px的区域上下滚动。
-
bindscrolltoupper :滚动到顶部/左边时触发。
bindscrolltolower: 滚动到底部/右边时触发。
bindscroll : 滚动时触发。上面三个都是scroll-view滚动时的事件处理属性,用法相同。
在wxml中给scroll-view绑定滚动触发的事件scroll、向上滚动触发的事件upper和向下滚动触发的事件lower。如下:
<scroll-view scroll-y="true" bindscrolltoupper="upper" bindscrolltolower="lower" bindscroll="scroll">

scroll-view>
在js中给绑定的事件写事件处理函数,如下:
Page({
  data: {

  },
  // 为scroll-view绑定的事件upper实现,传入event事件参数
  // 向上滚动时会触发此事件
  upper: function (event) {
    console.log("我滚动到顶部了");
    console.log(event);
  },
  // 为scroll-view绑定的事件lower实现,传入默认的event事件对象
  // 向上滚动时会触发此事件
  lower: function (event) {
    console.log("我滚动到底部了");
    console.log(event);
  },
  scroll: function(event){
    console.log("滚动ing");
  }
})
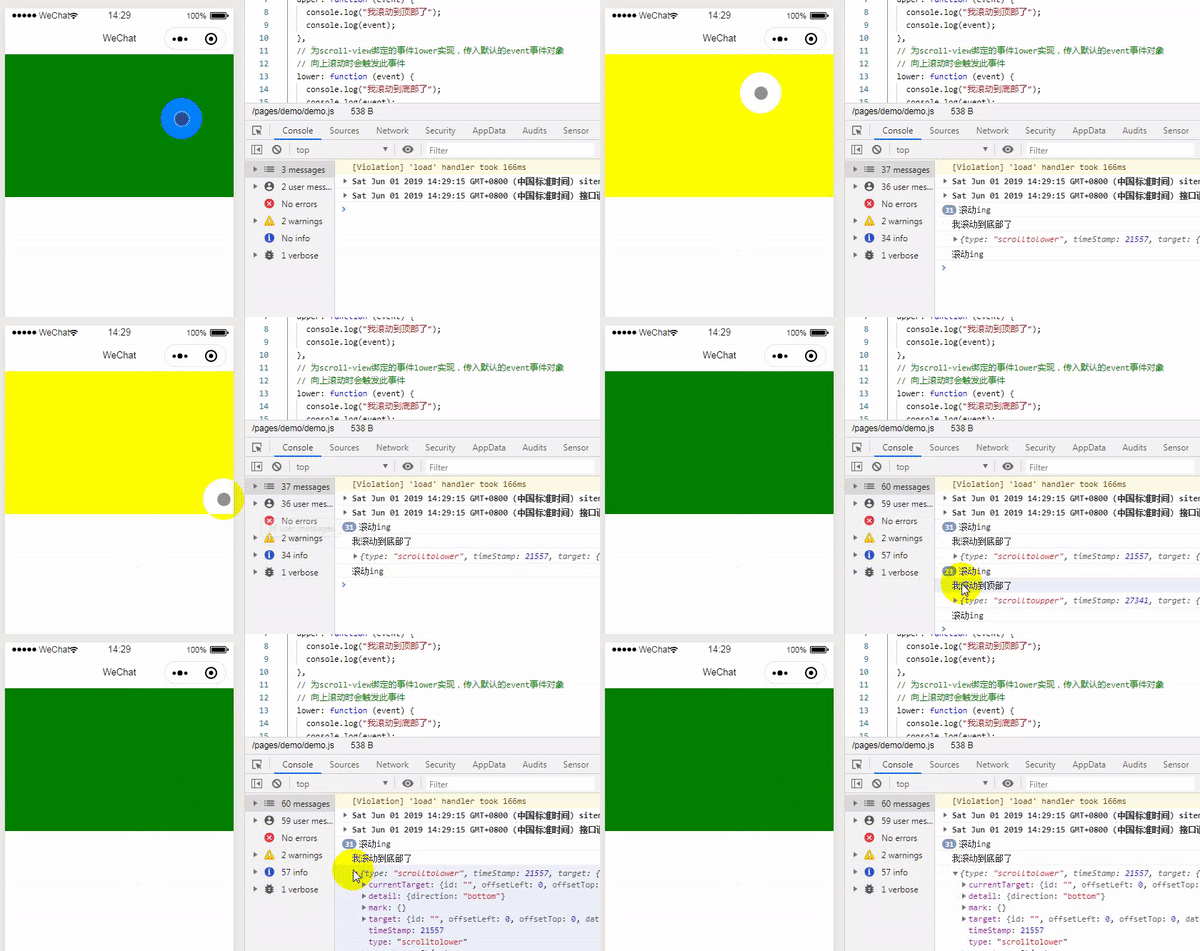
滚动时效果如下:注意控制台的输出信息,有利于帮助理解。
-
其他属性
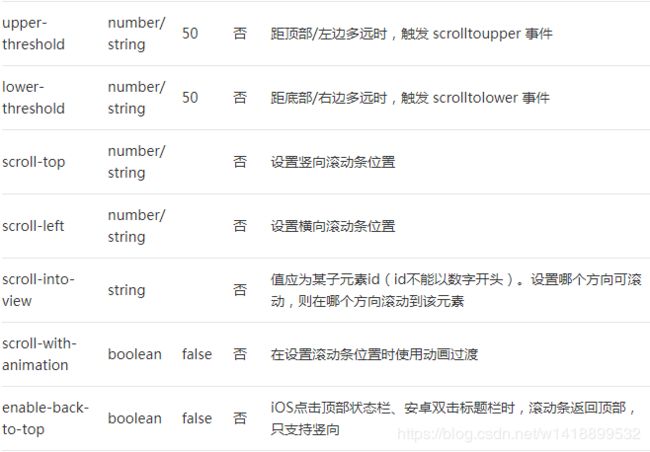
scroll-view还有很多其他的属性,如下:
使用滚动组件有几点需要注意:
1.不能在 scroll-view 中使用 textarea、map、canvas、video 组件。
2.scroll-into-view 的优先级高于 scroll-top。
3.在滚动 scroll-view 时会阻止页面回弹,所以在 scroll-view 中滚动,是无法触发 onPullDownRefresh。
4.若要使用下拉刷新,请使用页面的滚动,而不是 scroll-view ,这样也能通过点击顶部状态栏回到页面顶部。
3.swiper
开发文档中定义swiper是滑块视图容器,其中只可放置
其实可以理解为轮播图组件,直接可以拿来制作轮播图。
在wxml中使用swiper组件,swiper标签里面只可以放置
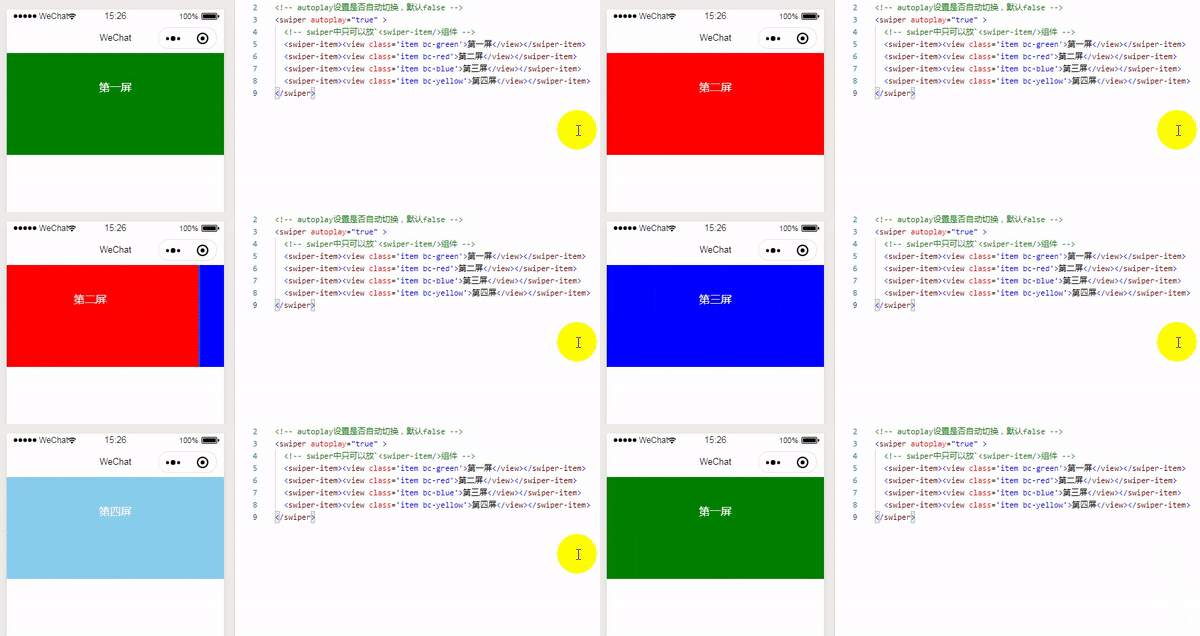
小程序swiper组件默认显示第一个
如下:
<swiper autoplay="true" >

  <swiper-item><view class='item bc-green'>第一屏view>swiper-item>
  <swiper-item><view class='item bc-red'>第二屏view>swiper-item>
  <swiper-item><view class='item bc-blue'>第三屏view>swiper-item>
  <swiper-item><view class='item bc-yellow'>第四屏view>swiper-item>
swiper>
在wxss中设置样式。当然,swiper-item中使用image组件时样式只需要设置图片样式即可。
.item {
  /* 设置高度 */
  height: 200px;
  text-align: center;
  color: #fff;
  line-height: 100px;
}

.bc-green {
  background-color: green;
}
.bc-red {
  background-color: red;
}
.bc-blue {
  background-color: blue;
}
.bc-yellow {
  background-color: skyblue;
}
效果如下:
由上图可以看出没有设置滑动间隔时间,自动滑动的间隔大约是5s一次,自己是可以通过interval属性设置滑动间隔时长的,但由上图也可以看出,默认的滑动并不是无缝衔接的,滑动到最后一张时,是直接倒退回第一张,这个问题也可以通过circular属性设置。
另外轮播图的面板指示点和指示点颜色可以通过indicator-dots 和 indicator-color属性设置。
设置当前所在滑块的索引即默认第一屏显示第几张图是通过current属性设置的。
4.swiper属性
swiper有很多的属性,并且小程序官方也在不断的更新,功能会越来越完善。
这里举例:
indicator-dots:是否显示面板指示点 默认false
indicator-color:指示点颜色 默认rgba(0,0,0,3)
current:当前所在滑块的 index 默认0,设置1则显示第2张,设置2显示第3张
interval:自动切换时间间隔 默认5000
duration:滑动动画时长 默认500
circular:是否采用衔接滑动 默认false
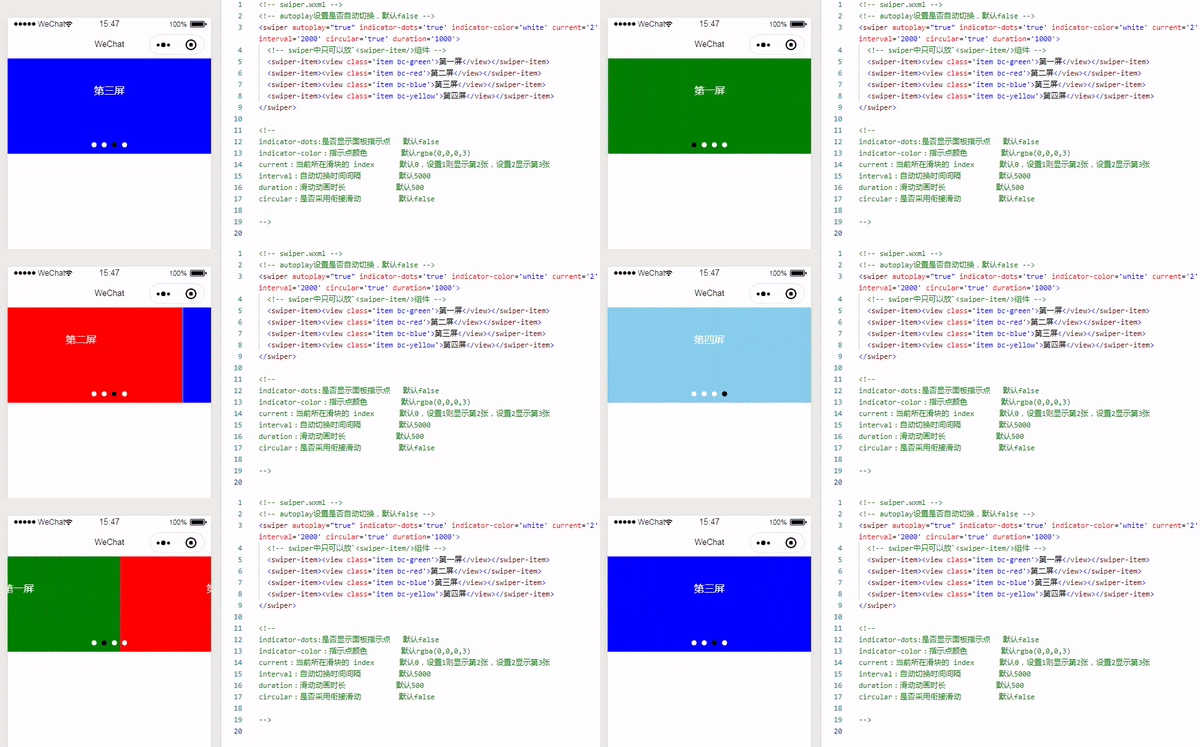
wxml代码如下:
<swiper autoplay="true" indicator-dots='true' indicator-color='white' current='2' interval='2000' circular='true' duration='1000'>

  <swiper-item><view class='item bc-green'>第一屏view>swiper-item>
  <swiper-item><view class='item bc-red'>第二屏view>swiper-item>
  <swiper-item><view class='item bc-blue'>第三屏view>swiper-item>
  <swiper-item><view class='item bc-yellow'>第四屏view>swiper-item>
swiper>
效果如图:
由上图可看到滑动间隔时间和动画时间都和设置的相同,面板指示点和指示点颜色也具备,因为current属性设置的值是2,所以开始运行显示的是第三那张图。现在也已经实现的无缝切换。
bindchange事件:
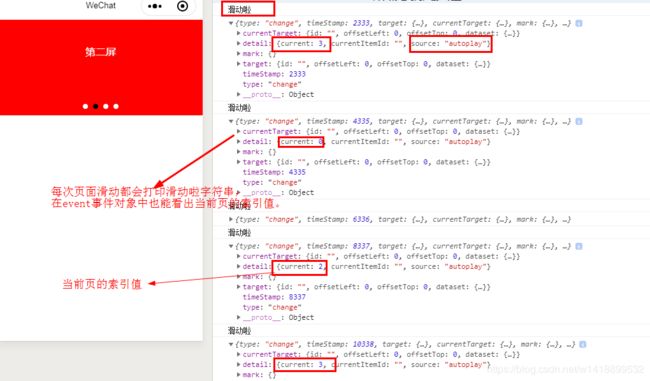
另外swiper还有常用的bindchange事件,当current属性 改变时即滑块索引变化时就会触发 change 事件,event.detail = {current, source}。
在wxml中swiper中 绑定change事件,如下:
<swiper autoplay="true" indicator-dots='true' indicator-color='white' current='2' interval='2000' circular='true' duration='1000' bindchange="change">

  <swiper-item><view class='item bc-green'>第一屏view>swiper-item>
  <swiper-item><view class='item bc-red'>第二屏view>swiper-item>
  <swiper-item><view class='item bc-blue'>第三屏view>swiper-item>
  <swiper-item><view class='item bc-yellow'>第四屏view>swiper-item>
swiper>
在js中编写change事件实现:
Page({

  /**
   * 页面的初始数据
   */
  data: {

  },
  change: function(event){
    console.log('滑动啦');
    console.log(event);
  }

})
效果如下:
swiper其他属性请参考小程序开发文档。
文中实例的源码:源码地址点这里
