SpringCloud(十四)springCloud bus 消息总线刷新配置
前言:
在微服务中,我们将使用轻量级消息代理,通过一个共用的消息主题,让系统中所有微服务都连上来,主题中的消息会被所有监听者消费,所以称为消息总线。spring cloud bus将分布式节点用轻量级消息连接起来,他可以用于服务间通讯,例如:配置文件的更改。可以用kafka、rabbitmq等
代码:
基于springboot2.0
首先基于上一篇的代码(搭建eureka、config、一个测试功能的微服务)
eureka和配置中心config不用做任何更改
修改测试微服务的pom.xml,加入下面这两个依赖
            org.springframework.cloud
            spring-cloud-starter-bus-amqp


            org.springframework.boot
            spring-boot-starter-actuator
第一个包,需要rabbitmq,所以需要搭建rabbitmq服务器,第二个是程序监控的包,用于暴露bus-refresh端口,用作刷新配置
    4.0.0

    eureka-service
    0.0.1-SNAPSHOT
    jar

    eureka-service


        com.xhx.springcloud
        springcloud15-bus
        0.0.1-SNAPSHOT


            org.springframework.cloud
            spring-cloud-starter-config


            org.springframework.cloud
            spring-cloud-starter-netflix-eureka-client


            org.springframework.boot
            spring-boot-starter-web


            org.springframework.cloud
            spring-cloud-starter-bus-amqp


            org.springframework.boot
            spring-boot-starter-actuator


            org.springframework.boot
            spring-boot-starter-test
            test


                org.springframework.boot
                spring-boot-maven-plugin
修改bootstrap.yml,其中spring.cloud.config.name 可写多个参数,根据名字在配置中心拉取配置文件,我把rabbitmq的配置也放在了git上
spring:
  cloud:
    config:
      discovery:
        enabled: true
        service-id: config-service
      label: master
      profile: prd
      name: eureka-service,rabbit-mq
    bus:
      refresh:
        enabled: true
  application:
    name: eureka-service
management:
  endpoints:
    web:
      exposure:
        #暴露bus-refresh节点,通过此节点刷新配置
        include: '*'
rabbitmq的dev和prd环境配置如下(自己做测试,所以写的一样的配置)
spring:
  rabbitmq:
    host: 192.168.94.151
    port: 5672
    username: admin
    password: admin
    virtual-host: /
在eureka-sevice配置文件中加入user.name,一会测试时修改他的value
server:
  port: 8082
eureka:
  client:
    service-url:
      default-zone: http://localhost:8761/eureka
  instance:
    #租期到期时间
    lease-expiration-duration-in-seconds: 60
    #租期更新时间间隔,即每15秒发送一次心跳
    lease-renewal-interval-in-seconds: 15
user:
  name: xuhaixing02
在读取配置的那个类上加入@RefreshScope,必须加,否则刷新不生效
package com.xhx.springcloud.controller;
import org.springframework.beans.factory.annotation.Value;
import org.springframework.cloud.context.config.annotation.RefreshScope;
import org.springframework.web.bind.annotation.RequestMapping;
import org.springframework.web.bind.annotation.RequestParam;
import org.springframework.web.bind.annotation.RestController;
import javax.validation.Valid;
/**
* xuhaixing
* 2018/6/3 16:18
*/
@RestController
@RequestMapping(value = "hello")
@RefreshScope
public class HelloController {
@Value("${user.name}")
private String name;
@RequestMapping(value = "getName")
public String getName(){
return name;
}
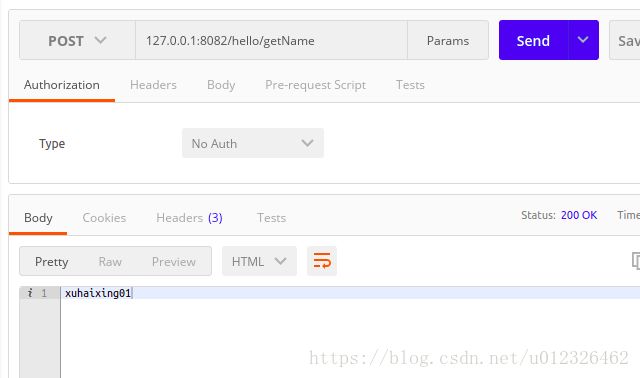
}然后启动就可以了:
第一次访问:
把上面的值修改成xuhaixing01,直接再请求值未生效。需要先请求127.0.0.1:8082/actuator/bus-refresh
看程序的控制台日志,在请求配置中心下载配置

仔细观察全部打印出来的日志,还发现了,在刷新user.name注入的值
![]()
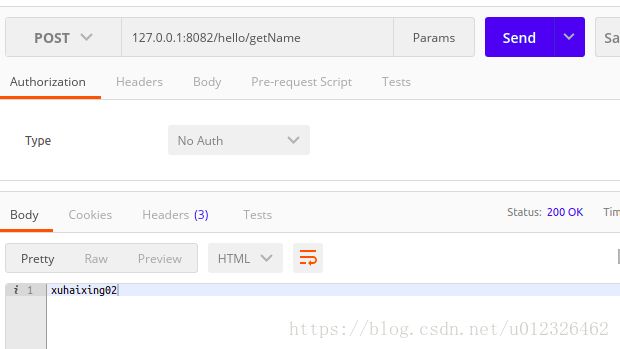
再次请求,结果已经变成了xuhaixing01
这样必须手动刷新,还是不好,如果有外网可以访问的固定ip,可以配置git的webhooks,设置去请求这个方法,来达到刷新配置的目的
127.0.0.1:8082/actuator/httptrace 可以看到调用
我的git代码地址