Django实战(入门)
大体步骤总结
建立项目
django-admin startproject mysite
建立应用
python manage.py startapp article
建立模型
- 在
mysite/settings.py中找到INSTALLED_APPS数组,向其中添加应用article - 在
djangosite/app/models.py中新建一个模型类 - 生成数据移植文件 makemigrations
python manage.py makemigrations article - 移植到数据库 migrate
pythn manage.py migrate
管理界面
python manage.py createsuperuser
启动服务器
python manage.py runserver
其他内容讲解
1. 获取实例对象的唯一标识
“实例对象”指的是模型类的实例:
实例对象的唯一标识位于:
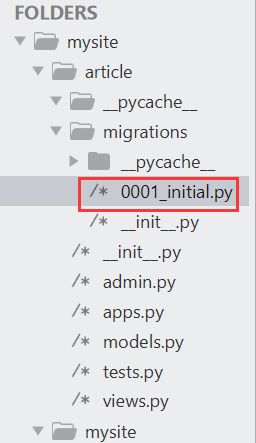
该文件的内容如下示例:

2. 输入网址的同时传入页面所需的参数
在article/views.py中定义一个函数article_detail:
from django.shortcuts import render
from django.http import HttpResponse

# Create your views here.
def article_detail(request, article_id):
	return HttpResponse("文章ID:%s" % article_id)
在mysite/urls.py中添加URL映射:
from django.contrib import admin
from django.urls import path
from article.views import article_detail
urlpatterns = [
path('article/' , article_detail, name="article_detail"),
path('admin/', admin.site.urls),
]
运行效果:

3. objects
模型的objects对象用来获取或操作模型实例。常用方法如下:
模型名.objects.get(条件) # 根据条件获取指定的模型实例
模型名.objects.all()
模型名.objects.fliter(条件)
示例:
from django.shortcuts import render
from django.http import HttpResponse
from .models import Article

# Create your views here.
def article_detail(request, article_id):
	# 获取实例对象
	article = Article.objects.get(id=article_id)
	# 查看实例对象的属性值
	return HttpResponse("ID为%s的文章的标题为:%s,对应的文章内容为:%s" % (article_id, article.title, article.content))

如果ID值还不存在:
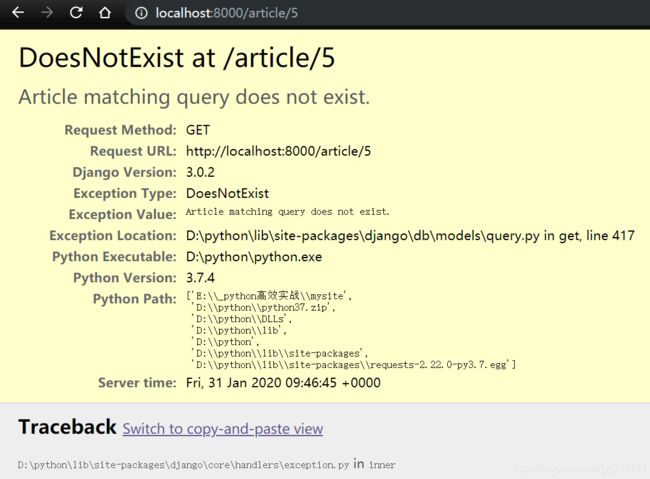
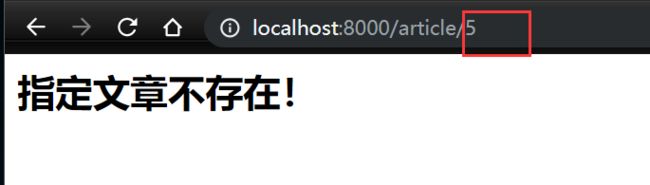
对上面这种报错情况进行改进:
from django.shortcuts import render
from django.http import HttpResponse
from .models import Article
# Create your views here.
def article_detail(request, article_id):
try:
article = Article.objects.get(id=article_id)
except Article.DoesNotExist:
return HttpResponse("指定文章不存在!
")
return HttpResponse("ID为%s的文章的标题为:%s,对应的文章内容为:%s" % (article_id, article.title, article.content))
4. 使用模板文件
from django.shortcuts import render
from django.http import HttpResponse
from .models import Article
from django.shortcuts import render
# Create your views here.
def article_detail(request, article_id):
try:
article = Article.objects.get(id=article_id)
context = {}
context['article_obj'] = article
except Article.DoesNotExist:
return HttpResponse("指定文章不存在!
")
#return HttpResponse("ID为%s的文章的标题为:%s,对应的文章内容为:%s" % (article_id, article.title, article.content))
return render(request, "article_detail.html", context)
新建如下文件:
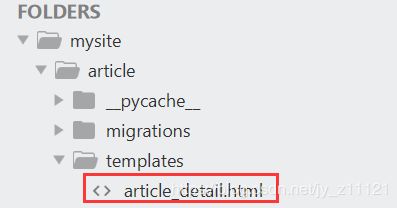
文件内容:
<html lang="en">
<head>
	<meta charset="UTF-8">
	<title>Documenttitle>
head>
<body>
	<h2>{{ article_obj.title }}h2>
	<hr>
	<p>{{ article_obj.content }}p>
body>
html>
运行效果:

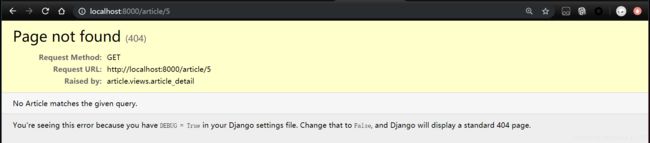
views.py进一步优化,优化的目的是——当访问不存在的对象时,显示404:
from django.shortcuts import render, get_object_or_404
from django.http import HttpResponse
from .models import Article
from django.shortcuts import render

# Create your views here.
def article_detail(request, article_id):
	article = get_object_or_404(Article, pk=article_id)
	context = {}
	context['article_obj'] = article
	return render(request, "article_detail.html", context)
5. 获取所有实例对象
templates/article_list.html:
<html lang="en">
<head>
	<meta charset="UTF-8">
	<title>Documenttitle>
head>
<body>
	{{ article_obj }}
	<hr>
	{% for article in article_obj %}
		<p>{{ article.title }}p>
	{% endfor %}
body>
html>
views.py:
from django.shortcuts import render, get_object_or_404
from django.http import HttpResponse
from .models import Article
from django.shortcuts import render

# Create your views here.
def article_list(request):
	articles = Article.objects.all()
	context = {}
	context['article_obj'] = articles
	return render(request, "article_list.html", context)
mysite/urls.py:
from django.contrib import admin
from django.urls import path
from article.views import article_detail
from article.views import article_list
urlpatterns = [
path('article/', article_list, name="article_list"),
path('article/' , article_detail, name="article_detail"),
path('admin/', admin.site.urls),
]
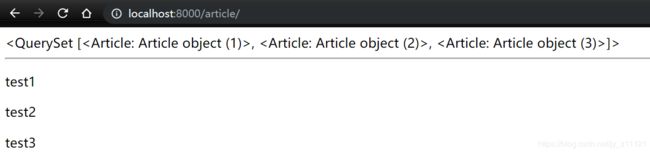
效果:
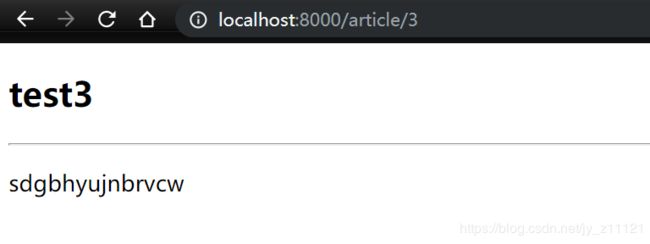
改进templates/article_list.html:
<html lang="en">
<head>
	<meta charset="UTF-8">
	<title>Documenttitle>
head>
<body>
	{% for article in article_obj %}
		<a href="/article/{{  article.pk }}">{{ article.title }}a>
		等价于:
		{{ article.title }}
	{% endfor %}
body>
html>
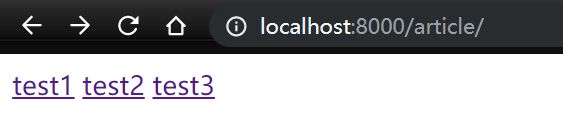
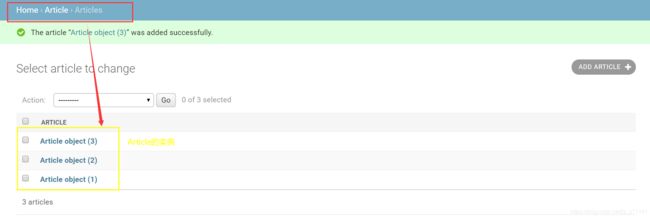
点击超链接,可转入相应的具体内容的网页。如点击“test3”:
6. 定制管理后台界面
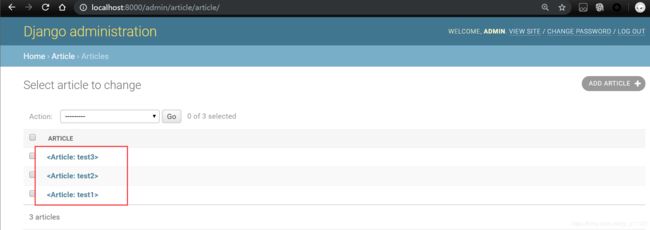
在article/models.py中添加__str__(self)函数:
from django.db import models

# Create your models here.
class Article(models.Model):
	title = models.CharField(max_length=30)
	content = models.TextField()

	def __str__(self):
		return "" % self.title
效果如下——用于定制后台界面中实例对象的显示格式:
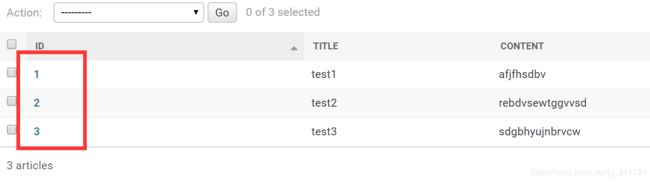
更改article/admin.py文件内容:
from django.contrib import admin
from .models import Article

# Register your models here.

class ArticleAdmin(admin.ModelAdmin):
	list_display = ("id", "title", "content")

admin.site.register(Article, ArticleAdmin)
效果如下:

再添加一行代码:ordering = ("id", )(后面有个逗号表示元组),此时页面效果为【没有此行代码时的排列效果就相当于ordering = ("-id", )】:
使用装饰器:
from django.contrib import admin
from .models import Article

# Register your models here.

@admin.register(Article)
class ArticleAdmin(admin.ModelAdmin):
	list_display = ("id", "title", "content")
	ordering = ("id", )

#admin.site.register(Article, ArticleAdmin)
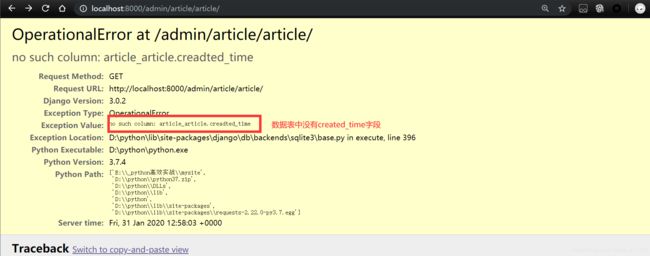
7. 修改模型类时需要注意的问题
若对模型类进行了修改(如添加一个字段creadted_time = models.DateTimeField()),则必须执行如下两个操作:
- 生成数据移植文件 makemigrations
python manage.py makemigrations article - 移植到数据库 migrate
pythn manage.py migrate
否则,将出现如下错误:
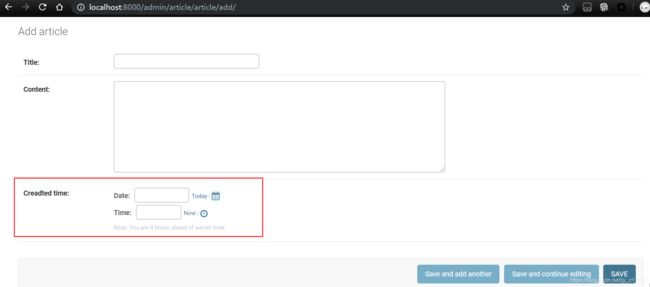
当执行python manage.py makemigrations article时,你会发现如下提示:

这是因为在新添加一个字段时,没有赋予它默认值!从上面的提示就可以看出来,我们有两张方式为它添加默认值,1是使用命令行的方式来为它赋予默认值,2是退出命令行,添加默认值参数。下面使用第一种方式:

效果如下:
第二种添加默认值的方式:
from django.db import models
from django.utils import timezone

# Create your models here.
class Article(models.Model):
	title = models.CharField(max_length=30)
	content = models.TextField()
	creadted_time = models.DateTimeField(default=timezone.now)

	def __str__(self):
		return "" % self.title
此外,对于时间类型,还有第三种方式为其添加默认值:
creadted_time = models.DateTimeField(auto_now_add=True)
# auto_now_add=True:自动设置为现在的时间,除非手动进入后台界面进行更改
再次更新模型类:
from django.db import models
from django.utils import timezone
# Create your models here.
class Article(models.Model):
title = models.CharField(max_length=30)
content = models.TextField()
creadted_time = models.DateTimeField(auto_now_add=True)
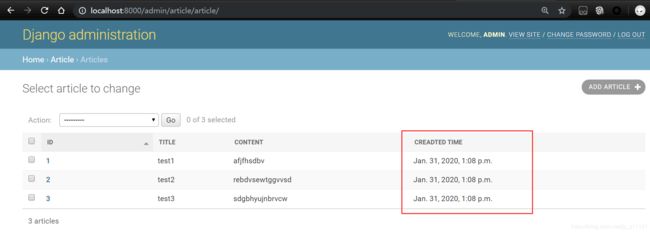
last_updated_time = models.DateTimeField(auto_now=True)
# auto_now=True:每次进行内容的更新后,此字段的值自动更新为当时的时间。
def __str__(self):
return "" % self.title
效果如下:

8. 为模型类设置外键
from django.db import models
from django.contrib.auth.models import User

# Create your models here.
class Article(models.Model):
	title = models.CharField(max_length=30)
	content = models.TextField()
	creadted_time = models.DateTimeField()
	last_updated_time = models.DateTimeField(auto_now=True)
	author = models.ForeignKey(User, on_delete=models.DO_NOTHING, default=1)
	'''
		models.ForeignKey()参数解释:
			author关联到User表中;
			删除author时不删除User中的对应的author;
			默认值为User表中主键为1的author。
	'''

	def __str__(self):
		return "" % self.title
效果如下:
