使用Logstash-input-jdbc同步数据库中的数据(全量 和 增量)
- 从零学Elasticsearch系列——基础概念
- 从零学Elasticsearch系列——环境搭建
- 从零学Elasticsearch系列——使用kibana实现ES基本的操作
- 从零学Elasticsearch系列——深入搜索(Query、Filter、Aggregation)
- 从零学Elasticsearch系列——JAVA API操作
- 从零学Elasticsearch系列——集成中文分词器IK
- 从零学Elasticsearch系列——构建ES集群
- 从零学Elasticsearch系列——搭建ELK Nginx日志分析平台
使用Logstash-input-jdbc同步数据库中的数据(全量 和 增量)
logstash-input-jdbc插件是logstash 的一个个插件,使用ruby语言开发。
参考资料:
- https://github.com/logstash-plugins/logstash-input-jdbc
- https://www.elastic.co/blog/logstash-jdbc-input-plugin
- https://blog.csdn.net/weixin_40397083/article/details/80605182
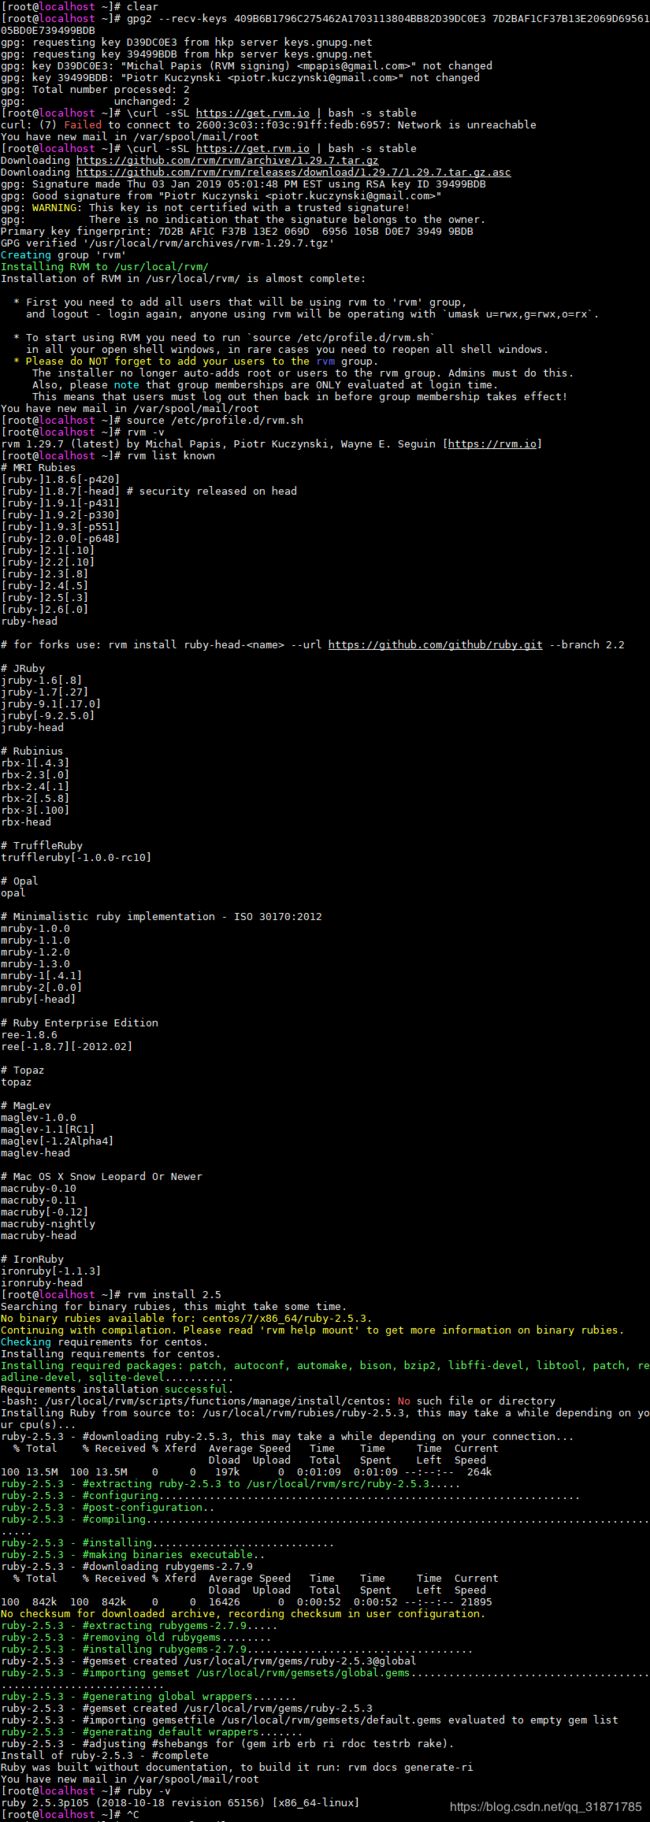
安装ruby
安装步骤
[root@localhost ~]# gpg2 --recv-keys 409B6B1796C275462A1703113804BB82D39DC0E3 7D2BAF1CF37B13E2069D6956105BD0E739499BDB
gpg: requesting key D39DC0E3 from hkp server keys.gnupg.net
gpg: requesting key 39499BDB from hkp server keys.gnupg.net
gpg: key D39DC0E3: "Michal Papis (RVM signing) " not changed
gpg: key 39499BDB: "Piotr Kuczynski " not changed
gpg: Total number processed: 2
gpg:              unchanged: 2

[root@localhost ~]# \curl -sSL https://get.rvm.io | bash -s stable
Downloading https://github.com/rvm/rvm/archive/1.29.7.tar.gz
Downloading https://github.com/rvm/rvm/releases/download/1.29.7/1.29.7.tar.gz.asc
gpg: Signature made Thu 03 Jan 2019 05:01:48 PM EST using RSA key ID 39499BDB
gpg: Good signature from "Piotr Kuczynski "
gpg: WARNING: This key is not certified with a trusted signature!
gpg:          There is no indication that the signature belongs to the owner.
Primary key fingerprint: 7D2B AF1C F37B 13E2 069D  6956 105B D0E7 3949 9BDB
GPG verified '/usr/local/rvm/archives/rvm-1.29.7.tgz'
Creating group 'rvm'
Installing RVM to /usr/local/rvm/
Installation of RVM in /usr/local/rvm/ is almost complete:

  * First you need to add all users that will be using rvm to 'rvm' group,
    and logout - login again, anyone using rvm will be operating with `umask u=rwx,g=rwx,o=rx`.

  * To start using RVM you need to run `source /etc/profile.d/rvm.sh`
    in all your open shell windows, in rare cases you need to reopen all shell windows.
  * Please do NOT forget to add your users to the rvm group.
     The installer no longer auto-adds root or users to the rvm group. Admins must do this.
     Also, please note that group memberships are ONLY evaluated at login time.
     This means that users must log out then back in before group membership takes effect!
[root@localhost ~]# source /etc/profile.d/rvm.sh
[root@localhost ~]# rvm -v
[root@localhost ~]# rvm install 2.5
[root@localhost ~]# ruby -v
ruby 2.5.3p105 (2018-10-18 revision 65156) [x86_64-linux]
安装示例图
安装logstash-input-jdbc插件
安装步骤
[root@localhost elasticsearch-6.4.0]# cd /usr/logstash-6.4.0/

[root@localhost logstash-6.4.0]# bin/logstash-plugin install logstash-input-jdbc
Validating logstash-input-jdbc
Installing logstash-input-jdbc
Installation successful
实现样例
准备工作
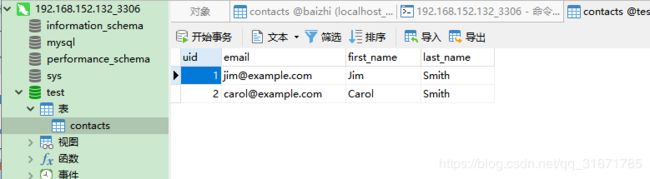
- MySQL数据库
- ElasticSearch
- LogStash
- MySQL驱动jar包
全量导入
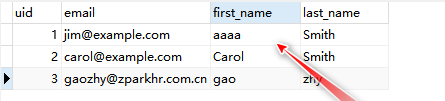
样例数据
准备配置文件jdbc.conf
input {
 jdbc {
   jdbc_connection_string => "jdbc:mysql://192.168.152.132:3306/test"
   jdbc_user => "root"
   jdbc_password => "MyNewPass4!"
   jdbc_driver_library => "/root/mysql-connector-java-5.1.26.jar"
   jdbc_driver_class => "com.mysql.jdbc.Driver"
   statement => "select * from contacts"
  }
}
filter {
 json {
   source => "message"
 }
}
output {
  stdout {
    codec => rubydebug
  }
  elasticsearch {
    hosts => "192.168.152.132:9200"
    index => "test"
    document_id => "%{uid}"
    #cluster => "logstash-elasticsearch"
  }
}
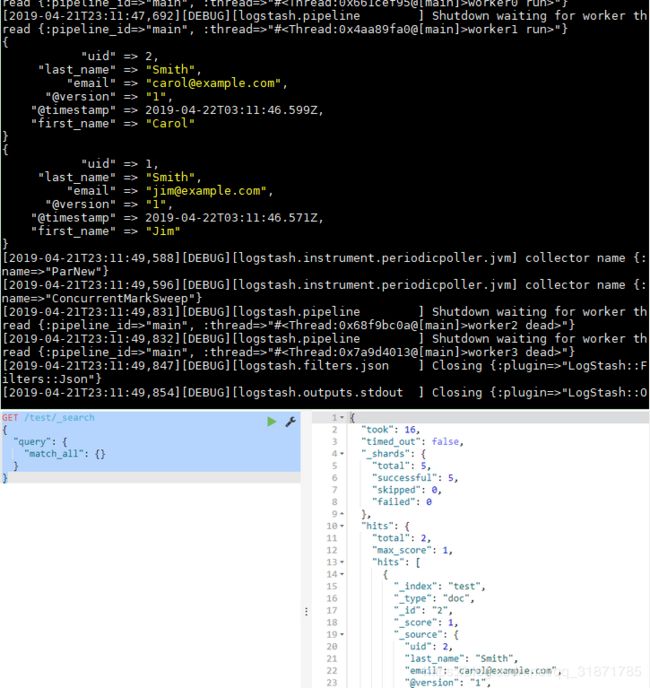
启动logstash
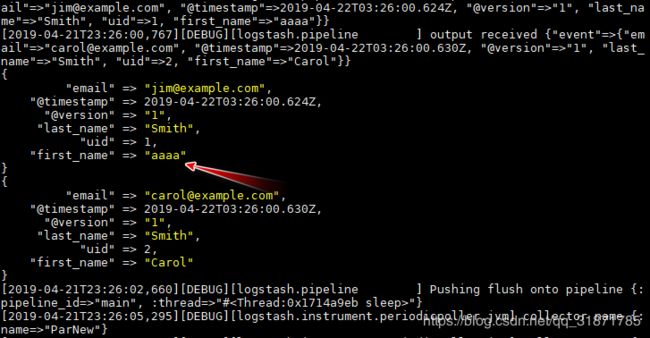
[root@localhost logstash-6.4.0]# bin/logstash -f config/jdbc.conf --debug
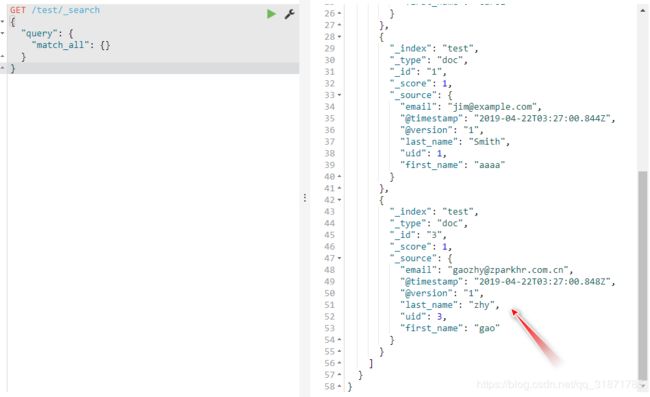
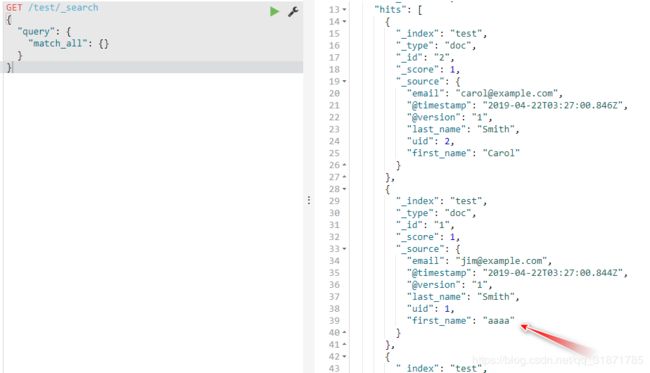
测试结果
增量导入
样例数据(同上)
准备配置文件jdbc.conf
input {
 jdbc {
   jdbc_connection_string => "jdbc:mysql://192.168.152.132:3306/test"
   jdbc_user => "root"
   jdbc_password => "MyNewPass4!"
   jdbc_driver_library => "/root/mysql-connector-java-5.1.26.jar"
   jdbc_driver_class => "com.mysql.jdbc.Driver"
   statement => "select * from contacts"
   # execute query every minute, on the minute
   schedule => "* * * * *"
  }
}
filter {
 json {
   source => "message"
 }
}
output {
  stdout {
    codec => rubydebug
  }
  elasticsearch {
    hosts => "192.168.152.132:9200"
    index => "test"
    document_id => "%{uid}"
    #cluster => "logstash-elasticsearch"
  }
}
启动logstash(同上)
新增测试
手动插入一条测试数据

大概1分钟左右查看logstash服务控制台

再去查看ES,是否有增量数据
修改测试
现在将样例数据ID为1的记录first_name修改为aaa,查看修改信息是否会同步到ES中
大概1分钟左右查看logstash服务控制台
再次查看ES,查看修改的数据是否同步完成
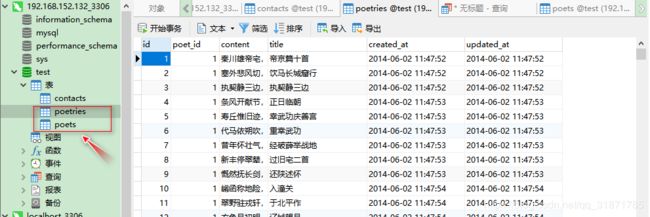
全唐诗检索实例
样例数据
准备配置文件ts.conf
input {
 jdbc {
   jdbc_connection_string => "jdbc:mysql://192.168.152.132:3306/test"
   jdbc_user => "root"
   jdbc_password => "MyNewPass4!"
   jdbc_driver_library => "/root/mysql-connector-java-5.1.26.jar"
   jdbc_driver_class => "com.mysql.jdbc.Driver"
   statement => "select p1.id as id,p1.content content,p1.title as title, p2.name as author from poetries p1 LEFT JOIN poets p2 on p1.poet_id = p2.id"
   # execute query every minute, on the minute
   # schedule => "* * * * *"
  }
}
filter {
 json {
   source => "message"
 }
}
output {
  # stdout {
  #   codec => rubydebug
  # }
  elasticsearch {
    hosts => "192.168.152.132:9200"
    index => "ts"
    document_id => "%{id}"
    document_type => "poetries"
  }
}
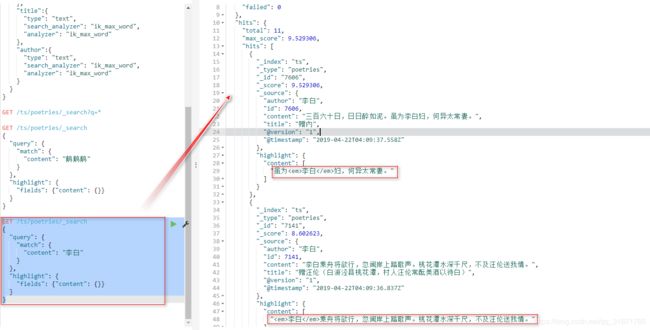
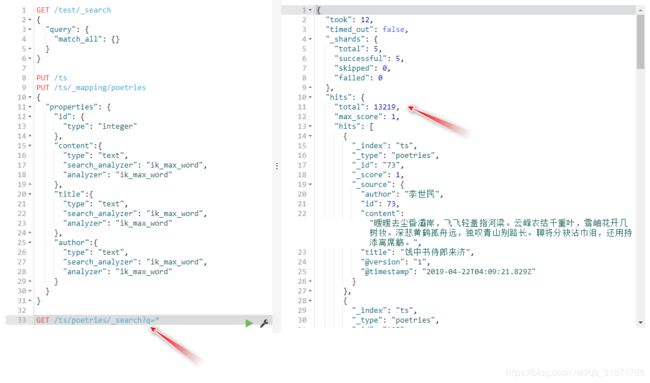
创建ES的ts索引的Mapping
在kibana上执行创建mapping指令
PUT /ts
PUT /ts/_mapping/poetries
{
  "properties": {
    "id": {
      "type": "integer"
    },
    "content":{
      "type": "text",
      "search_analyzer": "ik_max_word",
      "analyzer": "ik_max_word"
    },
    "title":{
      "type": "text",
      "search_analyzer": "ik_max_word",
      "analyzer": "ik_max_word"
    },
    "author":{
      "type": "text",
      "search_analyzer": "ik_max_word",
      "analyzer": "ik_max_word"
    }
  }
}
启动logstash导入全唐诗
[root@localhost logstash-6.4.0]# bin/logstash -f config/ts.conf
测试结果
查看kibana,结果如下:

实现全唐诗检索