网易云项目 ----轮播图(BetterScroll 2.x 的使用)
这里写目录标题
- 用BetterScroll 2.x 和网易云的api接口实现轮播图
- 调用网易云api
- 下载安装网易云音乐的api接口
- router.js 和 main.js 的配置
- 组件banner.vue
- BetterScroll 2.x的使用
- $refs
- watch
- App.vue
用BetterScroll 2.x 和网易云的api接口实现轮播图
调用网易云api
下载安装网易云音乐的api接口
git  clone   https://github.com/Binaryify/NeteaseCloudMusicApi.git  /* 下载 */

cd NeteaseCloudMusicApi /* 进入项目的根目录*/

yarn 或者 npm install  /*安装依赖*/

node app.js   /* 运行项目,启动该 */
打开网易云音乐api http://musicapi.leanapp.cn/ 戳这!!!
router.js 和 main.js 的配置
import Vue from 'vue'
import App from './App.vue'
import router from './router/router'
import Axios from 'axios'
import VueAxios from 'vue-axios'
Vue.use(VueAxios,Axios);
Vue.config.productionTip = false

new Vue({
  render: h => h(App),
    router,
}).$mount('#app')
router.js
开发中有时候我们虽然设置的路径不一致,但是我们希望跳转到同一个页面,或者说是打开同一个组件。这时候我们就用到了路由的重新定向redirect参数。
就不会跳转网页 网页上会显示 /#/
redirect基本重定向
我们只要在路由配置文件中(/src/router/index.js)把原来的component换成redirect参数就可以了。我们来看一个简单的配置。
import Vue from 'vue'
import VueRouter from 'vue-router'
import banner from '../components/banner'
Vue.use(VueRouter);
const router = new VueRouter({
    linkActiveClass:'active',
    routes:[
        {path:'/',redirect:'/lunbotu'},]
});
export default router
组件banner.vue
BetterScroll 2.x的使用
https://better-scroll.github.io/docs/zh-CN/plugins/slide.html#%E4%BB%8B%E7%BB%8D
戳我!!!
NPM
BetterScroll 托管在 NPM 上,执行如下命令安装:

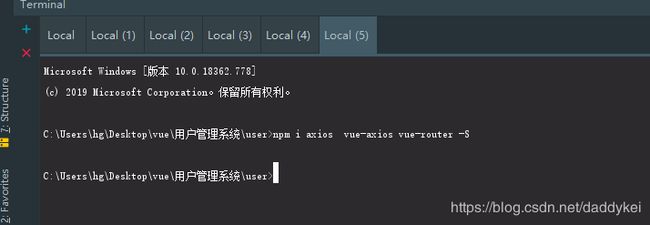
npm install @better-scroll/core@next --save

// or

yarn add @better-scroll/core@next
安装
npm install @better-scroll/slide@next --save

// or

yarn add @better-scroll/slide@next
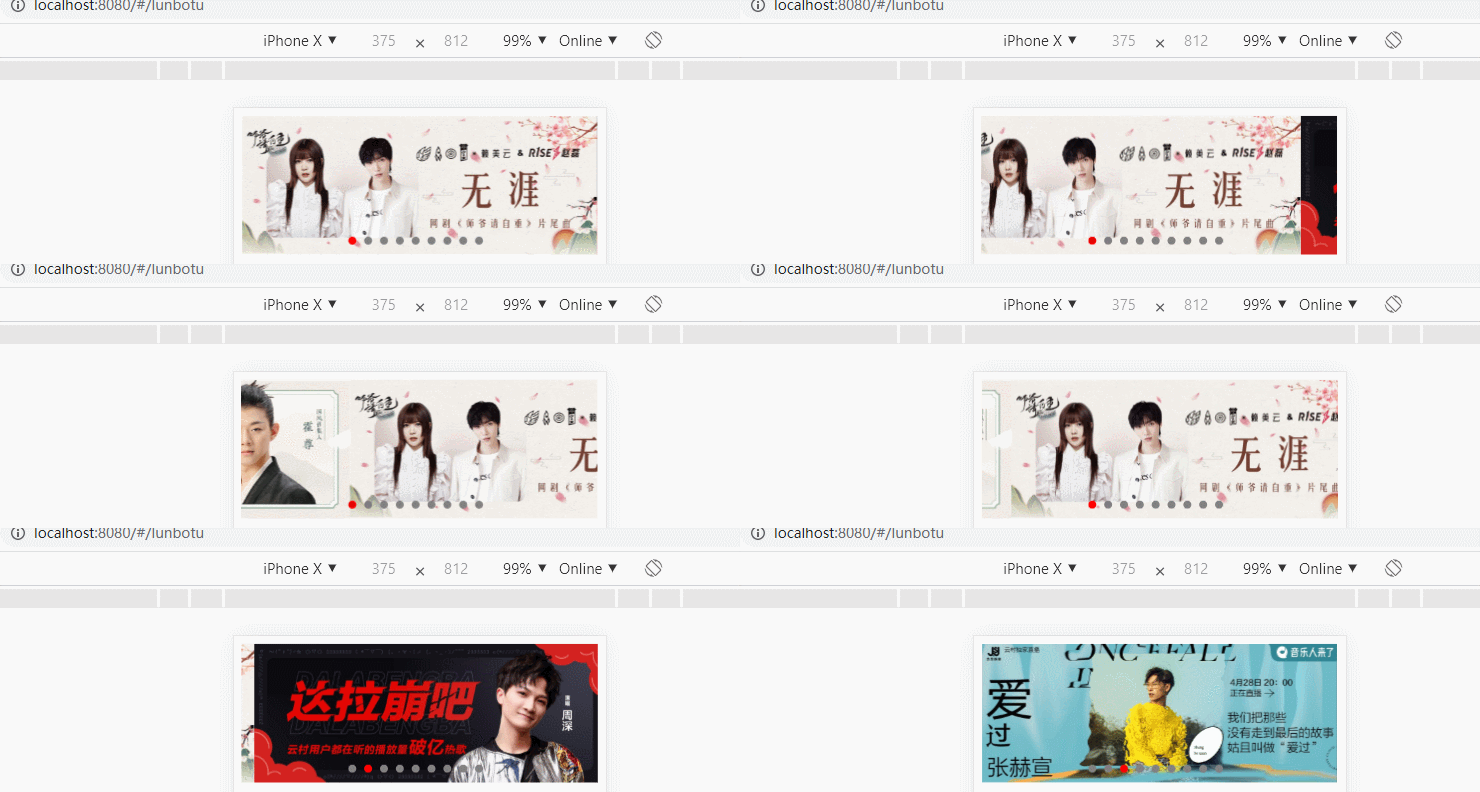
附上banner 完整代码 开始讲解 其实别看代码这么长 基本都是文档照搬
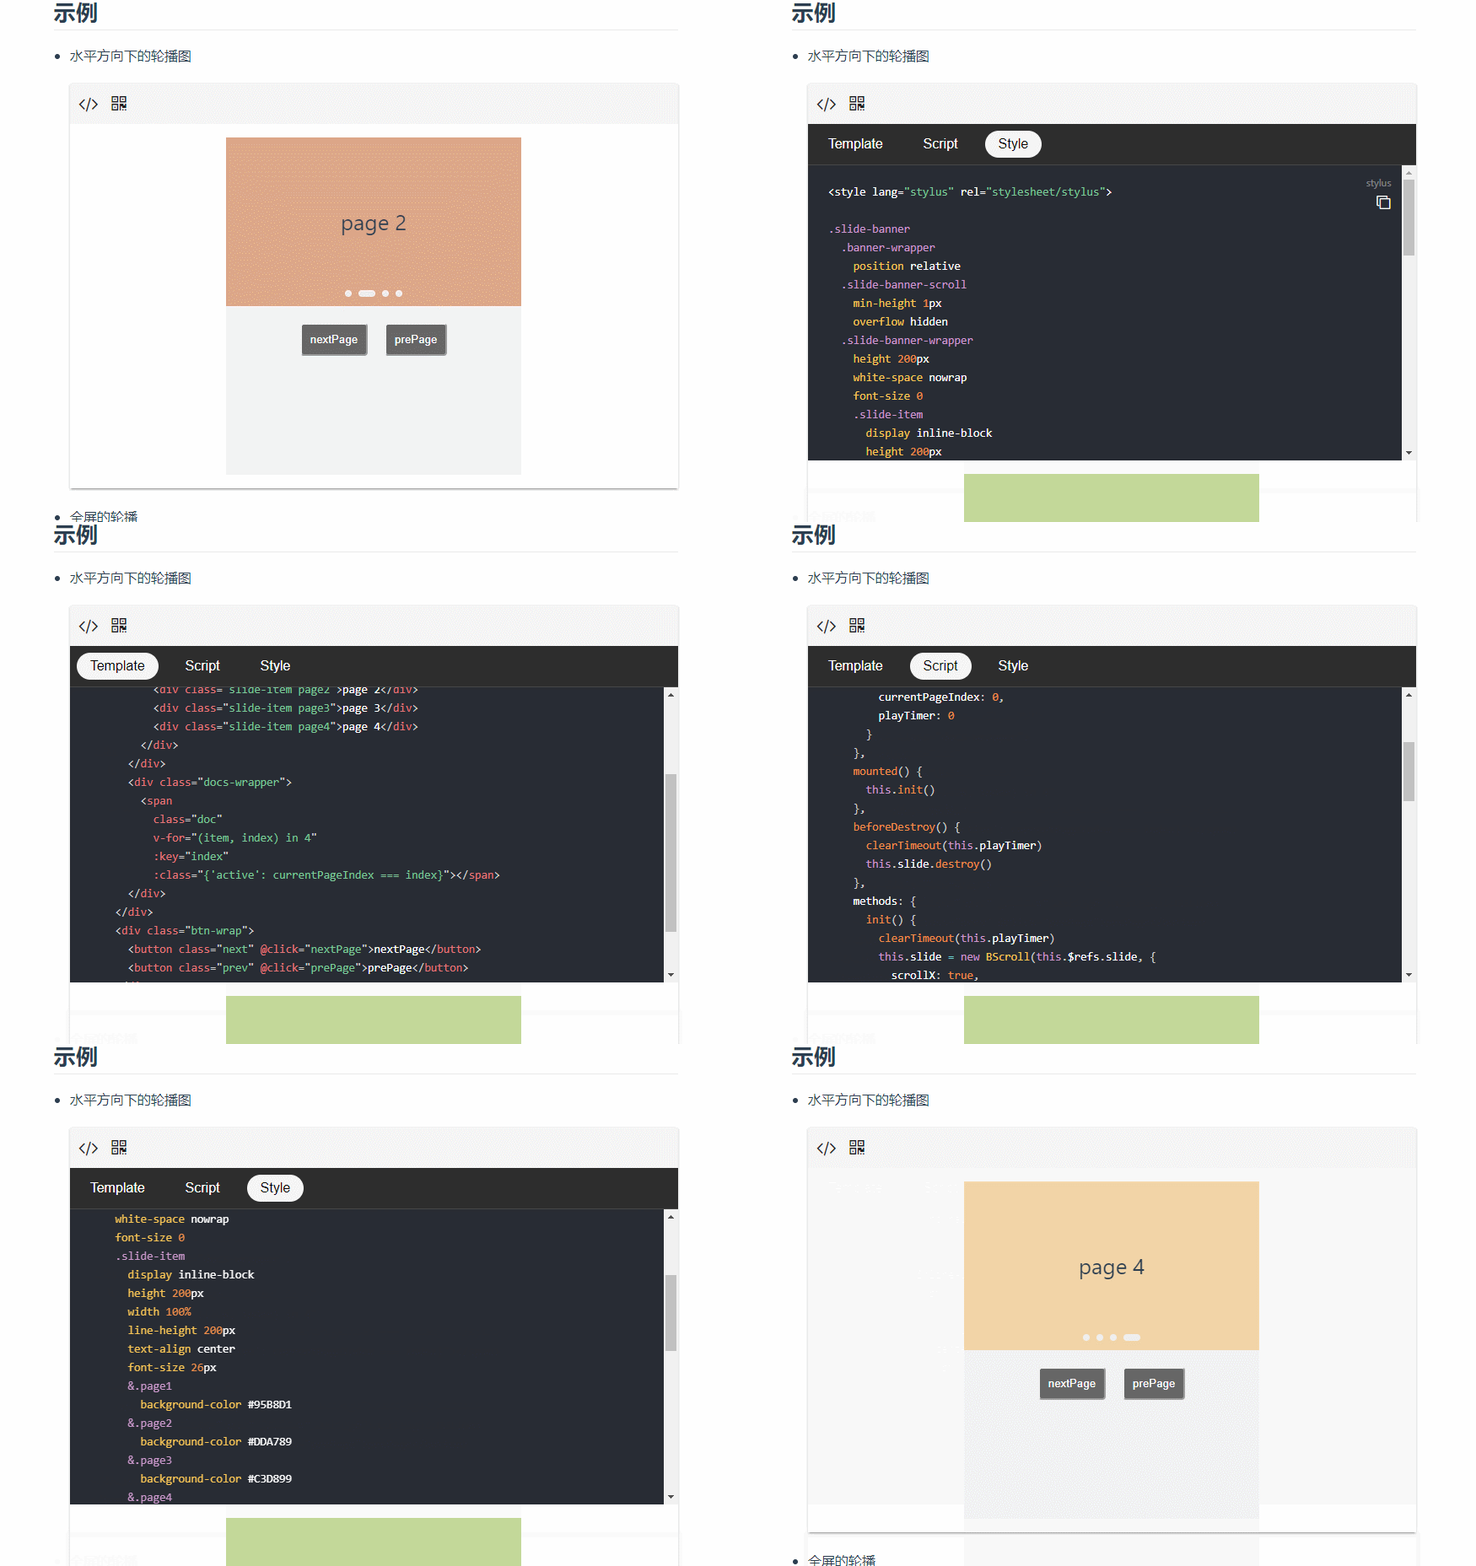
找到示例
点击

<template>
    <div class="slide" ref="slide">
        <ul class="slide-wrapper"  ref="slideWrapper">
            <!--//li 的盒子 嵌套img 图片-->
            <slot></slot>
        </ul>
        <div class="bannerDots" >
            <div
                    v-for="(item,index) in bannersData" :key="index"
                    :class="{dots:true,dotActive:index===currentPageIndex}">

            </div>
        </div>
    </div>
</template>

<script>
    import BScroll from '@better-scroll/core'
    import Slide from '@better-scroll/slide'

    BScroll.use(Slide)
    export default {
        data () {
            return {
                slide:null,
                currentPageIndex:0
            }
        },
        props:['bannersData'],
        methods: {
            init() {
                //必须在slide对象拿来做bscroll  要引用
                //初始化 better-scroll
                this.slide = new BScroll(this.$refs.slide, {
                    scrollX: true,
                    scrollY: false,
                    slide: {
                        loop: true,
                        threshold: 100
                    },
                    useTransition: true,
                    momentum: false,
                    bounce: false,
                    stopPropagation: true,
                    probeType: 2
                })
                //设置slide-item的样式
                this.children=this.$refs.slideWrapper.children;
                console.log(this.children);
                for (let i=0;i<this.children.length;i++){
                    this.children[i].classList.add('slide-item')
                }
                this.autoGoNext();
                this.slide.on('scrollEnd',()=>{
                    //检测如果滚动就触发回调函数
                    // console.log('scrollEnd');
                    this.autoGoNext()
                });
                this.slide.on('beforeScrollStart',()=>{
                    clearTimeout(this.playTimer)
                });
                this.slide.on('touchEnd',()=>{
                    this.autoGoNext();
                });
                this.slide.on('slideWillChange', (page) => {
                    this.currentPageIndex = page.pageX
                })
            },
            //L轮播功能
            nextPage() {
                this.slide.next()
            },
            autoGoNext() {
                clearTimeout(this.playTimer)
                this.playTimer = setTimeout(() => {
                    this.nextPage()
                }, 5000)
            }


        },

    // vue是数据驱动型 指的是东西放到页面上 呈现到页面上是需要时间的
        watch:{
            bannersData:function () {
                setTimeout(()=>{
                    this.init()
                },20)

            }
        }
    }

</script>

<style scoped>

        *{
            margin:0;
            padding: 0;
            list-style: none;
            resize: none;
            box-sizing: border-box;
            -webkit-tap-highlight-color: transparent;

        }

    .slide{
        width:100%;
        overflow: hidden;
    }

    .slide-item{
        width: 100%;
        float: left;

    }
    .slide-item img{
        width: 100%;
        display: block;
    }
    .bannerDots{
        position: relative;
        bottom: 18px;
        left: 80%;
        transform: translateX(-50%);
    }
    .dots{
        width: 8px;;
        height: 8px;
        border-radius: 50%;
        background: gray;
        float: left;
        margin-right: 8px;
    }

    .dotActive{
        background: red;
    }
</style>
$refs
ref 有三种用法:
1、ref 加在普通的元素上,用this.ref.name 获取到的是dom元素
2、ref 加在子组件上,用this.ref.name 获取到的是组件实例,可以使用组件的所有方法。
3、如何利用 v-for 和 ref 获取一组数组或者dom 节点
watch
    // vue是数据驱动型 指的是东西放到页面上 呈现到页面上是需要时间的
        watch:{
            bannersData:function () {
                setTimeout(()=>{
                    this.init()
                },20)
Vue.js 有一个方法 watch,它可以用来监测Vue实例上的数据变动。
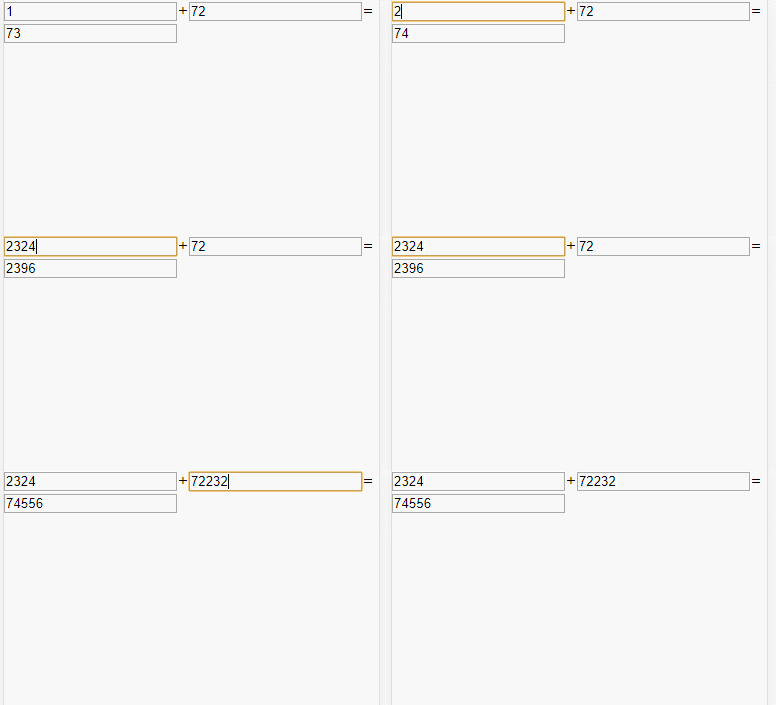
示范一个无关的案例 但是可以大概了解一下watch的监测。
如果对应一个对象,键是观察表达式,值是对应回调,值也可以是方法名,或者是对象,包含选项。

<template>
<div>
    <input type="text" v-model="a">+<input type="text" v-model="b">= <input type="text" v-model="c">
     </div>
</template>

<script>
export default {
    data(){
       return{
           a:0,
           b:0,
           c:0
       }
    },
    watch:{
      a:function (newv,oldv) {
          this.c = Number(newv)+Number(this.b)
      }  ,
        b:function (newv,oldv) {
            this.c = Number(newv)+Number(this.a)
        }
    },
}
</script>

<style>

</style>
App.vue
<template>
    <div>
        <banner :bannersData="banners">
            <li v-for="item in banners " :key="item.bannerId ">
                <a href=""><img :src="item.pic" alt=""></a>
            </li>
        </banner>
    </div>
</template>

<script>
    import banner from './components/banner'
    export default {
        data () {
            return {
                bannerURL:'http://localhost:3000/banner?type=1',
                banners:[],//轮播图数据
            }
        },
        created(){
            this.axios.all([this.getBanner()])
                .then(
                    this.axios.spread(  (bannerData)=> {
                        this.banners = bannerData.data.banners;
                        // console.log(this.banners)
                    } ))
        },

        methods: {
            getBanner(){
                return this.axios.get(this.bannerURL)
            }
        },

        components: {
            banner
        },
    }
</script>

<style scoped>
</style>


