SpringBoot整合Dubbo分布式+zookeeper注册中心(菜鸟学习)
前言
自学多时,写一个demo做个总结。
从建项目开始,比较简单的实现springboot+dubbo+zookeeper,供初学者参考,更快的理解dubbo分布式。
环境
win10
Idea2018.1.2x64
jdk1.8.0_131
zookeeper-3.4.13
apache-tomcat-8.0.36
dubbo-admin-2.6.0.war(管理控制台,用来监控服务消费和注册情况的)
第一步:安装zookeeper和dubbo-admin
zookeeper
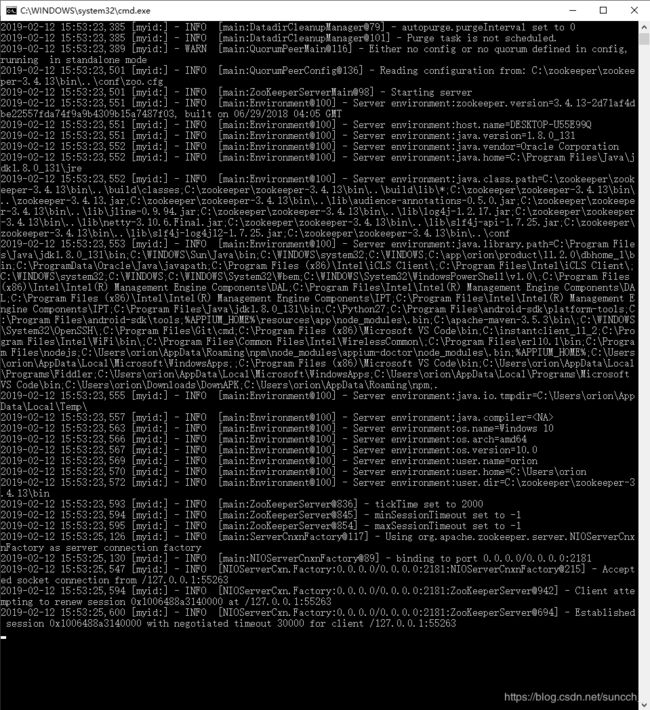
zookeeper自行安装,运行bin/zkServer.cmd,启动zookeeper注册中心
dubbo-admin
自行下载dubbo-admin-x.x.x.war放在tomcat/webapps下启动tomcat
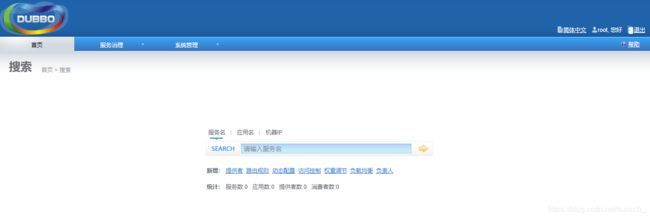
http://localhost:8888/dubbo-admin-2.6.0/ 对应本机的tomcat端口号和aubbo-admin版本号,访问可以显示管理界面(默认账号密码都是root)
zookeeper,dubbo-admin的安装引用Honey_Badger大哥的帖子
https://www.cnblogs.com/tk55/p/10914326.html
第二步:创建项目
创建项目
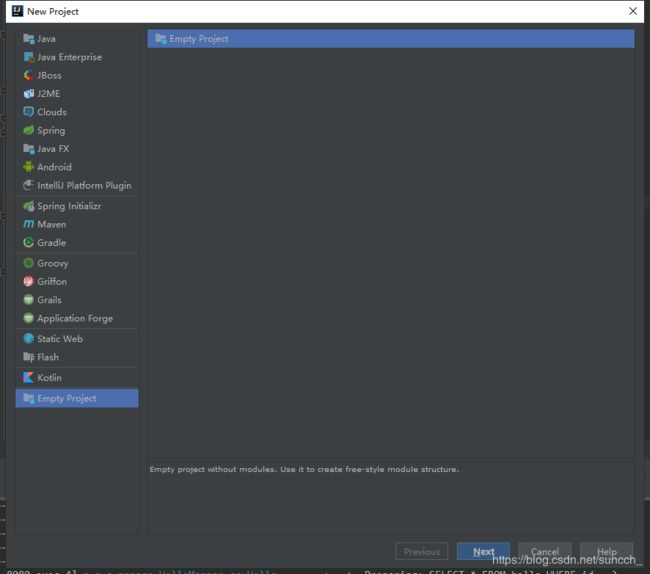
Next > 给项目起名 > Finish
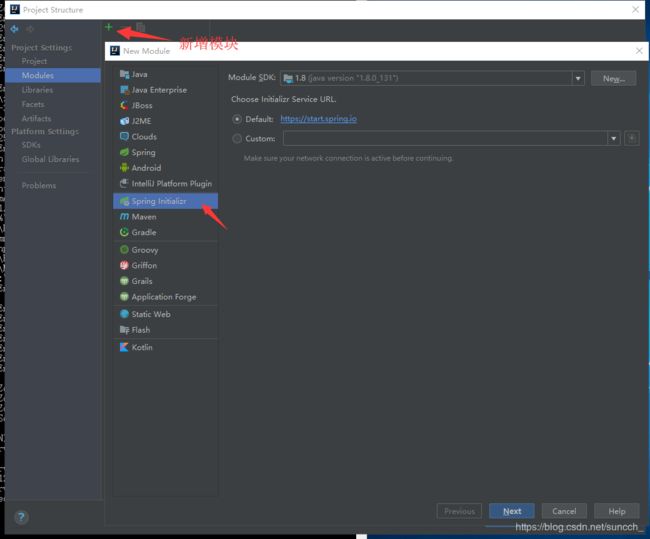
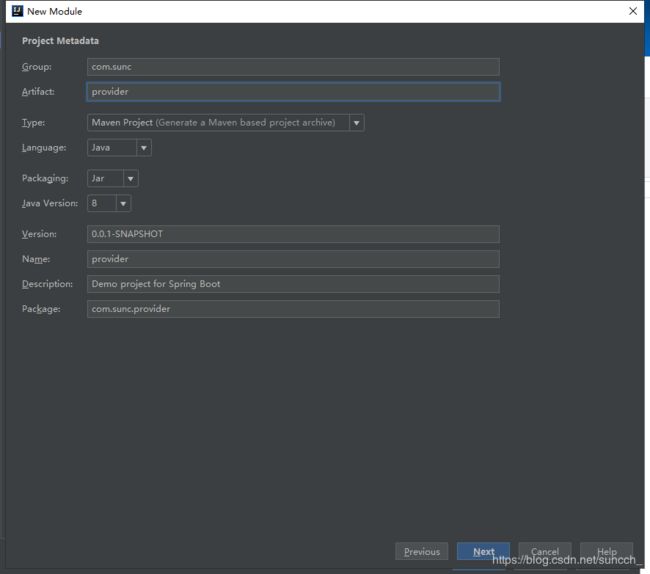
依次点击 Module > 绿色加号 > New Module > 新建一个springboot项目 > Next
起名
Next > 关联Web

Next > Finish
同理,新建api和consumer模块
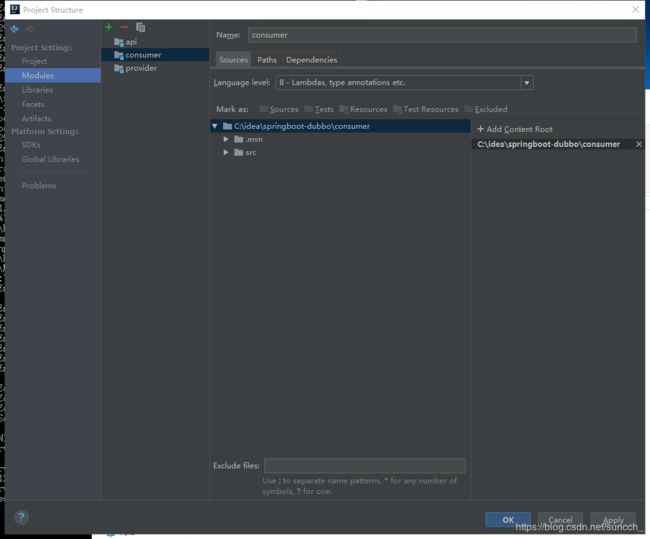
OK,完成项目创建
导入依赖
api,consumer,provider都导入
            com.alibaba.boot
            dubbo-spring-boot-starter
            0.2.0


            com.github.sgroschupf
            zkclient
            0.1


            com.sunc
            api
            0.0.1-SNAPSHOT
            compile
此处注意,第三个依赖是编译api用的,如果只写生产者和消费者不写api就不需要这个
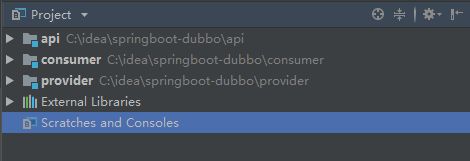
项目结构
分别在consumer,api,provider中新建controller,service,serviceImpl

service
标准的service类
package com.sunc.api.service;

public interface HelloService {
    public String sayHello(String name);
}
controller
这里注意,没有使用自动注入注解
package com.sunc.consumer.controller;

import com.alibaba.dubbo.config.annotation.Reference;
import com.sunc.api.service.HelloService;
import org.springframework.web.bind.annotation.RequestMapping;
import org.springframework.web.bind.annotation.RestController;

@RestController
@RequestMapping("/hello")
public class HelloController {
    @Reference
    private HelloService helloService;

    @RequestMapping("/seyHello")
    public String sayHello(){
        String name = "sunc";
        return helloService.sayHello(name);
    }
}
service实现类
这里注意新增Component注解,Service注解用alibaba的
package com.sunc.provider.serviceImpl;

import com.alibaba.dubbo.config.annotation.Service;
import com.sunc.api.service.HelloService;
import org.springframework.stereotype.Component;

@Component
@Service
public class HelloServiceImpl implements HelloService {
    @Override
    public String sayHello(String name) {
        return "Hello!"+name;
    }
}
provider启动类
DubboComponentScan注解扫描serviceImpl包
package com.sunc.provider;

import com.alibaba.dubbo.config.spring.context.annotation.DubboComponentScan;
import org.springframework.boot.SpringApplication;
import org.springframework.boot.autoconfigure.SpringBootApplication;

@DubboComponentScan("com.sunc.provider.serviceImpl")
@SpringBootApplication
public class ProviderApplication {

    public static void main(String[] args) {
        SpringApplication.run(ProviderApplication.class, args);
    }

}
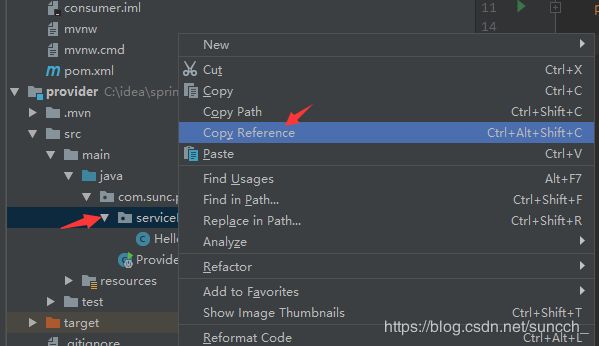
可以右键包,复制全路径
application.properties配置
consumer
server.port=8898
dubbo.application.name=consumer
dubbo.registry.address=zookeeper://127.0.0.1:2181
provider
server.port=8897
dubbo.application.name=provider
dubbo.registry.address=zookeeper://127.0.0.1:2181
启动项目
先启动provider

再启动consumer

访问controller
http://localhost:8898/hello/seyHello
![]()
返回hello,成功
查看dubbo-admin
可以看到一条提供者,一条消费者
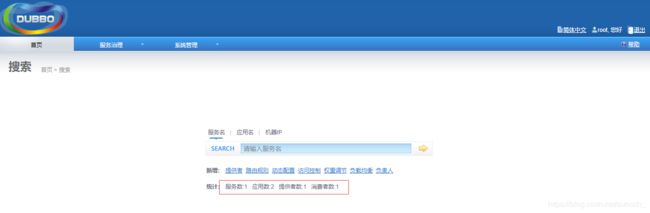
成功
就这样简单的,在本地实现了分布式
如有偏颇敬请斧正,本厮邮箱:[email protected]