5.Matplotlib绘图之3D图,subplot子图(多图合一),动态图
文章目录
- 1 3D图
- 2 subplot多图合一
- 3 动态图
1 3D图
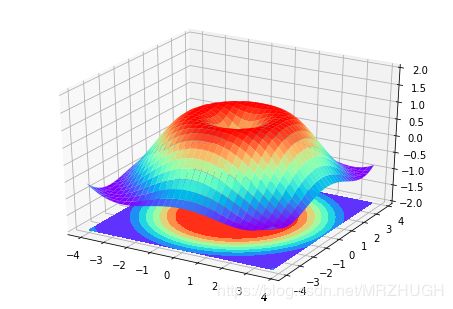
绘制3D图,额外导入一个 Axes3D的包;
import matplotlib.pyplot as plt
import numpy as np
from mpl_toolkits.mplot3d import Axes3D
fig = plt.figure()
# 把图像传入到3D的视图中
ax = Axes3D(fig)

x = np.arange(-4,4,0.25)
y = np.arange(-4,4,0.25)
# 将x,y传入到网格中
X,Y = np.meshgrid(x,y)
R = np.sqrt(X**2 + Y**2)
Z = np.sin(R)

# 3D图,rstride和cstride是下图中小方格的大小
ax.plot_surface(X,Y,Z,rstride=1,cstride=1,cmap=plt.get_cmap('rainbow'))
# 等高线图的映射,底盘
ax.contourf(X,Y,Z,zdir='z',offset=-2,cmap='rainbow')
ax.set_zlim(-2,2)

plt.show()
注:在jupyter中,这个3D图不能动,可以把代码复制到 IPython 中运行,就会生成一个figure,可以鼠标旋转查看。
2 subplot多图合一
import matplotlib.pyplot as plt
import numpy as np
调用 .subplot函数设置多个子图像
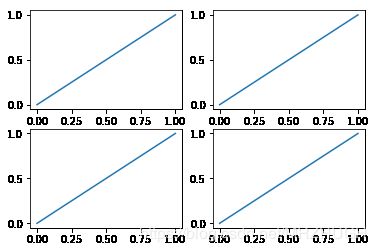
三个参数,第一个参数是几行,第二个参数是几列,第三个参数是第几个位置
plt.figure()
plt.subplot(2,2,1)
plt.plot([0,1],[0,1])

plt.subplot(2,2,2)
plt.plot([0,1],[0,1])

plt.subplot(2,2,3)
plt.plot([0,1],[0,1])

plt.subplot(2,2,4)
plt.plot([0,1],[0,1])

plt.show()
plt.figure()
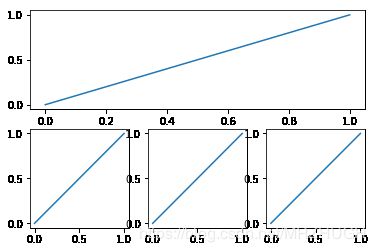
plt.subplot(2,1,1)
plt.plot([0,1],[0,1])

plt.subplot(2,3,4)
plt.plot([0,1],[0,1])

plt.subplot(235)
plt.plot([0,1],[0,1])

plt.subplot(236)
plt.plot([0,1],[0,1])

plt.show()
3 动态图
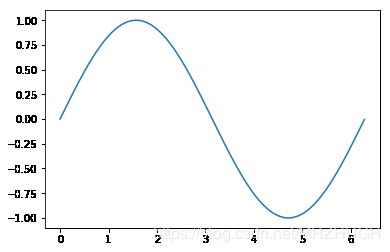
动态图也需要导入animation包;
import matplotlib.pyplot as plt
import numpy as np
from matplotlib import animation
fig,ax = plt.subplots()

x = np.arange(0,2*np.pi,0.01)
line, = ax.plot(x,np.sin(x))

def animate(i):
    line.set_ydata(np.sin(x+i/10))
    return line,

def init():
    line.set_ydata(np.sin(x))
    return line,

# interval=20,动态图的图像间隔是20毫秒
ani = animation.FuncAnimation(fig=fig,func=animate,init_func=init,interval=20)
plt.show()
注:这里并没有贴出gif动态图,可以在 IPython中输入上述代码,运行产看动态图。


