分布式电商项目十六:Vue的模块化开发
Vue的模块化开发
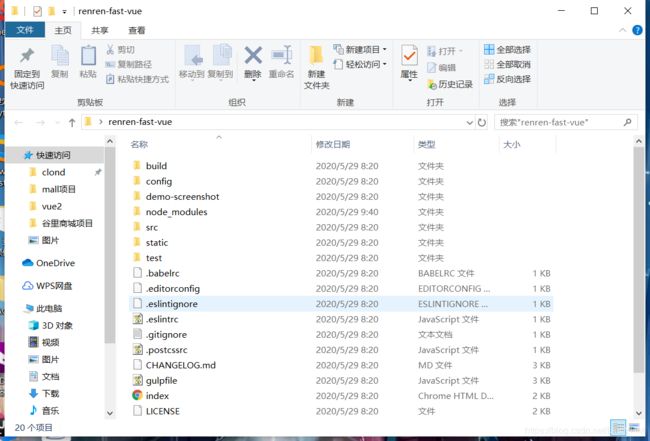
如果我们打开之前使用的人人开源的Vue前端项目会发现整个项目只有一个html页面,
开始Vue的模块化开发
首先安装组件
首先打开终端全局安装Webpack:
C:\Users\yhm>npm install webpack -g
之后全局安装Vue脚手架:
C:\Users\yhm>npm install -g @vue/cli-init
显示页面
C:\Users\yhm>npm install webpack -g
npm WARN deprecated [email protected]: Chokidar 2 will break on node v14+. Upgrade to chokidar 3 with 15x less dependencies.
C:\Users\yhm\AppData\Roaming\npm\webpack -> C:\Users\yhm\AppData\Roaming\npm\node_modules\webpack\bin\webpack.js
npm WARN notsup Unsupported engine for [email protected]: wanted: {"node":"<8.10.0"} (current: {"node":"12.17.0","npm":"6.14.4"})
npm WARN notsup Not compatible with your version of node/npm: [email protected]
npm WARN optional SKIPPING OPTIONAL DEPENDENCY: [email protected] (node_modules\webpack\node_modules\watchpack-chokidar2\node_modules\fsevents):
npm WARN notsup SKIPPING OPTIONAL DEPENDENCY: Unsupported platform for [email protected]: wanted {"os":"darwin","arch":"any"} (current: {"os":"win32","arch":"x64"})
npm WARN optional SKIPPING OPTIONAL DEPENDENCY: [email protected] (node_modules\webpack\node_modules\fsevents):
npm WARN notsup SKIPPING OPTIONAL DEPENDENCY: Unsupported platform for [email protected]: wanted {"os":"darwin","arch":"any"} (current: {"os":"win32","arch":"x64"})

+ [email protected]
added 343 packages from 200 contributors in 69.728s

C:\Users\yhm>npm install -g @vue/cli-init
npm WARN deprecated [email protected]: This package has been deprecated in favour of @vue/cli
npm WARN deprecated [email protected]: CoffeeScript on NPM has moved to "coffeescript" (no hyphen)
+ @vue/[email protected]
added 253 packages from 207 contributors in 54.083s
表示我们安装完成。
初始化Vue项目
之后我们创建一个新文件夹,vue-mode,在文件夹内部打开终端,输入指令
vue init webpack vue-demo
然后系统会询问你一些配置信息,我的选择如下:
C:\Users\yhm\Desktop\vue-mode>vue init webpack vue-demo

? Project name vue-demo
? Project description vue-demo
? Author lastingwar <[email protected]>
? Vue build standalone
? Install vue-router? Yes
? Use ESLint to lint your code? No
? Set up unit tests No
? Setup e2e tests with Nightwatch? No
? Should we run `npm install` for you after the project has been created? (recommended) npm

   vue-cli · Generated "vue-demo".
初始化完成之后,我们会看到在我们创建的文件夹内部有了一个新的文件夹,使用终端进入到文件内部,输入指令 nmp run dev 就会看到vue运行起来了:
 DONE  Compiled successfully in 3046ms                                                                11:48:54 ├F10: AM┤

 I  Your application is running here: http://localhost:8080
此时我们访问http://localhost:8080/就能看到如下界面。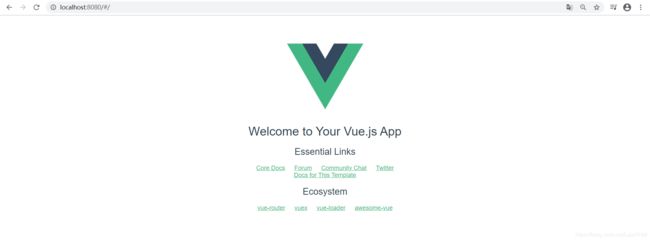
vue模块化内容介绍
之后我们在vscode中打开初始化的文件夹开始进行开发。
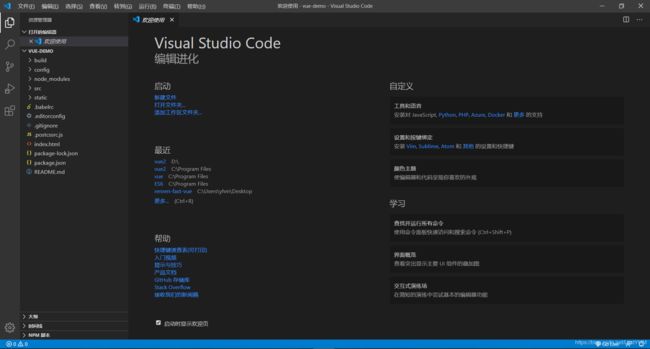
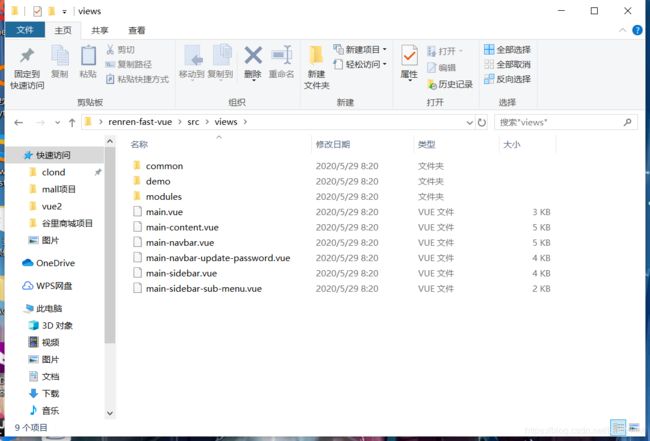
我们看到初始化的文件夹中有非常多的内容,首先
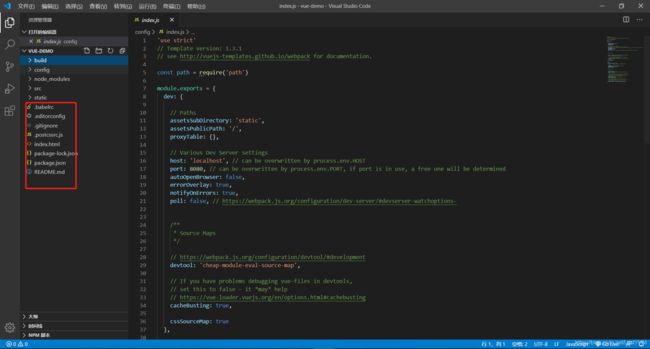
根目录下的文件,包括一些版本控制的文件和主页的html文件。
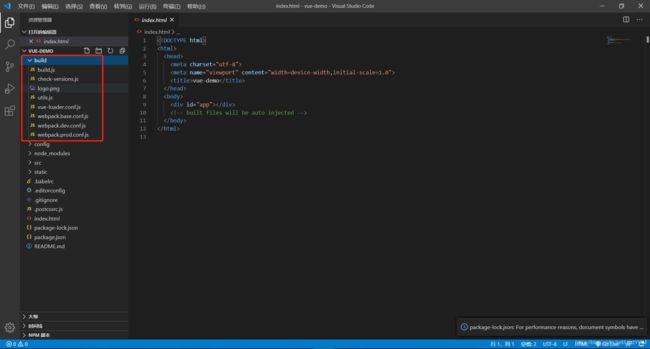
build文件夹下是构建初始化项目的一些组件。
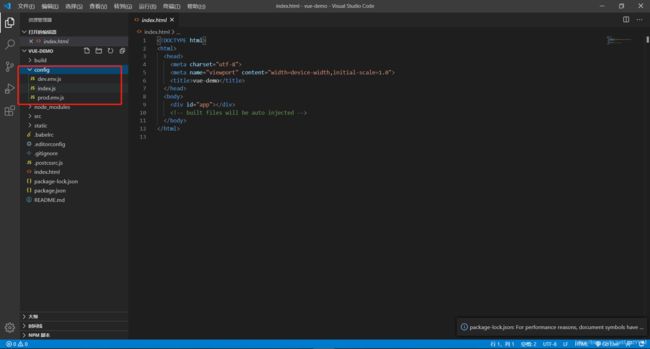
config文件夹是js格式的配置文件。
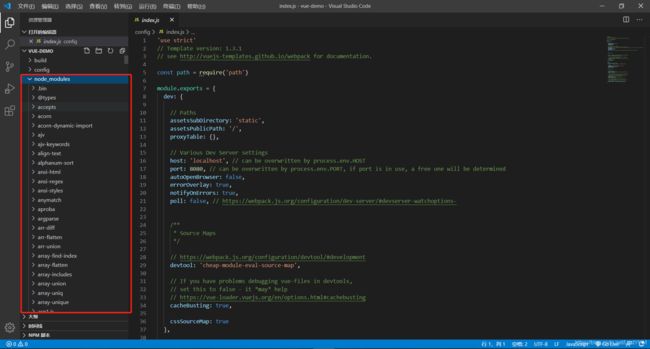
node_modules是依赖的文件。
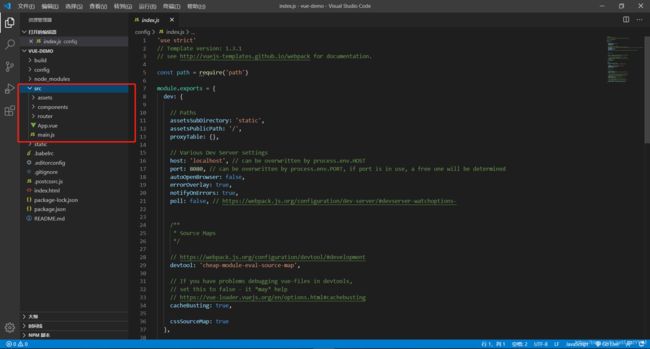
src是主程序文件夹。
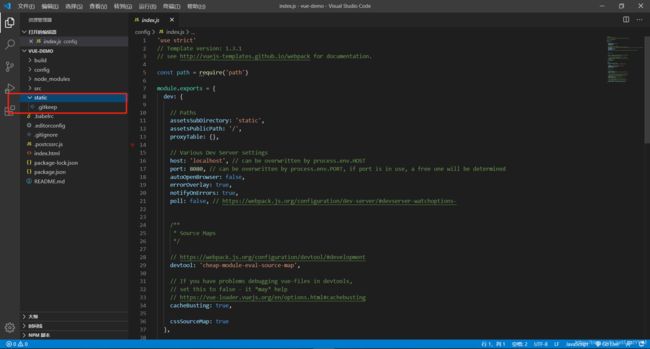
static用来放静态文件。
接下来我们可以自己写一个vue的组件,内容如下:
<template>
  <div>
    <h1>你好,Hello,{{name}}</h1>

    <el-radio v-model="radio" label="1">备选项1</el-radio>
    <el-radio v-model="radio" label="2">备选项2</el-radio>
  </div>
</template>

<script>
export default {
  data() {
    return {
      name: "张三",
      radio: "2"
    };
  }
};
</script>

<style >
</style>
之后在router目录下的index.js文件中添加路由规则:
import Vue from 'vue'
import Router from 'vue-router'
import HelloWorld from '@/components/HelloWorld'
import Hello from '@/components/Hello'

Vue.use(Router)

export default new Router({
  routes: [
    {
      path: '/',
      name: 'HelloWorld',
      component: HelloWorld
    },
    {
      path: '/hello',
      name: "Hello",
      component: Hello
    }
  ]
})
保存之后运行npm run dev 就能够访问http://localhost:8080/#/hello页面看到我们自己写的vue组件。
tips我们还可以整合一下elementUI来帮助我们进行快速开发
终端输入:npm i element-ui完成之后,在main.js文件中添加导入的代码即可使用:
// The Vue build version to load with the `import` command
// (runtime-only or standalone) has been set in webpack.base.conf with an alias.
import Vue from 'vue'
import App from './App'
import router from './router'
import ElementUI from 'element-ui'
import 'element-ui/lib/theme-chalk/index.css';
Vue.use(ElementUI);
Vue.config.productionTip = false
/* eslint-disable no-new */
new Vue({
el: '#app',
router: router,
components: { App:App },
template: '之后在官方文档中查去相关组件的代码,直接拷贝即可。我们可以拷贝一个布局容器来替换我们原先的模块。
打开App.vue文件,内容如下:
<template>
<el-container style="height: 500px; border: 1px solid #eee">
  <el-aside width="200px" style="background-color: rgb(238, 241, 246)">
    <el-menu :default-openeds="['1', '3']">
      <el-submenu index="1">
        <template slot="title"><i class="el-icon-message"></i>导航一</template>
        <el-menu-item-group>
          <template slot="title">分组一</template>
          <el-menu-item index="1-1">选项1</el-menu-item>
          <el-menu-item index="1-2">选项2</el-menu-item>
        </el-menu-item-group>
        <el-menu-item-group title="分组2">
          <el-menu-item index="1-3">选项3</el-menu-item>
        </el-menu-item-group>
        <el-submenu index="1-4">
          <template slot="title">选项4</template>
          <el-menu-item index="1-4-1">选项4-1</el-menu-item>
        </el-submenu>
      </el-submenu>
      <el-submenu index="2">
        <template slot="title"><i class="el-icon-menu"></i>导航二</template>
        <el-menu-item-group>
          <template slot="title">分组一</template>
          <el-menu-item index="2-1">选项1</el-menu-item>
          <el-menu-item index="2-2">选项2</el-menu-item>
        </el-menu-item-group>
        <el-menu-item-group title="分组2">
          <el-menu-item index="2-3">选项3</el-menu-item>
        </el-menu-item-group>
        <el-submenu index="2-4">
          <template slot="title">选项4</template>
          <el-menu-item index="2-4-1">选项4-1</el-menu-item>
        </el-submenu>
      </el-submenu>
      <el-submenu index="3">
        <template slot="title"><i class="el-icon-setting"></i>导航三</template>
        <el-menu-item-group>
          <template slot="title">分组一</template>
          <el-menu-item index="3-1">选项1</el-menu-item>
          <el-menu-item index="3-2">选项2</el-menu-item>
        </el-menu-item-group>
        <el-menu-item-group title="分组2">
          <el-menu-item index="3-3">选项3</el-menu-item>
        </el-menu-item-group>
        <el-submenu index="3-4">
          <template slot="title">选项4</template>
          <el-menu-item index="3-4-1">选项4-1</el-menu-item>
        </el-submenu>
      </el-submenu>
    </el-menu>
  </el-aside>

  <el-container>
    <el-header style="text-align: right; font-size: 12px">
      <el-dropdown>
        <i class="el-icon-setting" style="margin-right: 15px"></i>
        <el-dropdown-menu slot="dropdown">
          <el-dropdown-item>查看</el-dropdown-item>
          <el-dropdown-item>新增</el-dropdown-item>
          <el-dropdown-item>删除</el-dropdown-item>
        </el-dropdown-menu>
      </el-dropdown>
      <span>王小虎</span>
    </el-header>

    <el-main>
      <el-table :data="tableData">
        <el-table-column prop="date" label="日期" width="140">
        </el-table-column>
        <el-table-column prop="name" label="姓名" width="120">
        </el-table-column>
        <el-table-column prop="address" label="地址">
        </el-table-column>
      </el-table>
    </el-main>
  </el-container>
</el-container>

</template>

<script>
export default {
  data() {
    const item = {
      date: "2016-05-02",
      name: "王小虎",
      address: "上海市普陀区金沙江路 1518 弄"
    };
    return {
      tableData: Array(20).fill(item)
    };
  }
};
</script>

<style>
.el-header {
  background-color: #b3c0d1;
  color: #333;
  line-height: 60px;
}

.el-aside {
  color: #333;
}
</style>
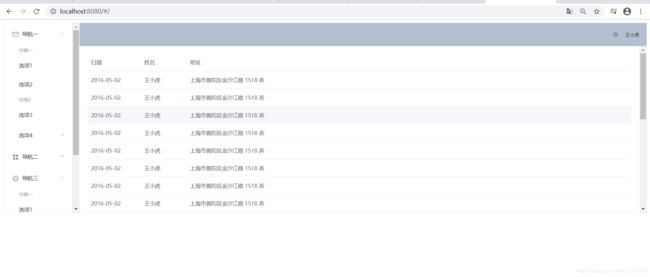
之后访问http://localhost:8080/#/hello即可以看到我们从elementUI中拷贝过来的页面模块了:
添加vue代码片段
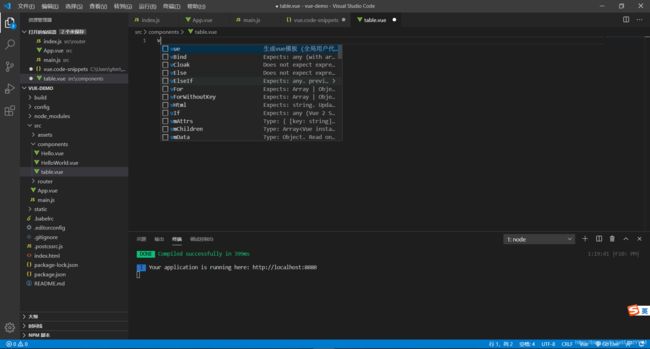
每一次创建vue文件,都要手动生成标签号,太麻烦了,可以在VScode中添加vue代码片段,这样每次输入快捷键就能快速生成vue代码片段。来到文件->首选项->用户片段页面:输入vue作为代码片段的名称,之后删除原有的内容,改为:
{
"生成vue模板": {
"prefix": "vue",
"body": [
"",
"",
"$5",
"",
"",
"",
""
],
"description": "生成vue模板"
}
}
