Masonry的使用,动画,出现问题解决等
前提
经过一点时间的使用,发现在网上很少有Masonry的教程,也仅仅有那么一两篇而已,在此我编写一下我最近一段时间使用的方法,供大家学习。
Masonry是AutoLayout的一个第三方类库,用链式语法封装了冗长的AutoLayout代码,因此学习成本相对于官方提供的AutoLayout,以及VFL语言而言,低上很多很多...
准备
在GitHub上 https://github.com/SnapKit/Masonry 下载配置第三方库,基本使用方法在Readme中也有说明,我就不赘述了,CocoaPods在我blog有相关的设置介绍 CocoaPods的安装使用
pod 'Masonry'为了方便更新库来解决旧有bug,所以不写版本号 '~>x.x.x'
在pch文件中加入
#import "Masonry.h"便可全局使用
基本用法
可以理解和Android五大布局中的相对布局一样,基本原理就是本控件相对于某个控件的位置,因此相对比较需要有一个参考控件
基本的计算公式为
控件左边 = 参考控件的右边 + 偏移值(5) (控件在参考控件的右边,距离其5px)
make.left.equalTo(view.superview.mas_right).offset(10);//不填则默认对应left,其他同理支持的属性
@property (nonatomic, strong, readonly) MASConstraint *left;

@property (nonatomic, strong, readonly) MASConstraint *top;

@property (nonatomic, strong, readonly) MASConstraint *right;

@property (nonatomic, strong, readonly) MASConstraint *bottom;

@property (nonatomic, strong, readonly) MASConstraint *leading;

@property (nonatomic, strong, readonly) MASConstraint *trailing;

@property (nonatomic, strong, readonly) MASConstraint *width;

@property (nonatomic, strong, readonly) MASConstraint *height;

@property (nonatomic, strong, readonly) MASConstraint *centerX;

@property (nonatomic, strong, readonly) MASConstraint *centerY;

@property (nonatomic, strong, readonly) MASConstraint *baseline;
方法
Masonry有三种设置约束的方法
mas_makeConstraints //第一次生成约束使用

mas_updateConstraints    //更新其中的约束

mas_remakeConstraints    //重新生成约束,会将之前的所有约束先去掉
使用注意:在循环cell,如果有代码重复调用的地方,一定要使用mas_remakeConstraints,以此防止循环的时候生成相同的约束,影响性能,甚至,能使用make的地方基本都可以用remake进行代替,防止生成无谓的约束
简单用法
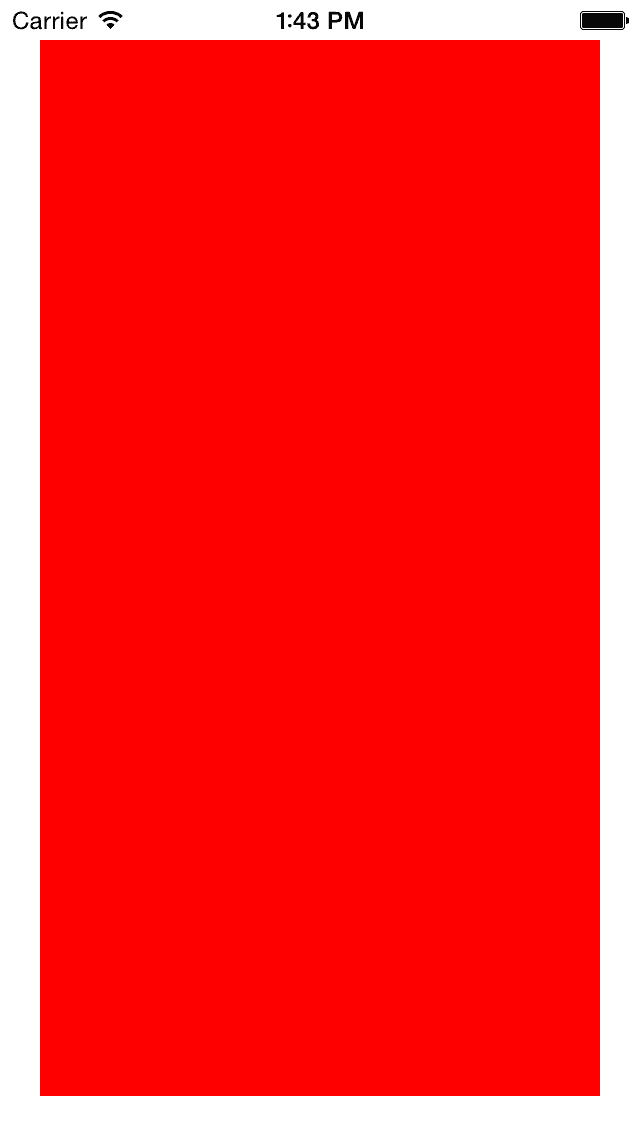
初始化一个带边距的view
UIView *view = [[UIView alloc] init];

view.backgroundColor = [UIColor redColor];

[self.view addSubview:view];//一定要先加入父控件,否则报错

[view mas_makeConstraints:^(MASConstraintMaker *make) {

make.edges.equalTo(view.superview).insets(UIEdgeInsetsMake(20, 20, 20, 20));

}];
等价
[view mas_makeConstraints:^(MASConstraintMaker *make) {

make.left.right.top.bottom.equalTo(view.superview).insets(UIEdgeInsetsMake(20, 20, 20, 20));
left ,right等属性,如字面意思
等价
[view mas_makeConstraints:^(MASConstraintMaker *make) {

make.left.equalTo(view.superview).offset(20);

make.top.equalTo(view.superview).offset(20);

make.right.equalTo(view.superview).offset(-20);

make.bottom.equalTo(view.superview).offset(-20);

}];
链式语法中,and 以及 with都是修饰性语句,不做任何事情,便于理解而已
make.bottom.and.top.equalTo(view.superview).with.offset(-20);源码中
#pragma mark - Semantic properties

- (MASConstraint *)with {

return self;

}

- (MASConstraint *)and {

return self;

}子控件宽高为父控件的一半(multipliedBy)
[view mas_makeConstraints:^(MASConstraintMaker *make) {

make.left.equalTo(view.superview);

make.top.equalTo(view.superview).offset(20);

make.width.height.equalTo(view.superview).multipliedBy(0.5);

}];大于小于
make.width.greaterThanOrEqualTo(@200);

make.width.lessThanOrEqualTo(@400)
blcok中进行判断使用约束(在统一处理某些业务的时候)
[self.button mas_remakeConstraints:^(MASConstraintMaker *make) {

make.size.equalTo(self.buttonSize);

if (topLeft) {

make.top.and.left.offset(10);

} else {

make.bottom.and.right.offset(-10);

}

}];死高度300 * 300
修改指定约束
MASConstraint *topConstraint;

// 在生成约束的时候

[view1 mas_makeConstraints:^(MASConstraintMaker *make) {

topConstraint = make.top.equalTo(superview.mas_top);

make.left.equalTo(superview.mas_left);

}];

...

// 在之后进行对该约束 进行修改

[topConstraint uninstall];
写死高度300 * 300
[view mas_makeConstraints:^(MASConstraintMaker *make) {

make.center.equalTo(view.superview);

make.width.height.equalTo(@300);

}];
关于mas_equalTo使用
Masonry表示相等有两种方法,equalTo 和 mas_equalTo
mas_equalTo其实是多了一层处理的宏而已,因为equalTo并不支持基本数据类型
#define mas_equalTo(...) equalTo(MASBoxValue((__VA_ARGS__)))在高度为300的约束中,可以这样子写
mak.height.equalTo(@300);也可以,使用mas_equalTo,一般情况下,我会全部使用mas_equalTo来处理基本数据类型的封装
mak.height.mas_equalTo(300);并列排序-水平 或者 高度
经常会遇到很多需要等宽或者登高排序的需求,下面是我个人使用的一种方法,可以参考一下,但是需要说明的是,相对布局的各种用法很多,请思考便可以,同一种效果,N种写法
- (void)viewDidLoad {

[super viewDidLoad];

//都是相对于suerpview来设置位置的

NSMutableArray *viewArray = [NSMutableArray array];

NSArray *colorArray = @[[UIColor redColor],[UIColor blueColor],[UIColor orangeColor],[UIColor purpleColor]];

for (int i = 0; i < colorArray.count ; i++) {

UIView *view = [[UIView alloc] init];

view.backgroundColor = colorArray[i];

[self.view addSubview:view];

[viewArray addObject:view];

}

[self sortVerticalWithViews:viewArray LeftMargin:50 Width:100 BackViewHeight:300];

viewArray = [NSMutableArray array];

for (int i = 0; i < colorArray.count ; i++) {

UIView *view = [[UIView alloc] init];

view.backgroundColor = colorArray[i];

[self.view addSubview:view];

[viewArray addObject:view];

}

[self sortHorizontalWithViews:viewArray TopMargin:320 TopView:self.view Height:100];

}

#pragma mark 将控件进行排序,更新其操作(水平)

- (void)sortHorizontalWithViews:(NSArray *)views TopMargin:(NSInteger)topMargin TopView:(UIView *)topView Height:(NSInteger)viewH

{

__block UIView *leftView;

[views enumerateObjectsUsingBlock:^(id obj, NSUInteger idx, BOOL *stop) {

UIView *tempView = obj;

[tempView mas_remakeConstraints:^(MASConstraintMaker *make) {

if (idx == 0) {

make.left.equalTo(tempView.superview);

if ([topView isEqual:tempView.superview]) { //如果传入的是容器view 则上方无控件

make.top.mas_equalTo(topView).offset(topMargin);

} else {

make.top.mas_equalTo(topView.mas_bottom).offset(topMargin);

}

make.width.mas_equalTo(tempView.superview.mas_width).multipliedBy((CGFloat)1 / views.count);

make.height.mas_equalTo(viewH);

} else {

make.left.equalTo(leftView.mas_right);

make.top.mas_equalTo(leftView);

make.width.mas_equalTo(leftView);

make.height.equalTo(leftView);

}

}];

leftView = tempView;

}];

}

#pragma mark 将控件进行排序,更新其操作(垂直)

- (void)sortVerticalWithViews:(NSArray *)views LeftMargin:(NSInteger)leftMargin Width:(NSInteger)viewWidth BackViewHeight:(NSInteger)backViewHeight

{

__block UIView *topView;

[views enumerateObjectsUsingBlock:^(id obj, NSUInteger idx, BOOL *stop) {

UIView *tempView = obj;

[tempView mas_remakeConstraints:^(MASConstraintMaker *make) {

if (idx == 0) {

make.left.equalTo(tempView.superview).offset(leftMargin);

make.top.mas_equalTo(tempView.superview);

make.width.mas_equalTo(viewWidth);

make.height.mas_equalTo(backViewHeight / views.count);

} else {

make.left.equalTo(topView);

make.top.mas_equalTo(topView.mas_bottom);

make.width.mas_equalTo(topView);

make.height.mas_equalTo(topView);

}

}];

topView = tempView;

}];

}动画问题
动画问题,和普通的方法实现差不多,重点只是修改约束后调用
[view.superview layoutIfNeeded];而已
[view mas_makeConstraints:^(MASConstraintMaker *make) {

make.top.mas_equalTo(400);

make.left.mas_equalTo(100);

make.size.mas_equalTo(CGSizeMake(100, 100));

}];

[view.superview layoutIfNeeded];//如果其约束还没有生成的时候需要动画的话,就请先强制刷新后才写动画,否则所有没生成的约束会直接跑动画

[UIView animateWithDuration:3 animations:^{

[view mas_updateConstraints:^(MASConstraintMaker *make) {

make.left.mas_equalTo(200);

}];

[view.superview layoutIfNeeded];//强制绘制 }];
多个控件要相对于父控件居中
有时候会出现这种需求,这种情况下,最方便的做法就是,多个子控件放到一个容器里面,让容器自适应子控件宽度,然后容器相对于父控件居中
- 因为我这里为了方便,就现在xib中用了个空白的superView去占位,后面好调整
大概步骤:
- 父控件 加入 容器
- 设置容器相对于父控件的位置
- 循环创建子控件
- (void)initCouponType:(PPProductDetailViewModel *)viewModel
{
    UIView *conView = [[UIView alloc] init];
    [self.couponTypeContainer addSubview:conView]; //父控件 加入 容器

    [conView makeConstraints:^(MASConstraintMaker *make) {
        make.height.top.centerX.equalTo(conView.superview);//width不设置,让其根据子控件宽度进行适配
    }];

    __block UIView *lastView = nil;

    //viewModel.couponTypeArray 为我的数据源,根据实际情况配置
    if (viewModel.couponTypeArray.count > 0) {

        [viewModel.couponTypeArray enumerateObjectsUsingBlock:^(GwCouponType *_Nonnull coupontype, NSUInteger idx, BOOL *_Nonnull stop) {

            //设置样式
            UIButton *newBtn = [[UIButton alloc] init];
            [newBtn setTitle:coupontype.couponTypename forState:UIControlStateNormal];

            //子控件加入到容器中
            [conView addSubview:newBtn];

            [newBtn makeConstraints:^(MASConstraintMaker *make) {
                //因为我这里用到的是button,在设置文字后,不设置宽度,系统就自适配宽度,label也同样,imageview设置图片后也一样,如果其他不能自适应,或者你需要自己设定的,就设置width就可以了
                //设置left
                make.left.equalTo(lastView ? lastView.mas_right : newBtn.superview).offset(3);

                //最后一个子控件设置右对齐容器
                if (idx == viewModel.couponTypeArray.count - 1) {
                    make.right.equalTo(newBtn.superview).offset(3);
                }

                //设置子控件相对于父控件Y轴对齐
                make.centerY.equalTo(newBtn.superview);

                // lastView让下一个控件知道自己左边的是什么,从而设置left属性
                lastView = newBtn;
            }];
        }];
    }
}
Cell的高度计算
借鉴@星光社的戴铭 的方法 [AutoLayout框架Masonry使用心得]
(http://www.jianshu.com/p/24e4ff56bfea)
也可以参考forkingdog的FDTemplateLayoutCell
- iOS8 以上
tableView.rowHeight = UITableViewAutomaticDimension;
tableView.estimatedRowHeight = 80; //减少第一次计算量,iOS7后支持

- (CGFloat)tableView:(UITableView *)tableView heightForRowAtIndexPath:(NSIndexPath *)indexPath {
    return UITableViewAutomaticDimension;//返回即可
}- iOS7
//在model中添加属性缓存高度
@interface DataModel : NSObject
@property (copy, nonatomic) NSString *text;
@property (assign, nonatomic) CGFloat cellHeight; //缓存高度
@end

- (CGFloat)tableView:(UITableView *)tableView heightForRowAtIndexPath:(NSIndexPath *)indexPath {
    static CustomCell *cell;
    //只初始化一次cell
    static dispatch_once_t onceToken;
    dispatch_once(&onceToken, ^{
        cell = [tableView dequeueReusableCellWithIdentifier:NSStringFromClass([CustomCell class])];
    });
    DataModel *model = self.dataArray[(NSUInteger) indexPath.row];

    if (model.cellHeight <= 0) {
        [cell makeupData:model];
        //使用systemLayoutSizeFittingSize获取高度
        model.cellHeight = [cell.contentView systemLayoutSizeFittingSize:UILayoutFittingCompressedSize].height + 1;
    }
    return model.cellHeight;
}- 以上参考(这里面还有其他很多case,各位看看~)
有趣的Autolayout示例-Masonry实现
遇到的问题
AutoLayout是在iOS7 之后才刚刚推出的一种新的方法,因为在iOS7系统上并不能算得上十分完善,经常有一些bug,然而在iOS8中相对好的处理了
-
最明显的问题就是scorllView的contentSize问题
-
系统的约束并不是在设置完成之后里面进行绘图的,而是在最后ViewDidApper()这个函数前一些时间才完成绘图,而且每次绘制(比如,往scorllView上添加新的子控件,即增加了新的约束)后,scorllView的contentOffset和contentSize都会初始化为0,因此每次都需要重新设置(如果你在绘制前已经设置了contentSize的话),或者你可以使用tableView来代替scorllView
- (void)viewDidAppear:(BOOL)animated

{

[super viewDidAppear:animated];

_scorllView.contentSize = CGSizeMake(200, 200);

}- 如果你需要在约束设置完成后立马得到frame的数值的话,调用
[view.superview layoutIfNeeded];之后会强制性更新约束,这句话之后便可以得到frame,在iOS8中只需要在这加入设置contentSize便可以实现正常的scrollView滚动,而iOS7中则不可以,请注意。
而且如果出现什么疑难杂症的话,基本都是AutoLayout在iOS的不适用,所以搜索问题的话,各位直接搜索Autolayout 关键字便可,不必搜索Masonry关键字的问题(反正也搜不到什么答案...)
- contentView的冲突
- 如果遇到和contentView的冲突,基本原因是因为cell的content view有一个系统的约束(高度),而masonry是不会去管理非自己产生的约束,因此在使用label imageview等情况下,增加以下属性设置,确保优先级以防止冲突
[_contentLabel setContentHuggingPriority:UILayoutPriorityRequired forAxis:UILayoutConstraintAxisVertical];原文链接:http://www.jianshu.com/p/2b57ece2b3b8
著作权归作者所有,转载请联系作者获得授权,并标注“简书作者”。


