Ubuntu16.04.5 内核编译与定制
- 下载内核文件
www.kernel.org
wget https://cdn.kernel.org/pub/linux/kernel/v4.x/linux-4.19.6.tar.xz
- 解压xz
xz -d ./linux-4.19.6.tar.xz
tar -xvf linux-4.19.6.tar
- 配置编译设置
使用默认配置
少库装库
bison安装:
先把apt源换成国内源:
cd /etc/apt
sudo cp sources.list sources.list.bak
sudo vim sources.list
# 默认注释了源码镜像以提高 apt update 速度,如有需要可自行取消注释
deb https://mirrors.tuna.tsinghua.edu.cn/ubuntu/ xenial main restricted universe multiverse
# deb-src https://mirrors.tuna.tsinghua.edu.cn/ubuntu/ xenial main restricted universe multiverse
deb https://mirrors.tuna.tsinghua.edu.cn/ubuntu/ xenial-updates main restricted universe multiverse
# deb-src https://mirrors.tuna.tsinghua.edu.cn/ubuntu/ xenial-updates main restricted universe multiverse
deb https://mirrors.tuna.tsinghua.edu.cn/ubuntu/ xenial-backports main restricted universe multiverse
# deb-src https://mirrors.tuna.tsinghua.edu.cn/ubuntu/ xenial-backports main restricted universe multiverse
deb https://mirrors.tuna.tsinghua.edu.cn/ubuntu/ xenial-security main restricted universe multiverse
# deb-src https://mirrors.tuna.tsinghua.edu.cn/ubuntu/ xenial-security main restricted universe multiverse
# 预发布软件源,不建议启用
# deb https://mirrors.tuna.tsinghua.edu.cn/ubuntu/ xenial-proposed main restricted universe multiverse
# deb-src https://mirrors.tuna.tsinghua.edu.cn/ubuntu/ xenial-proposed main restricted universe multiverse
sudo apt-get update
sudo apt-get install bison
将bison安装之后可以继续。
sudo apt-get install flex
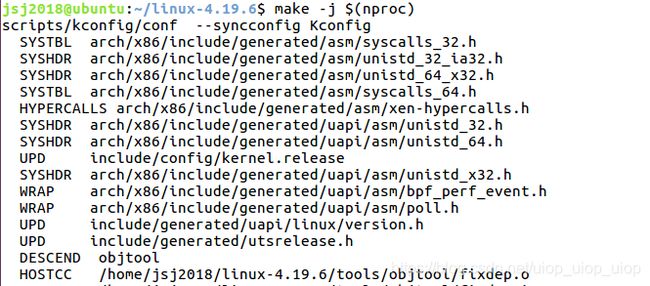
单线程编译之后会非常慢,用多线程。
apt-get install libelf-dev
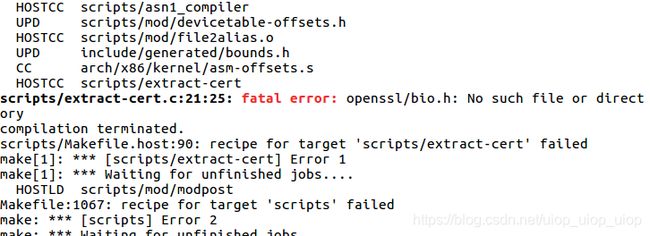
再次输入make -j $(nproc)之后开始编译,但是途中发现缺少了依赖
这个缺少头文件实际上是缺少包,用包管理直接安装ssl
$ sudo apt install libssl-dev
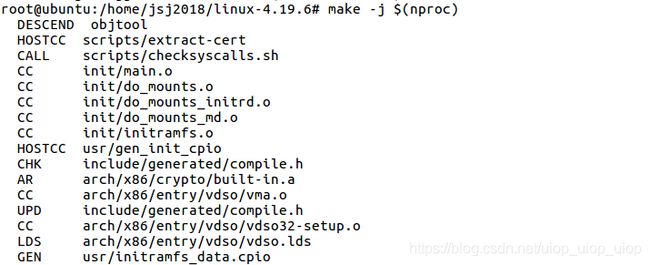
然后再次运行命令即可
要等一段时间。
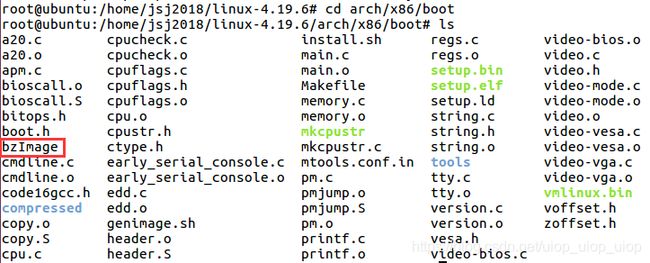
一会风扇轰鸣后,在arch/x86/boot文件夹中找到
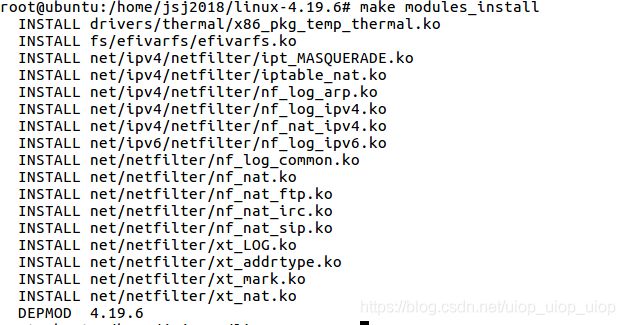
安装内核模块
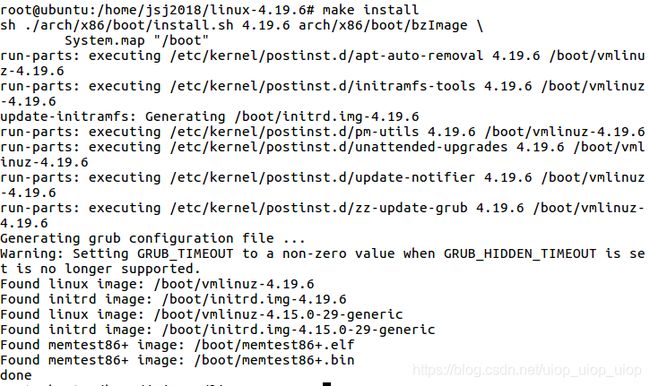
安装内核
命令行输入reboot重启验证一下新内核
额。。。炸了
重启,在grub菜单中 选择advanced项,xxx -generic,回到原先内核的环境当中启动重新编。因为安装新内核后原来的还留有。
make modules_install和make install都需要在#权限下执行
不要直接用reboot重启,直接在虚拟机的电源选项里面进行重启
成功。
下面开始自主定制内核。
添加新的系统调用
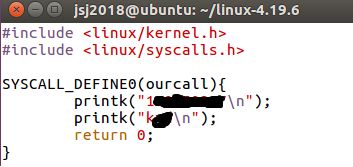
向新增的文件夹中新建Makefile文件,当中添加我们新增的代码文件的编译配置。
在源代码的根目录的Makefile当中添加上我们新建的目录ourcall,添加目录到core-y条目当中
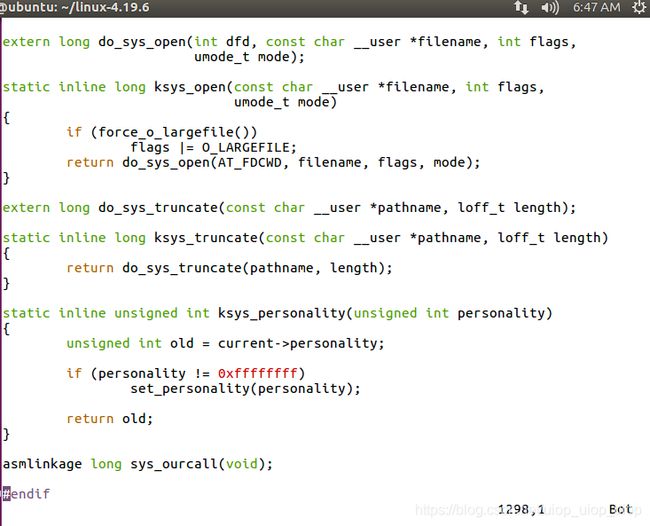
修改syscall头文件
添加函数声明 asmlinkage long sys_ourcall(void);
asmlinkage:通过堆栈传递参数
添加系统调用号:
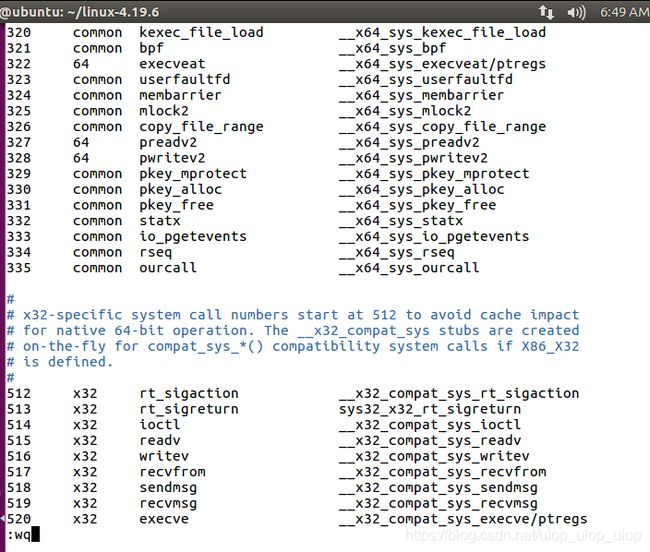
在系统调用表syscall_64.tbl中添加ourcall系统调用号(系统调用号选用未被占用的,此处使用335):
335 common ourcall __x64_sys_ourcall
若系统为32位则系统调用表为syscall_32.tbl
修改完毕,重新对内核进行编译。
![]() 也可以这样快些。
也可以这样快些。
make modules_install
make install
电源中重启。
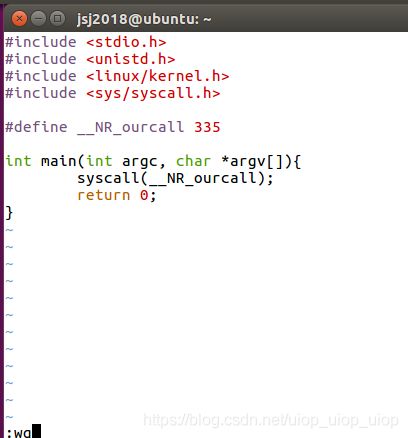
vim syscall.c
查看系统日志,发现程序运行成功
拓展
- 分析Linux2.4版本的内核源代码。
在Linux 内核2.4版的源代码中既包括对中断机制、进程调度、内存管理、进程间通信、虚拟文件系统、设备驱动程序及网络子系统的代码实现,也包括Linux的启动过程的代码实现及Linux模块之间的联系与租用。其中,最基础的代码是关于进程管理、内存管理及文件管理三个方面的内容。
- 分析Android与Linux之间的关系。
Android建立在Linux内核基础之上,Linux为Android提供核心服务,如安全,内存管理,进程管理,网络和驱动模型等。Android按移动设备需求对Linux内核进行了修改,并添加了驱动相关新功能,但Android无法并入Linux主开发树。


