SpringBoot34-springboot应用监控-http,JMX,SSH
spring boot提供了运行时的应用监控和管理的功能。我们可以通过http,JMX,SSH协议来进行操作。审计,监控及指标信息将会自动得到。
spring boot提供了监控和管理端点:
actuator:所有EnPoint的列表,需要加入spring HATEOAS支持
autoconfig:当前应用的所有自动配置
beans:当前应用中所有Bean信息
configprops:当前应用中所有的配置属性
dump:显示当前应用线程状态信息
env:显示当前应用当前环境信息
health:显示当前应用健康状况
info:显示当前应用信息
metrics:显示当前应用的各项指标信息
mappings:显示所有的@RequestMapping映射的路径
shutdown:关闭当前应用(默认关闭)
trace:显示追踪信息(默认最新的http请求)
一,http
我们可以通过http实现对应用的监控和管理,我们只需在pom.xml中增加下面依赖即可:
			org.springframework.boot
			spring-boot-starter-actuator
既然通过http监控和管理,那么我们的项目还需要web的依赖,下面新建sprig boot项目,依赖选actuator,web,hateoas。
1,新建spring boot项目
新建spring boot项目,依赖为actuator,web,hateoas
pom.xml的配置如下:
	4.0.0

	com.jack
	springboot20monitor
	0.0.1-SNAPSHOT
	jar

	springboot20monitor
	Demo project for Spring Boot


		org.springframework.boot
		spring-boot-starter-parent
		1.5.8.RELEASE


		UTF-8
		UTF-8
		1.8


			org.springframework.boot
			spring-boot-starter-web


			org.springframework.boot
			spring-boot-starter-actuator


			org.springframework.hateoas
			spring-hateoas


			org.springframework.boot
			spring-boot-starter-test
			test


				org.springframework.boot
				spring-boot-maven-plugin
application.properties配置如下:
management.security.enabled=false上面的配置是开启监控访问权限
2,测试端点
项目建立好之后我们即可测试各个端点
1)actuator
访问:http://localhost:8080/actuator,效果如下:
2)autoconfig
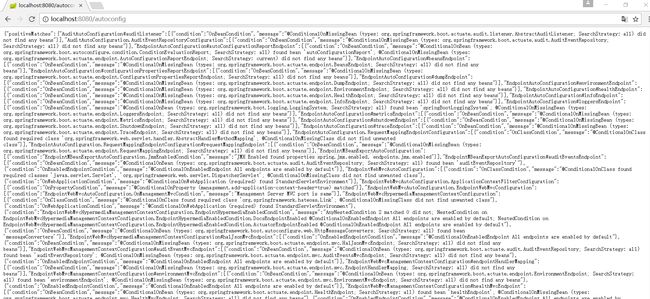
访问http://localhost:8080/autoconfig,效果如下;
3)beans
访问http://localhost:8080/beans,效果如下:
4)dump
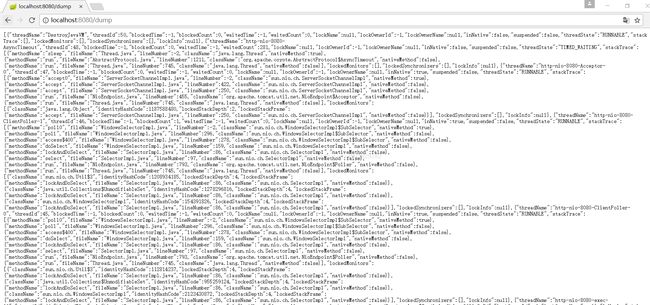
访问:http://localhost:8080/dump
5)configprops
访问http://localhost:8080/configprops,效果如下:
6)health
访问http://localhost:8080/health,效果如下:
7)info
访问http://localhost:8080/info,效果如下:
8)metrics
访问http://localhost:8080/metrics,效果如下:
9)mappings
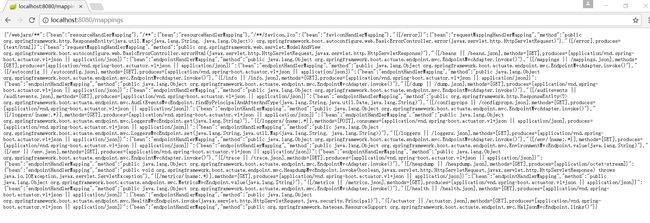
访问http://localhost:8080/mappings,效果如下:
10)shutdown
shutdown端点默认是关闭的,我们可以在application.properties中开启:
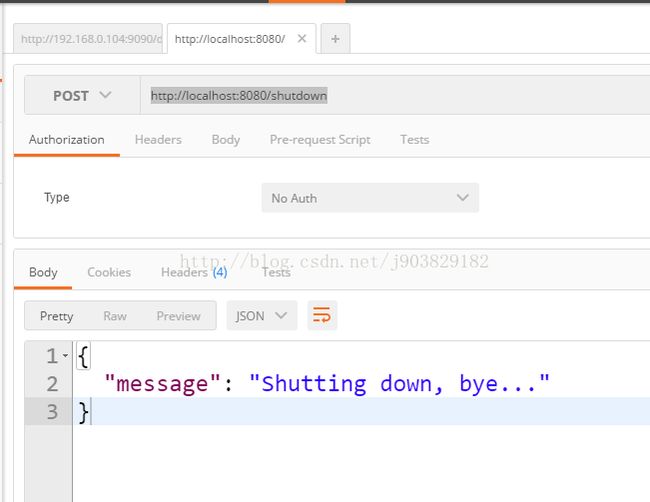
endpoints.shutdown.enabled=trueshutdown端点不支持get提交,不可以直接在浏览器上访问,所以我们这里使用postman来测试。用post方式访问http://localhost:8080/shutdown,效果如下:
控制台效果如下:
2017-11-06 22:01:47.156  INFO 13064 --- [nio-8080-exec-1] o.a.c.c.C.[Tomcat].[localhost].[/]       : Initializing Spring FrameworkServlet 'dispatcherServlet'
2017-11-06 22:01:47.156  INFO 13064 --- [nio-8080-exec-1] o.s.web.servlet.DispatcherServlet        : FrameworkServlet 'dispatcherServlet': initialization started
2017-11-06 22:01:47.195  INFO 13064 --- [nio-8080-exec-1] o.s.web.servlet.DispatcherServlet        : FrameworkServlet 'dispatcherServlet': initialization completed in 39 ms
2017-11-06 22:01:47.738  INFO 13064 --- [      Thread-18] ationConfigEmbeddedWebApplicationContext : Closing org.springframework.boot.context.embedded.AnnotationConfigEmbeddedWebApplicationContext@517cd4b: startup date [Mon Nov 06 22:01:38 GMT+08:00 2017]; root of context hierarchy
2017-11-06 22:01:47.742  INFO 13064 --- [      Thread-18] o.s.c.support.DefaultLifecycleProcessor  : Stopping beans in phase 0
2017-11-06 22:01:47.800  INFO 13064 --- [      Thread-18] o.s.j.e.a.AnnotationMBeanExporter        : Unregistering JMX-exposed beans on shutdown

Process finished with exit code 0
11)trace
访问http://localhost:8080/trace,效果如下:
上面显示为空,是因为没有进行http请求(默认显示最新的http请求)
3,定制端点
定制端点一般通过endpoints+端点名+属性名来设置,每段之间用.隔开
1)修改端点id
endpoints.beans.id=mybeans
此时我们访问的端点地址变成了:http://localhost:8080/mybeans
2)开启端点
例如我们开启shutdown端点:
endpoints.shutdown.enabled=true
3)关闭端点
关闭beans端点
endpoints.beans.enabled=false
4)只开启所需端点
若只开启所需端点的话,我们可以通过关闭所有的端点,然后再开启所需端点来实现,例如:
endpoints.enabled=false
endpoints.beans.enabled=true
5)定制端点访问路径
默认的端点访问路径是在根目录下的,如http://localhost:8080/beans.我们可以通过下面配置修改:
management.context-path=/manage
此时我们的访问地址就变成了:http://localhost:8080/manage/beans
6)定制端点访问端口
当我们基于安全的考虑,不曝露端点的端口到外部时,就需要应用本身的业务端口和端点所用的端口使用不同的端口。我们可以通过如下配置改变端点访问的端口:
management.port=8081
7)关闭http端点
管理http端点可使用下面配置实现:
management.port=-1
4,自定义端点
当spring boot提供的端点不能满足我们特殊的要求,而我们又需要对特殊的应用状态进行监控的时候,就需要自定义一个端点。
下面演示应用改变了一个变量的状态时,我们可以通过端点监控变量的状态。
我们需要继承一个AbstractEndpoint的实现类,并将其注册为bean即可。
状态服务:
package com.jack.springboot20monitor.service;

import org.springframework.stereotype.Service;

/**
 * create by jack 2017/11/6
 */
@Service
public class StatusService {
    private String status;

    public String getStatus() {
        return status;
    }

    public void setStatus(String status) {
        this.status = status;
    }
}
自定义端点:
package com.jack.springboot20monitor.endpoint;


import com.jack.springboot20monitor.service.StatusService;
import org.springframework.beans.BeansException;
import org.springframework.boot.actuate.endpoint.AbstractEndpoint;
import org.springframework.boot.context.properties.ConfigurationProperties;
import org.springframework.context.ApplicationContext;
import org.springframework.context.ApplicationContextAware;

/**
 * create by jack 2017/11/6
 */

/**
 * 通过设置@ConfigurationProperties的设置,我们可以在application.properties中通过endpoints。status配置我们的端点,
 * 继承AbstractEndpoint类,AbstractEndpoint是Endpoint接口的抽象实现,当前类一定要重写invoke方法。实现ApplicationContextAware
 * 接口可以让当前类对spring容器的资源有意识,即可访问容器的资源
 */
@ConfigurationProperties(prefix = "endpoints.status",ignoreUnknownFields = false)
public class StatusEndpoint extends AbstractEndpoint implements ApplicationContextAware {

    ApplicationContext context;
    public StatusEndpoint() {
        super("status");
    }

    /**
     * 通过重写invoke方法,返回我们要监控的内容
     * @return
     */
    @Override
    public String invoke() {
        StatusService statusService = context.getBean(StatusService.class);
        return "The Current Status is :"+statusService.getStatus();
    }

    @Override
    public void setApplicationContext(ApplicationContext applicationContext) throws BeansException {
        this.context=applicationContext;
    }
}
控制器:
package com.jack.springboot20monitor.controller;

import com.jack.springboot20monitor.service.StatusService;
import org.springframework.beans.factory.annotation.Autowired;
import org.springframework.web.bind.annotation.RequestMapping;
import org.springframework.web.bind.annotation.RestController;

/**
 * create by jack 2017/11/6
 */
@RestController
@RequestMapping("monitor")
public class MonitorController {

    @Autowired
    private StatusService statusService;

    @RequestMapping("/change")
    public String changeStatus(String status){
        statusService.setStatus(status);
        return "OK";
    }


}
注册端点:
package com.jack.springboot20monitor;

import com.jack.springboot20monitor.endpoint.StatusEndpoint;
import org.springframework.boot.SpringApplication;
import org.springframework.boot.actuate.endpoint.Endpoint;
import org.springframework.boot.autoconfigure.SpringBootApplication;
import org.springframework.context.annotation.Bean;


@SpringBootApplication
public class Springboot20monitorApplication {

	public static void main(String[] args) {
		SpringApplication.run(Springboot20monitorApplication.class, args);
	}


	@Bean
	public Endpoint status(){
		Endpoint status = new StatusEndpoint();
		return status;
	}

}
运行:
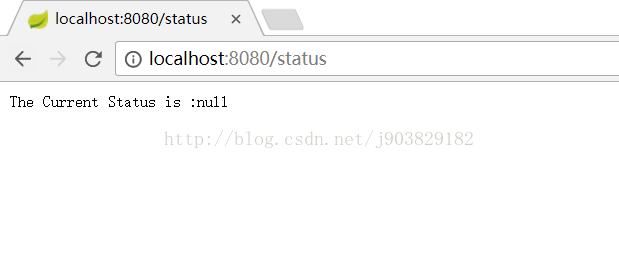
启动程序,访问http://localhost:8080/status,此时效果如下:
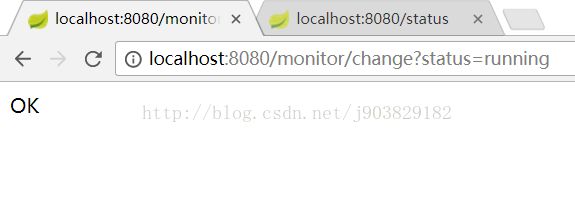
当我们通过控制器访问:http://localhost:8080/monitor/change?status=running,改变status的值的时候,
我们在通过访问http://localhost:8080/status查看status的状态时,结果如下:
5,自定义HealthIndicator
Health信息都是从ApplicationContext中所有的HealthIndicator的Bean中收集的,Spring中内置了一些HealthIndicator,如下:
DiskSpacheHealthIndicator :检测低磁盘空间
DataSourceHealthIndicator :检测DataSource连接是否获得
ElasticsearchHealthIndicator :检测ElasticSearch集群是否运行
JmsHealthIndicator :检测JMS消息代理是否在运行
MailHealthIndicator :检测邮件服务器是否在运行
MongoHealthIndicator :检测MongoDB是否在运行
RabbitHealthIndicator :检测RabbitMQ是否在运行
RedisHealthIndicator :检测redis是否在运行
SolrHealthIndicator :检测Redis是否在运行
下面定制自己的HealthIndicator,定制自己的HealthIndicator我们只需要定一个实现HealthIndicator接口的类,并注册为Bean即可。我们依然通过上面的status值决定健康情况,只有当status的值为running时才为健康。
1)HealthIndicator实现类
package com.jack.springboot20monitor.indicator;

import com.jack.springboot20monitor.service.StatusService;
import org.springframework.beans.factory.annotation.Autowired;
import org.springframework.boot.actuate.health.Health;
import org.springframework.boot.actuate.health.HealthIndicator;
import org.springframework.stereotype.Component;

/**
 * create by jack 2017/11/8
 */
@Component
//实现HealthIndicator接口并重写health()方法
public class StatusHealth implements HealthIndicator {
    @Autowired
    private StatusService statusService;
    @Override
    public Health health() {
        String status = statusService.getStatus();
        if (status == null || !status.equals("running")){
            //当status的值为非running时构造失败
            return Health.down().withDetail("Error","Not Running").build();
        }
        //其余情况运行成功
        return Health.up().build();
    }
}
2)运行
运行程序,访问http://localhost:8080/health,如下:
这时我们修改status的值为running,访问http://localhost:8080/monitor/change?status=running,如下:
再次访问http://localhost:8080/health,显示如下:
二,JMX
我们也可以通过JXM对应用进行监控和管理。还是使用上面的例子。
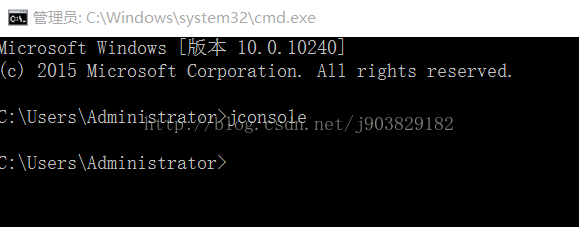
在控制台调用java内置的jconsole来实现JMX监控,如下:
这时会打开jconsole页面,选择当前的程序进程,如下:
进入界面后,在MBean标签的org.springframework.boot域下可对我们的程序进行监控和管理,如下:
三,SSH
我们还可以通过SSH或TELNET监控和管理我们的应用,这一点spring boot是借助CraSH(http://www.crashub.org)来实现。在应用中,我们只需在spring boot项目中添加spring-boot-starter-shell依赖即可。
1,新建spring boot项目
新建spring boot项目,依赖Remote Shell(spring-boot-starter-remote-shell),web
pom.xml配置如下:
	4.0.0

	com.jack
	springboot21ssh
	0.0.1-SNAPSHOT
	jar

	springboot21ssh
	Demo project for Spring Boot


		org.springframework.boot
		spring-boot-starter-parent
		1.5.8.RELEASE


		UTF-8
		UTF-8
		1.8


			org.springframework.boot
			spring-boot-starter-web


			org.springframework.boot
			spring-boot-starter-remote-shell


			org.springframework.boot
			spring-boot-starter-test
			test


				org.springframework.boot
				spring-boot-maven-plugin
2,运行
启动程序,此时控制台会提示SSH访问的密码,如下:
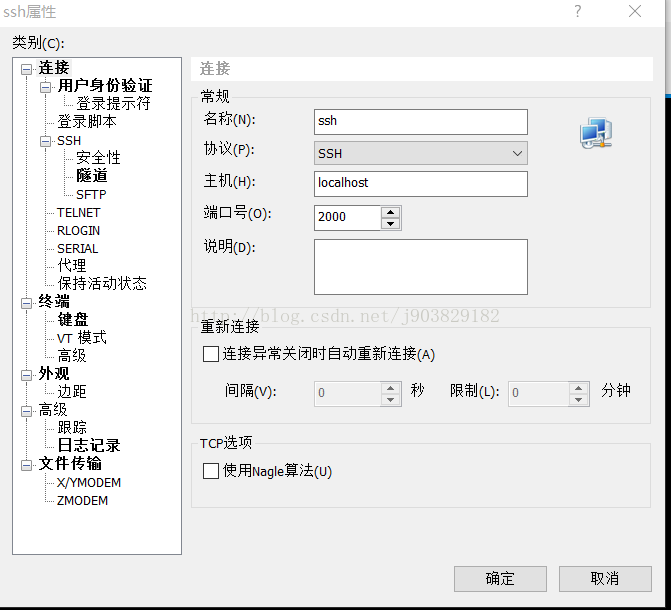
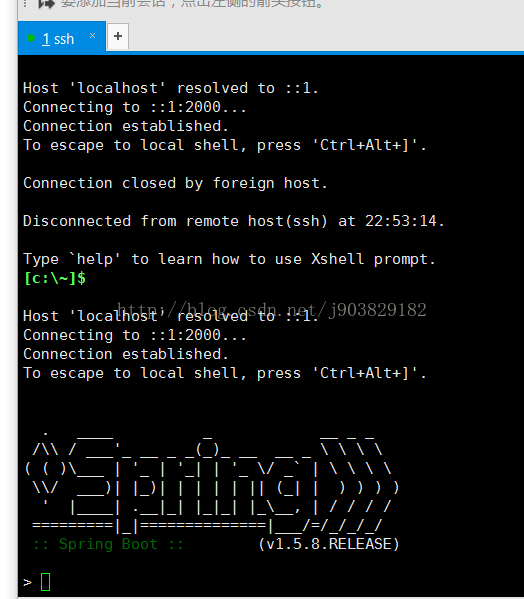
这样我们就可以通过下面信息登入我们的程序(SSH客户端可使用puTTY,SecureCRT等),这里我使用xshell登入,登入下面如下:
点击确定,输入username用户名是:user,密码是控制台打印出来的密码:Using default password for shell access: 8c0ca35a-1211-47b2-b01e-d3863be727cd
登入后的效果如下:
3,常用命令
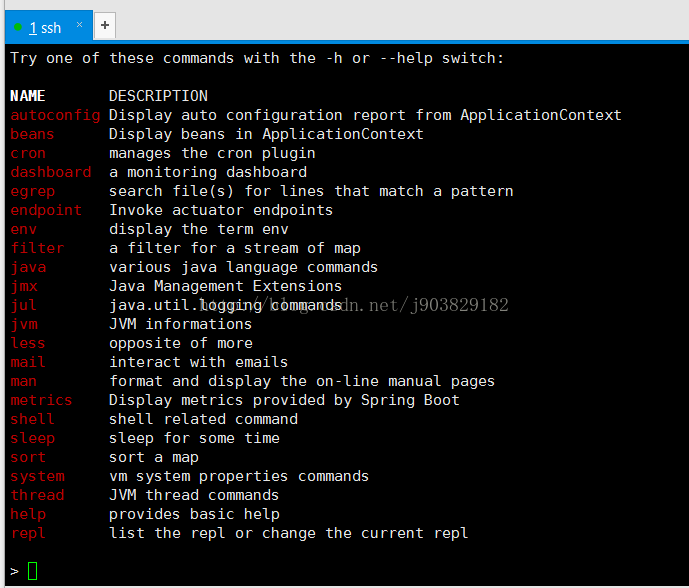
1)help
输入help命令,获得命令列表,如下:
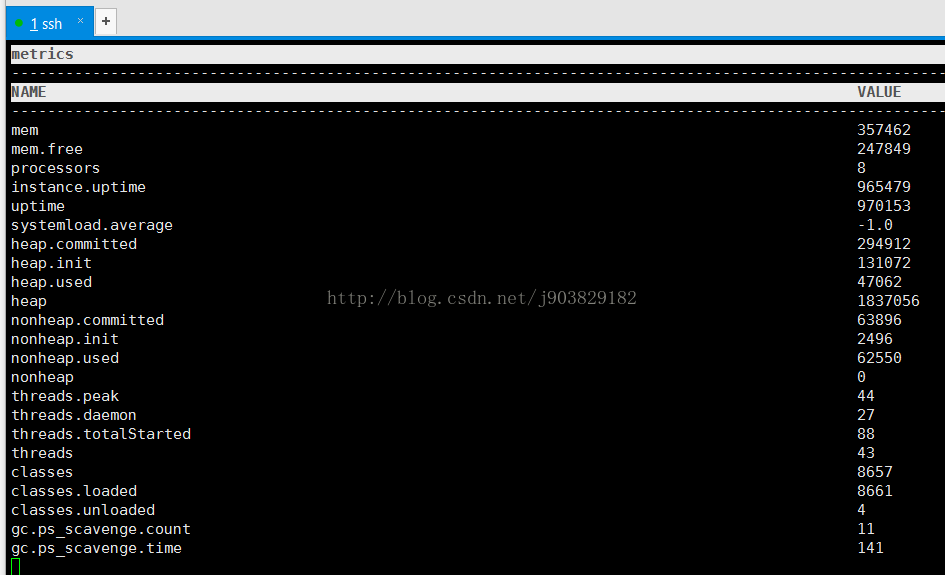
2)metrics
输入metrics命令,效果如下:
3)endpoint
输入下面命令获得端点列表,如下:
调用某一个端点,如调用health,如下:
4,定制登入用户
我们可以通过在application.properties下定制下面的属性,实现用户的账号密码的定制:
management.shell.auth.simple.user.name=jack
management.shell.auth.simple.user.password=jack
5,扩展命令
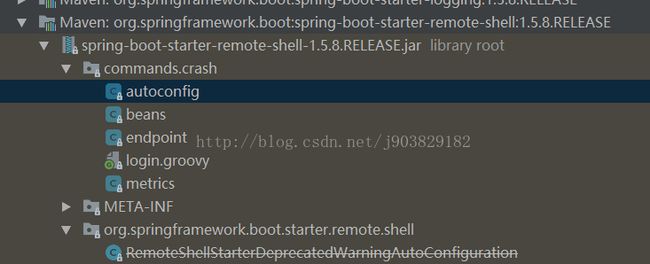
可以在spring-boot-starter-remote-shell.jar中看到spring-boot为我们定制的命令,如下所:
beans代码如下:
package commands

import org.springframework.boot.actuate.endpoint.BeansEndpoint

class beans {

	@Usage("Display beans in ApplicationContext")
	@Command
	def main(InvocationContext context) {
		def result = [:]
		context.attributes['spring.beanfactory'].getBeansOfType(BeansEndpoint.class).each { name, endpoint ->
			result.put(name, endpoint.invoke())
		}
		result.size() == 1 ? result.values()[0] : result
	}

}
下面使用Groovy语言来编制命令, Groovy语言是spring主导的运行于JVM的动态语言,是可以替代Java作为开发语言的。这需要说明一下,spring boot既可以用java语言开发,也可以用Groovy语言开发,感兴趣的可以学习下。
这里需要注意的是InvocationContext,我们可以通过InvocationContext获得下面的的属性:
spring.boot.version :spring boot的版本
spring.version:spring 框架的版本
spring.beanfactory:访问spring的BeanFactory
spring.enviroment:访问spring的Enviroment
可以使用Groovy语言写命令的定制,命令可以放以下,spring boot会自动扫描:
classpath*:/commands/**
classpath*:/crash/commands/**
在src/main/resources下新建commands文件夹,新建hello.groovy,内容如下:
package commands

import org.crsh.cli.Command
import org.crsh.cli.Usage
import org.crsh.command.InvocationContext

/**
 * create by jack 2017/11/9
 */
class hello {
    /**
     * 使用 @Usage注解解释该命令的用途
     * @param context
     * @return
     */
    @Usage("Say Hello")
    //使用@Command注解当前是一个CRaSH命令
    @Command
    def main(InvocationContext context){
        //获得spring boot的版本,注意Groovy的方法和变量声明关键字为def
        def bootVersion = context.attributes['spring.boot.version'];
        //获得Spring框架的版本
        def springVersion = context.attributes['spring.version'];
        //返回命令执行
        return "Hello,your Spring Boot version is "+bootVersion+" ,your" +
                "Spring Framework version is "+springVersion;
    }
}
运行:
此时运行程序,这里还是使用xshell作为登入SSH客户端登入程序,输入hello命令,可获得如下所示结果:
源码地址:https://github.com/wj903829182/SpringCloudTwo/tree/master/springboot21ssh

