python 简单实现人脸检测
目录
一、准备
二、实现
三、结果
四、代码
一、准备
- python 3.7版本(其他版本也可以)
- matplotlib 画图工具,安装方式:pip install matplotlib
- PIL 图像处理 ,安装方式:pip install pillow
- 实现人脸检测的算法通过引用百度智能云的人脸检测API
二、实现
要想成功调用百度的人脸检测接口,需要先获取access token。首先在百度智能云后台创建一个新应用获取到AppID、API Key、Secret Key。
然后向授权服务地址https://aip.baidubce.com/oauth/2.0/token发送请求(推荐使用POST)
# encoding:utf-8
import requests

# client_id 为官网获取的AK, client_secret 为官网获取的SK
host = 'https://aip.baidubce.com/oauth/2.0/token?grant_type=client_credentials&client_id=【官网获取的AK】&client_secret=【官网获取的SK】'
response = requests.get(host)
if response:
    print(response.json())
详细的接口文档说明见:https://ai.baidu.com/ai-doc/REFERENCE/Ck3dwjhhu
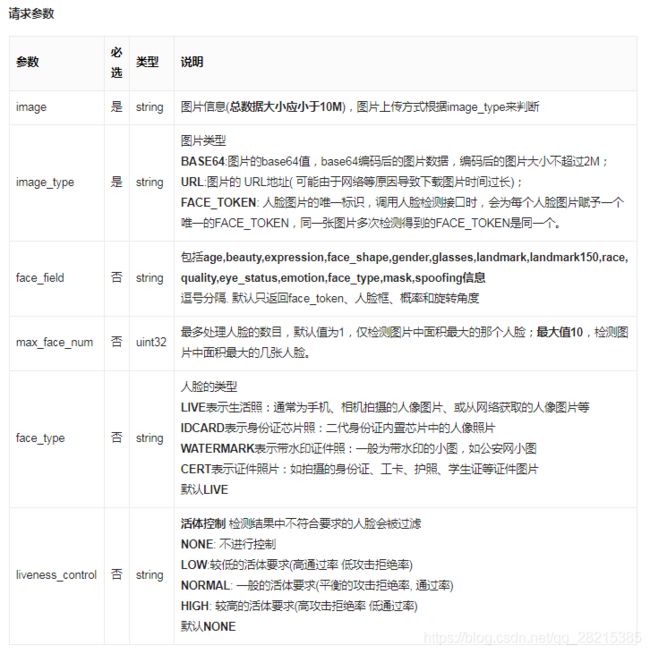
获取到Access Token 后就能正常访问人脸检测接口了,请求URL: https://aip.baidubce.com/rest/2.0/face/v3/detect
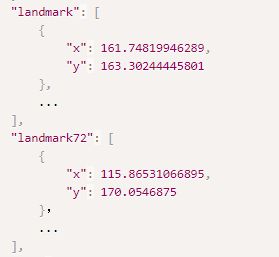
参数landmark、landmark72、 landmark150返回特征点
详细说明见官方文档:https://cloud.baidu.com/doc/FACE/s/yk37c1u4t
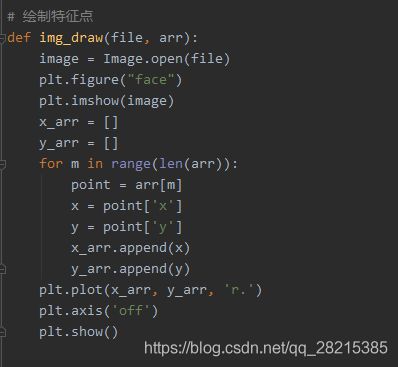
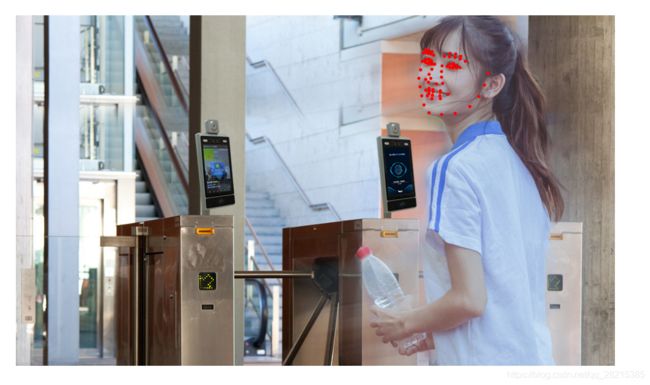
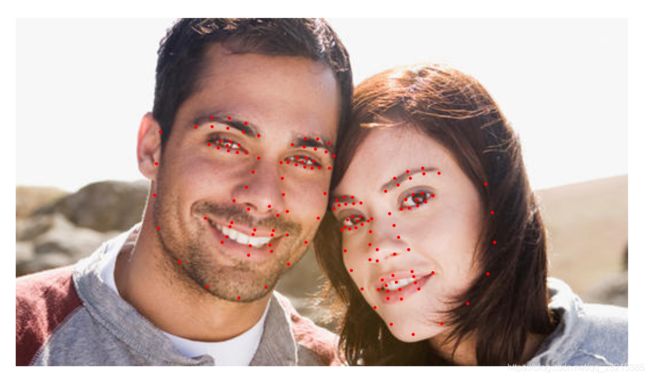
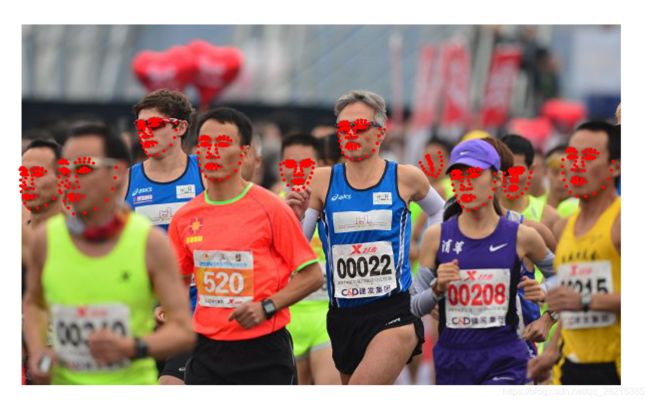
最后利用matplotlib在图像上绘制特征点
三、结果
四、代码
import requests
from PIL import Image
import matplotlib.pyplot as plt
import base64

APP_ID = ''                                # 百度后台应用生成的AppID、API Key和Secret Key
API_KEY = ''
SECRET_KEY = ''


# post请求
def post_url(url, param):
    headers = {'content-type': 'application/json'}
    response = requests.post(url, data=param, headers=headers)
    return response.json()


# 获取Access Token
def get_access_token():
    host = 'https://aip.baidubce.com/oauth/2.0/token'
    param = {'grant_type': 'client_credentials', 'client_id': API_KEY, 'client_secret': SECRET_KEY}
    response = post_url(host, param)
    return response['access_token']


# 人脸检测
def face_detect(file, access_token):
    host = 'https://aip.baidubce.com/rest/2.0/face/v3/detect'   # 接口地址
    url = host + "?access_token=" + access_token
    with open(file, 'rb') as f:
        img_base64 = base64.b64encode(f.read())                 # 将图像进行base64转换
    param = {'image': img_base64,
             'image_type': 'BASE64', 'max_face_num': 10,        # 设置图像类型为base64,最大检测人脸数量为10
             'face_field': 'age,beauty,expression,face_shape,gender,glasses,landmark,landmark150,race,quality,'
                           'eye_status,emotion,face_type,mask,spoofing'}
    response = post_url(url, param)
    print(response)
    return response


# 绘制特征点
def img_draw(file, arr):
    image = Image.open(file)
    plt.figure("face")
    plt.imshow(image)
    x_arr = []
    y_arr = []
    for m in range(len(arr)):
        point = arr[m]
        x = point['x']
        y = point['y']
        x_arr.append(x)
        y_arr.append(y)
    plt.plot(x_arr, y_arr, 'r.')
    plt.axis('off')
    plt.show()


if __name__ == '__main__':
    access_token = get_access_token()                       # 获取access token
    file_path = '7.jpg'                                     # 图像路径
    img_info = face_detect(file_path, access_token)         # 调用百度的人脸识别API
    face_list = img_info['result']['face_list']
    face_num = img_info['result']['face_num']
    data = []
    for i in range(face_num):
        data = data + face_list[i]['landmark72']            # 获取特征点
    img_draw(file_path, data)                               # 绘制图像

