CenOS7下Elasticsearch安装和自动重启配置
Elasticsearch
Elasticsearch安装
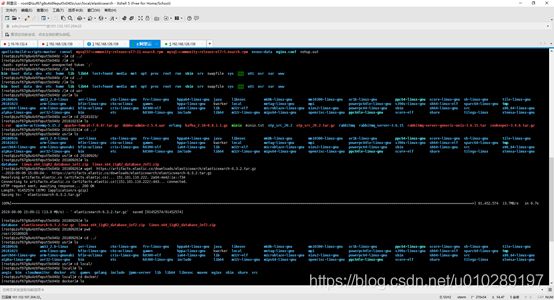
1.下载ElasticSearch
[root@localhost 20190903]# wget https://artifacts.elastic.co/downloads/elasticsearch/elasticsearch-6.3.2.tar.gz
2. 创建加压目录
[root@localhost local]# mkdir elasticsearch
3.解压elasticsearch-6.3.2.tar.gz
[root@localhost elasticsearch]# tar -xvf elasticsearch-6.3.2.tar.gz -C /usr/local/elasticsearch
4. 修改配置
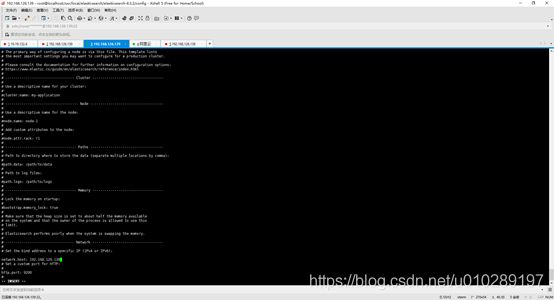
[root@localhost config]# vi elasticsearch.yml
network.host: 192.168.126.139 #你自己的服务器ip
http.port: 9200 #端口号
5.启动
[root@localhost bin]# ./elasticsearch –d
6.测试
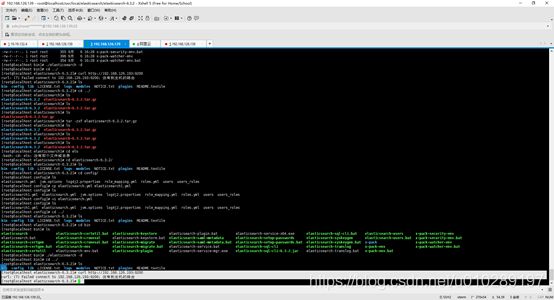
[root@localhost elasticsearch-6.3.2]# curl http://192.168.126.193:9200
出现问题:
主要是由于jvm内存不足引起的。
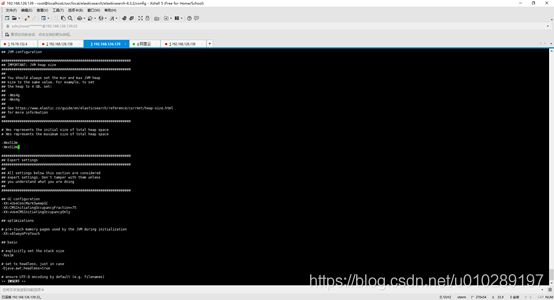
/usr/local/elasticsearch/elasticsearch-6.3.2/config中找到jvm.options
[root@localhost config]# vi jvm.options
修改成:
-Xms512m
-Xmx512m
默认是
-Xms1g
-Xmx1g
[root@localhost bin]# ./elasticsearch
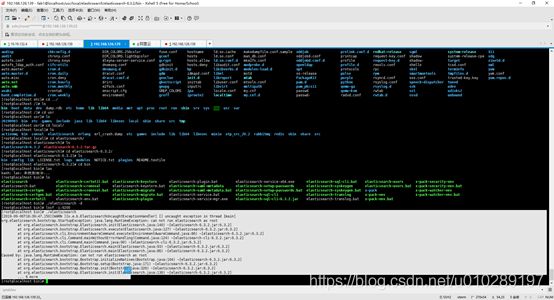
出现上面的问题:
因为,root不允许直接启动。需要创建新用户和并且给用户授权。
(1)以root用户来创建新的用户 , groupadd 添加一个用户组
[root@localhost /]# groupadd elk
(2)添加一个用户,-g是在用户组下 -p是密码(用户为elk,密码elk)
[root@localhost /]# useradd elk -g elk -p elk
(3)进入es的安装目录
[root@localhost elasticsearch]# cd /usr/local/elasticsearch
(4)给用户elk授权
[root@localhost elasticsearch]# chown -R elk:elk elasticsearch-6.3.2/
(5)切换到 elk用户
[root@localhost elasticsearch]# su elk
[elk@localhost bin]$ ./elasticsearch
[2019-09-06T18:56:32,329][INFO ][o.e.x.s.a.s.FileRolesStore] [vYAPqA0] parsed [0] roles from file [/usr/local/elasticsearch/elasticsearch-6.3.2/config/roles.yml]
[2019-09-06T18:56:33,142][INFO ][o.e.x.m.j.p.l.CppLogMessageHandler] [controller/9584] [Main.cc@109] controller (64 bit): Version 6.3.2 (Build 903094f295d249) Copyright (c) 2018 Elasticsearch BV
[2019-09-06T18:56:33,591][DEBUG][o.e.a.ActionModule ] Using REST wrapper from plugin org.elasticsearch.xpack.security.Security
[2019-09-06T18:56:33,855][INFO ][o.e.d.DiscoveryModule ] [vYAPqA0] using discovery type [zen]
[2019-09-06T18:56:34,886][INFO ][o.e.n.Node ] [vYAPqA0] initialized
[2019-09-06T18:56:34,886][INFO ][o.e.n.Node ] [vYAPqA0] starting ...
[2019-09-06T18:56:35,165][INFO ][o.e.t.TransportService ] [vYAPqA0] publish_address {192.168.126.139:9300}, bound_addresses {192.168.126.139:9300}
[2019-09-06T18:56:35,196][INFO ][o.e.b.BootstrapChecks ] [vYAPqA0] bound or publishing to a non-loopback address, enforcing bootstrap checks
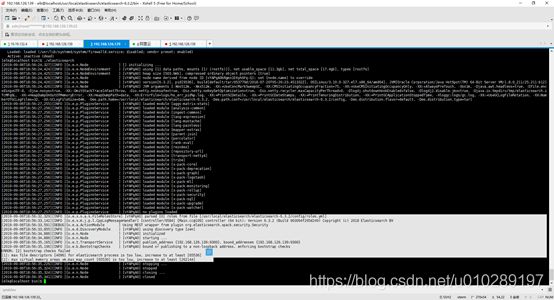
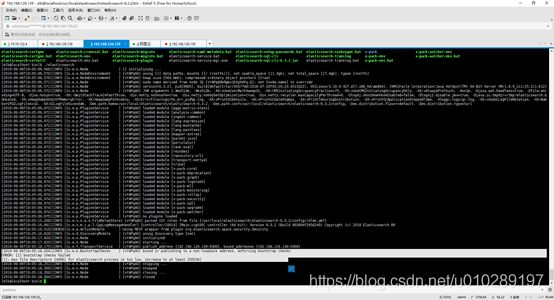
ERROR: [2] bootstrap checks failed
[1]: max file descriptors [4096] for elasticsearch process is too low, increase to at least [65536]
[2]: max virtual memory areas vm.max_map_count [65530] is too low, increase to at least [262144]
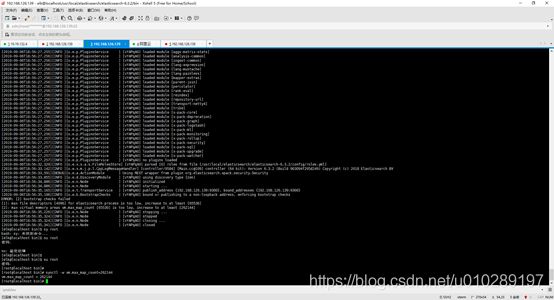
切换到root用户
[elk@localhost bin]$ su root
设置vm.max_map_count值
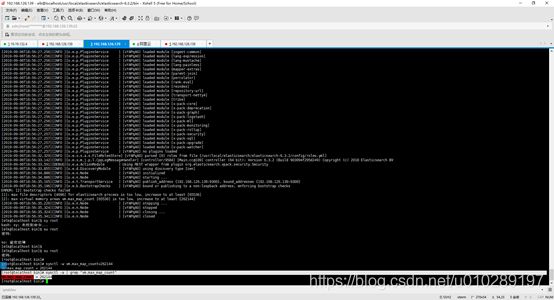
[root@localhost bin]# sysctl -w vm.max_map_count=262144
检查配置是否生效
[root@localhost bin]# sysctl -a | grep "vm.max_map_count"
再次启动报如下所示错误:
[2019-09-06T19:05:18,204][INFO ][o.e.b.BootstrapChecks ] [vYAPqA0] bound or publishing to a non-loopback address, enforcing bootstrap checks
ERROR: [1] bootstrap checks failed
[1]: max file descriptors [4096] for elasticsearch process is too low, increase to at least [65536]
报错max file descriptors [4096] for elasticsearch process is too low, increase to at least [65536]是因为操作系统安全检测配置影响的,需要切换到root用户下做如下配置:
[root@localhost bin]# cd /etc/security/
先做一个配置备份
[root@localhost security]# cp limits.conf limits.conf.bak
然后编辑limits.conf增加如下配置:
# elasticsearch config start
* soft nofile 65536
* hard nofile 131072
* soft nproc 2048
* hard nproc 4096
# elasticsearch config end
在次启动:
[elk@localhost bin]$ ./elasticsearch
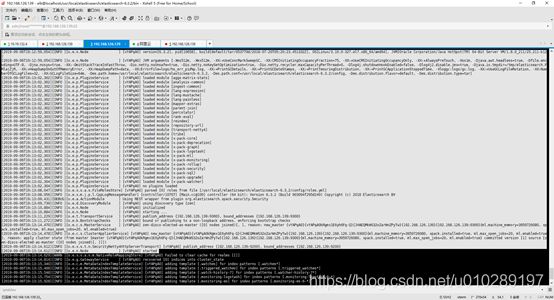
[2019-09-06T19:13:14,612][INFO ][o.e.x.s.t.n.SecurityNetty4HttpServerTransport] [vYAPqA0] publish_address {192.168.126.139:9200}, bound_addresses {192.168.126.139:9200}
[2019-09-06T19:13:14,612][INFO ][o.e.n.Node ] [vYAPqA0] started
6.测试验证
[root@localhost ~]# ps -ef|grep elasticsearch
在浏览器输入:http://192.168.126.193:9200/
Elasticsearch自动重启配置
(1)在/etc/init.d/目录下创建elasticsearch自启动脚本
[root@localhost ~]# cd /etc/init.d/
[root@localhost init.d]# vi elasticsearch
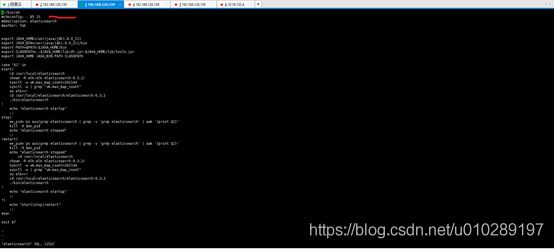
注意:红色地方的配置。
Elasticsearch内容如下所示:
#!/bin/sh
#chkconfig: - 85 15
#description: elasticsearch
#author: fab


export JAVA_HOME=/usr/java/jdk1.8.0_211
export JAVA_BIN=/usr/java/jdk1.8.0_211/bin
export PATH=$PATH:$JAVA_HOME/bin
export CLASSPATH=.:$JAVA_HOME/lib/dt.jar:$JAVA_HOME/lib/tools.jar
export JAVA_HOME JAVA_BIN PATH CLASSPATH

case "$1" in
start)
    cd /usr/local/elasticsearch
    chown -R elk:elk elasticsearch-6.3.2/
    sysctl -w vm.max_map_count=262144
    sysctl -a | grep "vm.max_map_count"
    su elk<
(2)修改执行权限
[root@localhost init.d]# chmod +x elasticsearch
(3)增加elasticsearch服务到系统服务中
[root@localhost init.d]# chkconfig --add elasticsearch
(4)设置开机启动elasticsearch服务
[root@localhost init.d]# chkconfig elasticsearch on
(5)自动重启测试
[root@localhost init.d]# reboot
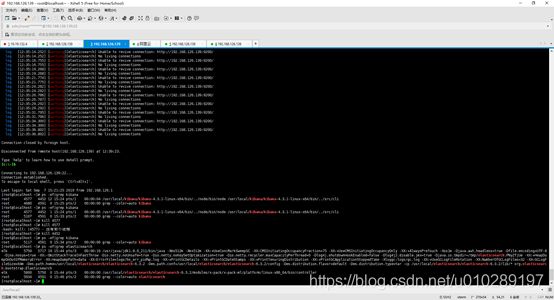
Connection closed by foreign host.
Disconnected from remote host(192.168.126.139) at 11:59:21.
Type `help' to learn how to use Xshell prompt.
[root@localhost ~]# jps
Elasticsearch-head插件安装
在安装elasticsearch—head插件首先需要安装node。
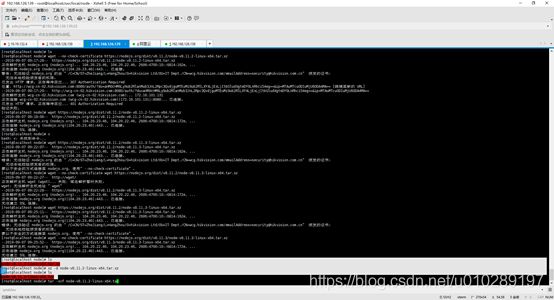
1.在线下载node-v8.11.2-linux-x64.tar.xz
[root@localhost node]# wget https://nodejs.org/dist/v8.11.2/node-v8.11.2-linux-x64.tar.xz
2.解压node-v8.11.2-linux-x64.tar.xz
[root@localhost node]# xz -d node-v8.11.2-linux-x64.tar.xz
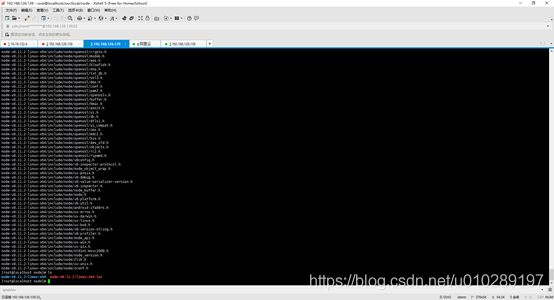
第一步解压之后如下所示:
[root@localhost node]# tar -xvf node-v8.11.2-linux-x64.tar
3.创建软连接
[root@localhost node]# ln -s /usr/local/node/node-v8.11.2-linux-x64/bin/node /usr/local/bin/node
[root@localhost node]# ln -s /usr/local/node/node-v8.11.2-linux-x64/bin/npm /usr/local/bin/npm
4.验证
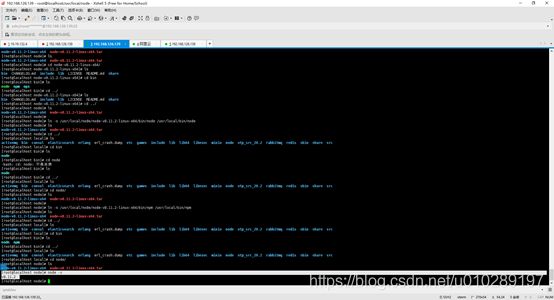
[root@localhost node]# node –v
出现如下所示表示安装node成功
5. 使用git安装elasticsearch-head
[root@localhost 20190903]# yum install -y epel git
[root@localhost 20190903]# yum install -y npm
[root@localhost 20190903]#git clone git://github.com/mobz/elasticsearch-head.git
[root@localhost 20190903]# cd elasticsearch-head
//设定nodejs安装软件的代理服务器
[root@localhostelasticsearch-head]# npm config set registry https://registry.npm.taobao.org
[root@localhost elasticsearch-head]# npm install
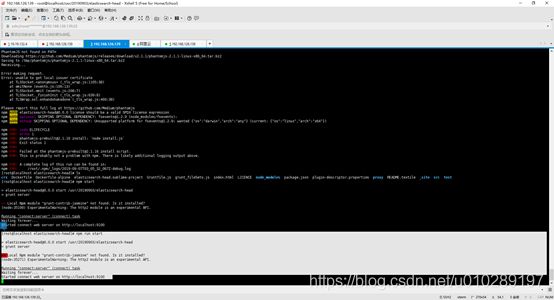
[root@localhost elasticsearch-head]# npm run start
> [email protected] start /usr/20190903/elasticsearch-head
> grunt server
>> Local Npm module "grunt-contrib-jasmine" not found. Is it installed?
(node:35271) ExperimentalWarning: The http2 module is an experimental API.
Running "connect:server" (connect) task
Waiting forever...
Started connect web server on http://localhost:9100
6.验证在浏览器输入
http://192.168.126.139:9100/
