ViewPager实现画廊效果
文章目录
- 开个头
- 实现过程
- 1.先实现viewpager基本轮播效果
- 2.添加PageTransformer
- 3.添加padding 和 clipToPadding
- 4.设置Margin
- 出现了问题
- 解决方法1:优雅地设置margin
- 解决方法2:强行设置margin
开个头
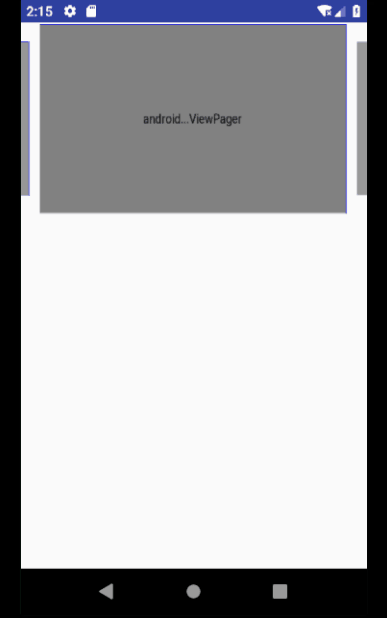
直接来一发最终的实现效果。
至于自动轮播和无限轮播的效果,可以自行百度或者google,这个不是本文的重点。
实现过程
1.先实现viewpager基本轮播效果
这个就不做过多解释了,网上一抓一大把。
2.添加PageTransformer
PageTransformer是ViewPager的内部接口类。关于他的作用,直接看官方的注释就够了。
	ViewPager.class

  /**
     * A PageTransformer is invoked whenever a visible/attached page is scrolled.
     * This offers an opportunity for the application to apply a custom transformation
     * to the page views using animation properties.
     *
     * 当一个可见的被attach的页面滚动的时候会调用PageTransformer。这给应用使用动画属性来实现自定义页面动画提供了机会。
     *
     * As property animation is only supported as of Android 3.0 and forward,
     * setting a PageTransformer on a ViewPager on earlier platform versions will
     * be ignored.
     *
     * 因为属性动画只支持android3.0及以上的系统,所以在3.0以下给ViewPager设置PageTransformer将无效。
     * 这个我觉得我们不必担心,因为当前google已经官宣放弃4.0以下系统的维护了,现在我们的minSdkVersion可以大胆设置为16了
     */
    public interface PageTransformer {
        /**
         * Apply a property transformation to the given page.
         * 为被给定的page实现属性动画
         *
         * @param page Apply the transformation to this page
         * @param position Position of page relative to the current front-and-center
         *                 position of the pager. 0 is front and center. 1 is one full
         *                 page position to the right, and -1 is one page position to the left.
         *
         *                 postion是指页面的位置,而这个位置就是当前页面的的前端或者中心位置(蹩脚)。
         *                 0表示页面在前端和中心。1表示页面在右边,-1表示页面在左边。
         * 			       重点理解下面的变化规律。
         * 	               也就说,当一个页面从正中心位置往左边滚动的时候,postion 0->-1
         *                        当一个页面从正中心位置往右边滚动的时候,position 0->1
         *
         */
        void transformPage(@NonNull View page, float position);
    }

ViewPager的每个page都有自己的position,每个page在滑动的时候,就像在一个红色坐标轴上滑动一样,坐标一直在变化,position也一直在变化。这里postion就相当于坐标了。

看分割线以下。
从2位置滑动到1的位置,就是高度缩放变化为1 -> 0.8,position变化为0 -> -1。
从2位置滑动到3的位置,就是高度缩放变化为1 -> 0.8,position变化为0 -> 1。
下面就是数学题了。
设高度缩放为 scaleY。
-1 <= position < 0 ,scaleY = 0.8+(1-0.8) * (position + 1)
0 <= position <= 1,scaleY = 0.8 +(1-0.8) * (1 - position)
接下来就是把数学公式翻译成android代码了。
public class MyPageTransformer implements ViewPager.PageTransformer {
 	   /**
         * Y方向最小缩放值
         */
    private static final float MIN_SCALE_Y = 0.8f;
    @Override
    public void transformPage(@NonNull View page, float position) {
        if (position >= 1 || position <= -1) {
            page.setScaleY(MIN_SCALE_Y);
        } else if (position < 0) {
        	//  -1 < position < 0
            //View 在再从中间往左边移动,或者从左边往中间移动
            float scaleY = MIN_SCALE_Y + (1 + position) * (1 - MIN_SCALE_Y);
            page.setScaleY(scaleY);
        } else {
        	// 0 <= positin < 1
            //View 在从中间往右边移动 或者从右边往中间移动
            float scaleY = (1 - MIN_SCALE_Y) * (1 - position) + MIN_SCALE_Y;
            page.setScaleY(scaleY);
        }
    }
}
给ViewPager设置PageTransformer
viewPager.setPageTransformer(false, new MyPageTransformer());
看效果,已经有模有样了。
3.添加padding 和 clipToPadding
现在我们的效果是,当有一个page selected的时候,ViewPager只能展示一个page。
所以需要在ViewPager布局文件里面,给ViewPager设置Padding,并且添加一个clipToPadding属性设置为false。
具体原因就不解释了,这不是本篇的重点。
    <android.support.v4.view.ViewPager
        android:id="@+id/viewPager"
        android:layout_width="match_parent"
        android:layout_height="200dp"
        android:clipToPadding="false"
        android:paddingLeft="20dp"
        android:paddingRight="20dp">
    </android.support.v4.view.ViewPager>
看下效果,越来越接近了。

4.设置Margin
接下来是给page之间设置间距。
先看下我的PageAdapter里面的 instantiateItem方法。我为了偷懒没有创建一个item.layout而是直接new 一个ImageView出来。
  @NonNull
        @Override
        public Object instantiateItem(@NonNull ViewGroup container, int position) {
            ImageView imageView = new ImageView(container.getContext());
            ViewPager.LayoutParams layoutParams = new ViewPager.LayoutParams();
            imageView.setLayoutParams(layoutParams);
            imageView.setScaleType(ImageView.ScaleType.FIT_XY);
            imageView.setImageResource(dataSource.get(position));
            container.addView(imageView);
            return imageView;
        }
出现了问题
我想在ViewPager.LayoutParams 直接设置margin的时候,发现根本没有setMargins()这个方法。
看了源码才知道,VIewGroup里面不止有个LayoutParams内部类,还有个MarginLayoutParams内部类。而我们的VIewPager.LayoutParams就是继承ViewGroup.LayoutParams的
	ViewGroup.class

	public static class LayoutParams {...}

	 /**
     * Per-child layout information for layouts that support margins.
     * 为每一个子View的布局信息提供Margins。
     * 所以ViewGroup.LayoutParams是不支持设置Margin的。
     * See
     * {@link android.R.styleable#ViewGroup_MarginLayout ViewGroup Margin Layout Attributes}
     * for a list of all child view attributes that this class supports.
     *
     * @attr ref android.R.styleable#ViewGroup_MarginLayout_layout_margin
     * @attr ref android.R.styleable#ViewGroup_MarginLayout_layout_marginHorizontal
     * @attr ref android.R.styleable#ViewGroup_MarginLayout_layout_marginVertical
     * @attr ref android.R.styleable#ViewGroup_MarginLayout_layout_marginLeft
     * @attr ref android.R.styleable#ViewGroup_MarginLayout_layout_marginTop
     * @attr ref android.R.styleable#ViewGroup_MarginLayout_layout_marginRight
     * @attr ref android.R.styleable#ViewGroup_MarginLayout_layout_marginBottom
     * @attr ref android.R.styleable#ViewGroup_MarginLayout_layout_marginStart
     * @attr ref android.R.styleable#ViewGroup_MarginLayout_layout_marginEnd
     */
	public static class MarginLayoutParams extends ViewGroup.LayoutParams {...}

	ViewPager.class
	 /**
     * Layout parameters that should be supplied for views added to a
     * ViewPager.
     */
    public static class LayoutParams extends ViewGroup.LayoutParams {
        ...
        public LayoutParams() {
            super(MATCH_PARENT, MATCH_PARENT);
        }
		...
    }
看了上面的源码,我把我的代码改为如下。可是,还是没有效果。
		@NonNull
        @Override
        public Object instantiateItem(@NonNull ViewGroup container, int position) {
            ImageView imageView = new ImageView(container.getContext());
            ViewGroup.MarginLayoutParams layoutParams = new ViewGroup.MarginLayoutParams(ViewGroup.LayoutParams.MATCH_PARENT, ViewGroup.LayoutParams.MATCH_PARENT);
            //设置左右margin
            layoutParams.setMargins(10, 0, 10, 0);
            imageView.setLayoutParams(layoutParams);
            imageView.setScaleType(ImageView.ScaleType.FIT_XY);
            imageView.setImageResource(dataSource.get(position));
            container.addView(imageView);
            return imageView;
        }
气急败坏的我,赶紧去看ViewGroup的源码,他到底给我的LayoutParams做了什么。
	ViewPager.class

	@Override
    public void addView(View child, int index, ViewGroup.LayoutParams params) {
        if (!checkLayoutParams(params)) {
    		//很明显我们第二次设置的ViewGroup.MarginLayoutParams 是不属于ViewPager.LayoutParams的。
    		//所以,他们给我们的ImageView重新设置了一个ViewPaget.LayoutParams。所以我们设置的Margin是无效的。
            params = generateLayoutParams(params);
        }
        final LayoutParams lp = (LayoutParams) params;
        ...
    }
    @Override
    protected ViewGroup.LayoutParams generateDefaultLayoutParams() {
        return new LayoutParams();
    }

    @Override
    protected ViewGroup.LayoutParams generateLayoutParams(ViewGroup.LayoutParams p) {
        return generateDefaultLayoutParams();
    }

    @Override
    protected boolean checkLayoutParams(ViewGroup.LayoutParams p) {
    	//检查我们设置的LayoutParams是不是属于ViewPager.LayoutParams类,并且是不是不为null。
        return p instanceof LayoutParams && super.checkLayoutParams(p);
    }
解决方法1:优雅地设置margin
既然ViewPager的LayoutParams不支持设置margin,google大佬们肯定留了个入口,用其他方式设置。
ViewPager.class

/**
     * Set the margin between pages.
     * 在pages之间设置margin
     *
     * @param marginPixels Distance between adjacent pages in pixels
     *                     注意:这里的marginPixels参数的单位是像素。
     * @see #getPageMargin()
     * @see #setPageMarginDrawable(Drawable)
     * @see #setPageMarginDrawable(int)
     */
    public void setPageMargin(int marginPixels) {
        final int oldMargin = mPageMargin;
        mPageMargin = marginPixels;

        final int width = getWidth();
        recomputeScrollPosition(width, width, marginPixels, oldMargin);

        requestLayout();
    }

    代码中直接用viewPager的实例调用这个方法就行。
    伪代码:
    viewPager.setPageMargin(20);
解决方法2:强行设置margin
我不偷懒了还不行。我老老实实创建一个item.layout。然后在根节点设置margin。
item.layout

<?xml version="1.0" encoding="utf-8"?>
<LinearLayout xmlns:android="http://schemas.android.com/apk/res/android"
    android:layout_width="match_parent"
    android:layout_height="match_parent"
    android:layout_marginLeft="10dp"
    android:layout_marginRight="10dp"
    android:orientation="vertical">

    <ImageView
        android:id="@+id/iv"
        android:layout_width="match_parent"
        android:layout_height="match_parent"
        android:scaleType="fitXY" />
</LinearLayout>
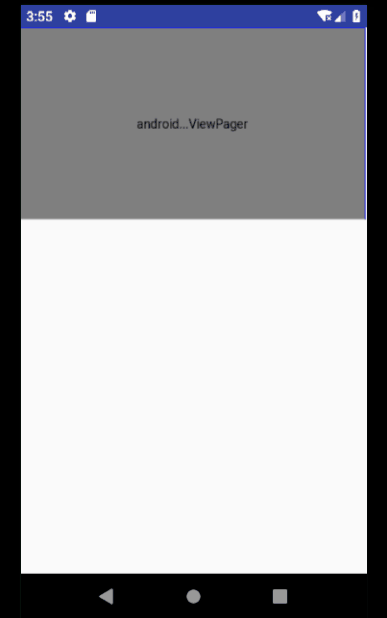
以上两种方法都可以实现我们的开头的最终效果。而两种方法的却别见下图。

如有错误,欢迎指正!