linux 下安装web 服务
本文介绍在ubuntu16.04下安装apache2,mysql, PHP。就是一个web主机的基本配置。当然也适合其他Linux系统。
本文参考了:
https://www.digitalocean.com/community/tutorials/how-to-install-linux-apache-mysql-php-lamp-stack-on-ubuntu-16-04#step-3-install-php
重启动apache 命令
sudo systemctl restart apache2
安装apache2
安装最新版本的apache2,用以下命令就可以了:
sudo apt update
sudo apt install apache2
验证:
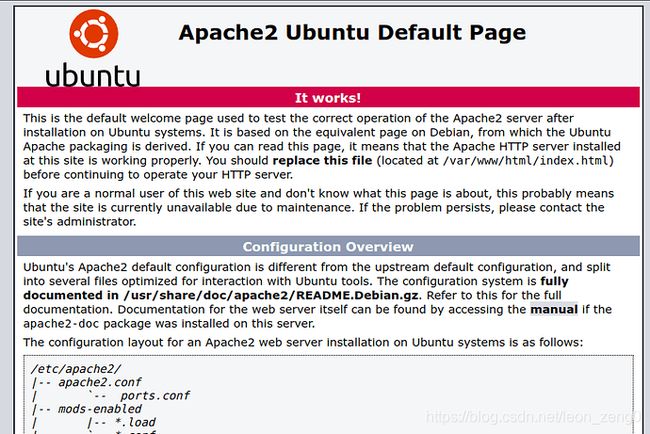
在浏览器里输入本地ip 地址:127.0.0.1 或者你主机的IP地址,应该可以看到如下页面:
看到这个页面说明安装apache2 成功了。
主机内容在/var/www/html ,可以修改其下内容或者通过编辑/etc/apache2/sites-enabled/000-default.conf 来改变设置。
如果想一些配置,可以查看:https://ubuntu.com/tutorials/install-and-configure-apache#2-installing-apache
防火墙配置查看:
sudo ufw app list
我的显示:
liwenz@ubuntu:/var/www/html$ sudo ufw app list
[sudo] password for liwenz:
Available applications:
Apache
Apache Full
Apache Secure
CUPS
如果Apache Full 在列,就说明端口80,443 可以访问。
安装Mysql
运行如下安装命令:
sudo apt-get install mysql-server这样就安装好了mysql,安装过程中会提示你设置根用户的密码。
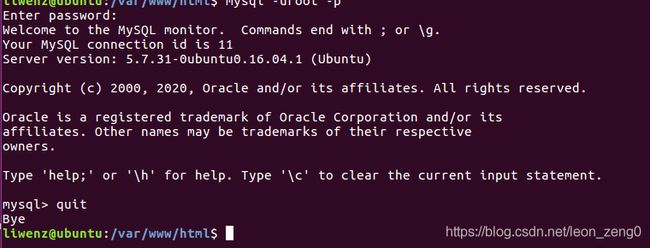
验证mysql ,运行
mysql -uroot -p
即可,然后要你输入密码,如果安装过程中没有设置密码,那么 mysql -uroot 就可以了。
help 或者\h可以查看帮助,quit或者exit 退出。
安装PHP
PHP 是一个开源的WEB服务端脚本语言。其安装执行如下命令:
sudo apt-get install php libapache2-mod-php php-mcrypt php-mysql这样就安装好了。为了让index.php 作为优先于index.html,需要编辑dir.conf,命令如下:
sudo nano /etc/apache2/mods-enabled/dir.conf比如原来内容为:
/etc/apache2/mods-enabled/dir.conf
DirectoryIndex index.html index.cgi index.pl index.php index.xhtml index.htm
修改后为:
/etc/apache2/mods-enabled/dir.conf
DirectoryIndex index.php index.html index.cgi index.pl index.xhtml index.htm
安装PHP 模块,为了提升PHP功能,可以安装附加模块,有哪些模块呢?可以下面命令查看:
apt-cache search php- | less按q就可以退出。可以上下查看。
PHP测试验证:
编写一个很简单代码测试我们的PHP,
sudo nano /var/www/html/info.php
内容如下:
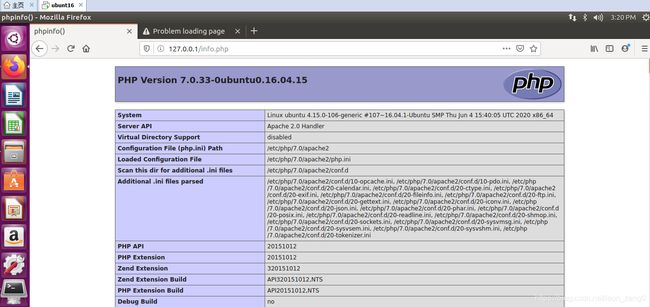
然后在浏览器里输入
http://127.0.0.1/info.php
就可以看到
好的,Apache2, mysql, PHP都安装好了,并且得到验证了。介绍到此。


