Maxwell部署
Maxwell是作为中间件的存在,因此部署之前需要环境,这里用MySQL读到Maxwell生成json串
下载
官网或者git下载或者直接在Linux上wget tar包
我这里下载到了Hadoop用户下software中(个人一直将这些tar包放在一个目录下)

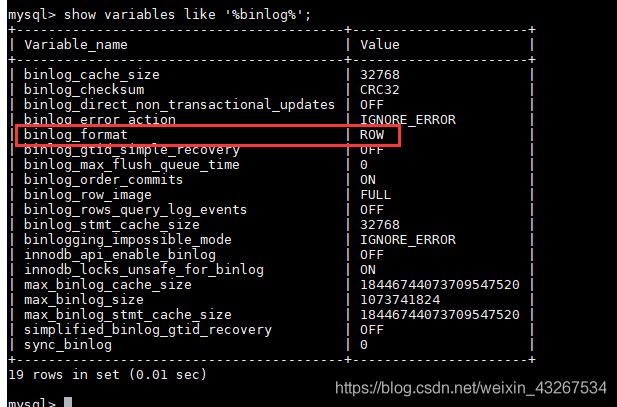
修改MySQL的配置
更改my.cof 下的binlog_format 为ROW 类型

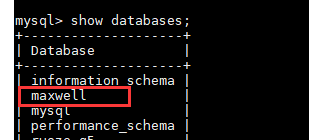
然后创建 maxwell的数据库,刷新权限等等操作(根据官网的quick star进行,但是不是很全,因此加了一点东西)

CREATE DATABASE maxwell;
CREATE USER 'maxwell'@'%' IDENTIFIED BY 'ruoze';
GRANT ALL ON maxwell.* TO 'maxwell'@ '%';
GRANT SELECT, REPLICATION CLIENT, REPLICATION SLAVE ON *.* TO 'maxwell'@'%';
flush privileges;
解压tar包
进入解压文件
bin/maxwell --user='maxwell' --password='ruoze' --host='127.0.0.1' --producer=stdout 启动
之后向MySQL中添加,在Maxwell中产生一个json串
mysql> insert into ruozedata(id,name,age,address) values(999,'mingo',18,'www.baidu.com');
{"database":"ruozedb","table":"ruozedata","type":"insert","ts":1553505224,"xid":627,"commit":true,"data":{"id":999,"name":"mingo","age":18,"address":"www.baidu.com","createtime":"2019-03-25 09:13:44","creuser":null,"updatetime":"0000-00-00 00:00:00","updateuser":null}}
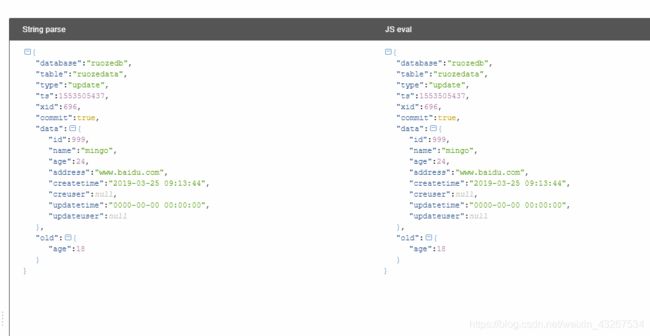
mysql> update ruozedata set age=24 where id=999;
{"database":"ruozedb","table":"ruozedata","type":"update","ts":1553505437,"xid":696,"commit":true,"data":{"id":999,"name":"mingo","age":24,"address":"www.baidu.com","createtime":"2019-03-25 09:13:44","creuser":null,"updatetime":"0000-00-00 00:00:00","updateuser":null},"old":{"age":18}}
bin/maxwell --user='maxwell' --password='XXXXXX' --host='127.0.0.1' \
   --producer=kafka --kafka.bootstrap.servers=localhost:9092 --kafka_topic=maxwell KAFKA_VERSION: [ 0.8.2.2 | 0.9.0.1 | 0.10.0.1 | 0.10.2.1 | 0.11.0.1 ]
因此要注意Maxwell官网的配置表格,有的单纯更改配置文件是不启用的
网址:http://maxwells-daemon.io/config


