使用java制作小游戏-简易推箱子
我会将源码贴出,并告诉大家代码的大致走向以及核心算法。
告诉大家我目前使用的编译环境是:JDK1.8
使用的编程软件是:VScode , 经过我的测试,大家一样可以使用eclipse 和 MyEclipse这两个软件进行正常的运行。
首先,贴出主程序入口,唯一的mian方法:
package Number;
public class TXZ {
	public static void main(String[] args){
		//new Successed();
		new Welcome(); //主入口
		//new MainFrame();
	}
}
package是工程包,你可以按照实际情况。TXZ是我随意取得名字,大家按照java的编程风格来就好,别学我的,会被人打死。
第二步:进入Welcome程序
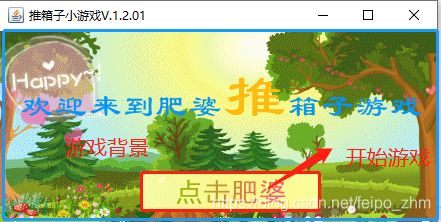
先贴出效果图给大家看看,游戏的启动界面。
贴出Welcome程序:
package Number;


import java.applet.Applet;
import java.applet.AudioClip;
import java.awt.Button;
import java.awt.Container;
import java.awt.Font;
import java.awt.event.ActionEvent;
import java.awt.event.ActionListener;
import java.io.File;
import java.net.URI;
import java.net.URL;

import javax.swing.Icon;
import javax.swing.ImageIcon;
import javax.swing.JButton;
import javax.swing.JFrame;
import javax.swing.JLabel;
import javax.swing.JTextArea;
import javax.swing.WindowConstants;

public class Welcome extends JFrame implements ActionListener {

	public Welcome() {
		addButton(); //
		setBackground();
		setFrame();
	}


	private void addButton() {
		Icon icon2 = new ImageIcon("image/dianji.gif");
		JButton btn = new JButton(icon2);
		btn.setIcon(icon2);
		btn.setBounds(140, 140, 180, 38);
        this.add(icon2);

		btn.setFont(new Font("Serif", Font.BOLD, 20));
		btn.setLocation(140, 140);
		btn.setSize(180,40);
		btn.addActionListener(this);
		this.add(btn);

		this.setDefaultCloseOperation(JFrame.EXIT_ON_CLOSE);
	}
	private void stopSound() {
//		Icon icon = new ImageIcon("image/stop.jpg");
//		JButton btn1 = new JButton(icon);
//		btn1.setBounds(400, 20, 30,30);
//
//		// btn1.setBackground(Color.GREEN);
//		btn1.addActionListener(this);
//		this.add(btn1);
		Icon icon1 = new ImageIcon("image/stop.jpj");
		JButton btn = new JButton(icon1);
		btn.setIcon(icon1);
		btn.setBounds(400, 20, 30,30);
        this.add(icon1);

        btn.setLocation(140, 140);
		btn.setSize(180,40);
		btn.addActionListener(this);
		this.add(btn);
	}

	private void add(Icon icon2) {
		// TODO Auto-generated method stub

	}


	private void setBackground() {
		Icon icon = new ImageIcon("image/Jogin.gif");
		JLabel jlable = new JLabel(icon);
		jlable.setBounds(0, 0, 450, 225);
		this.add(jlable);

	}
	private void setFrame() {
		this.setLayout(null);
		this.setLocation(550, 250);
		this.setSize(453, 230);
		this.setVisible(true);
		this.setTitle("推箱子小游戏V.1.2.01");
	}


	public void actionPerformed(ActionEvent e) {
		try {
			File f = new File("musics/nor.mid");
			URI uri=f.toURI();
			URL url=uri.toURL();
			AudioClip mus=Applet.newAudioClip(url);
			mus.loop();

		} catch (Exception e2) {
			// TODO: handle exception
		}

		new MainFrame();
		this.dispose();
	}
}
先贴出代码给大家看,我进一步进行讲解。
该类的功能主要分为以上三大功能。
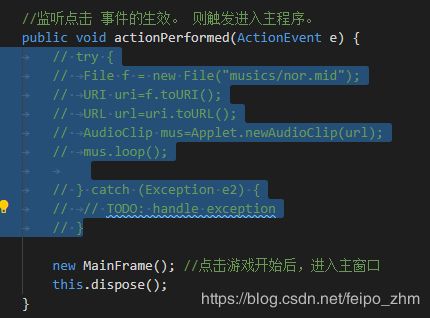
继承了Jfame的窗体功能,实现了点击事件的监听(当我点击游戏开始)
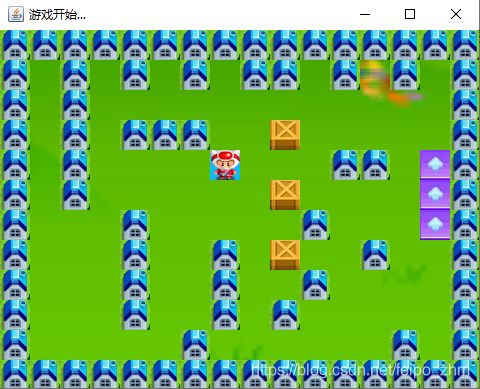
第三步:点击开始游戏后,进入主窗口。
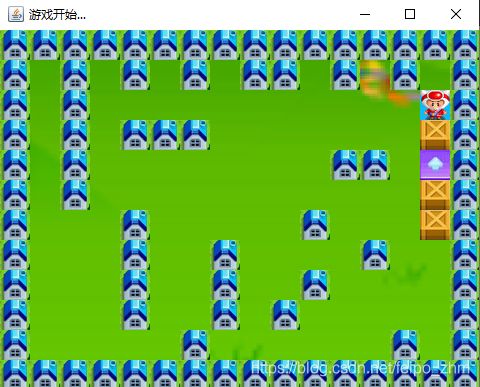
主窗口演示图:
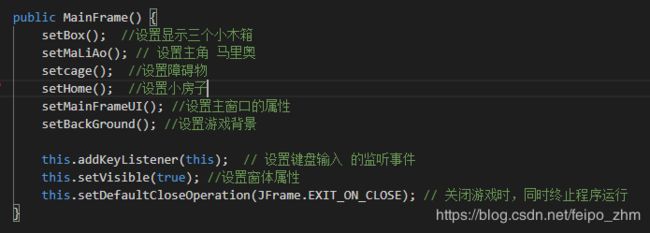
贴出主程序的代码:如下
package Number;

import java.awt.Container;
import java.awt.event.KeyEvent;
import java.awt.event.KeyListener;
import javax.swing.Icon;
import javax.swing.ImageIcon;
import javax.swing.JFrame;
import javax.swing.JLabel;
import javax.swing.JTextArea;
import javax.swing.WindowConstants;

public class MainFrame extends JFrame implements KeyListener {
	/**
	 *
	 */
	private static final long serialVersionUID = 1L;

	public MainFrame() {
		setBox();
		setMaLiAo();
		setcage();
		setHome();
		setMainFrameUI();
		setBackGround();

		this.addKeyListener(this);
		this.setVisible(true);
		this.setDefaultCloseOperation(JFrame.EXIT_ON_CLOSE);
	}

	JLabel lab_cage1 = null;
	JLabel lab_cage2 = null;
	JLabel lab_cage3 = null;
	int cage1_x = 14;
	int cage1_y = 4;
	int cage2_x = 14;
	int cage2_y = 5;
	int cage3_x = 14;
	int cage3_y = 6;

	private void setcage() {
		Icon icon = new ImageIcon("image/4.gif");
		lab_cage1 = new JLabel(icon);
		lab_cage1.setBounds(cage1_x * 30, cage1_y * 30, 30, 30);
		this.add(lab_cage1);

		lab_cage2 = new JLabel(icon);
		lab_cage2.setBounds(cage2_x * 30, cage2_y * 30, 30, 30);
		this.add(lab_cage2);

		lab_cage3 = new JLabel(icon);
		lab_cage3.setBounds(cage3_x * 30, cage3_y * 30, 30, 30);
		this.add(lab_cage3);
		datas[cage1_y][cage1_x] = 8;
		datas[cage2_y][cage2_x] = 8;
		datas[cage3_y][cage3_x] = 8;
	}

	JLabel lab_Box1 = null;
	JLabel lab_Box2 = null;
	JLabel lab_Box3 = null;
	int Box1_x = 9;
	int Box1_y = 3;
	int Box2_x = 9;
	int Box2_y = 5;
	int Box3_x = 9;
	int Box3_y = 7;

	public void setBox() {
		// TODO Auto-generated method stub
		Icon icon = new ImageIcon("image/3.GIF");
		lab_Box1 = new JLabel(icon);
		lab_Box1.setBounds(Box1_x * 30, Box1_y * 30, 30, 30);
		this.add(lab_Box1);

		lab_Box2 = new JLabel(icon);
		lab_Box2.setBounds(Box2_x * 30, Box2_y * 30, 30, 30);
		this.add(lab_Box2);

		lab_Box3 = new JLabel(icon);
		lab_Box3.setBounds(Box3_x * 30, Box3_y * 30, 30, 30);
		this.add(lab_Box3);
		datas[Box1_y][Box1_x] = 4;
		datas[Box2_y][Box2_x] = 4;
		datas[Box3_y][Box3_x] = 4;

	}

	//使用最简单的二维数组进行界面布局:
	//规定 1为障碍物,2为空白处
	int datas[][] = { { 1, 1, 1, 1, 1, 1, 1, 1, 1, 1, 1, 1, 1, 1, 1, 1 },
			{ 1, 0, 1, 0, 1, 0, 1, 0, 1, 1, 0, 1, 0, 1, 0, 1 },
			{ 1, 0, 1, 0, 0, 0, 0, 0, 0, 0, 0, 0, 0, 0, 0, 1 },
			{ 1, 0, 1, 0, 1, 1, 1, 0, 0, 4, 0, 0, 0, 0, 0, 1 },
			{ 1, 0, 1, 0, 0, 0, 0, 2, 0, 0, 0, 1, 1, 0, 8, 1 },
			{ 1, 0, 1, 0, 0, 0, 0, 0, 0, 4, 0, 0, 0, 0, 8, 1 },
			{ 1, 0, 0, 0, 1, 0, 0, 0, 0, 0, 1, 0, 0, 0, 8, 1 },
			{ 1, 0, 0, 0, 1, 0, 0, 1, 0, 4, 0, 0, 1, 0, 0, 1 },
			{ 1, 0, 0, 0, 1, 0, 0, 1, 0, 0, 1, 0, 0, 0, 0, 1 },
			{ 1, 0, 0, 0, 1, 0, 0, 1, 0, 1, 0, 0, 0, 0, 0, 1 },
			{ 1, 0, 0, 0, 0, 0, 1, 0, 0, 0, 0, 0, 0, 1, 0, 1 },
			{ 1, 1, 1, 1, 1, 1, 1, 1, 1, 1, 1, 1, 1, 1, 1, 1 }, };

	private void setHome() {
		// TODO Auto-generated method stub
		Icon icon = new ImageIcon("image/1.gif");
		for (int i = 0; i < 12; i++) {
			for (int j = 0; j < 16; j++) {
				if (datas[i][j] == 1) {
					JLabel lab_tree = new JLabel(icon);
					lab_tree.setBounds(30 * j, 30 * i, 30, 30);
					this.add(lab_tree);
				}
			}
		}
	}

	/*
	 * public void xunhuan(){ int arr[][]=new int[16][12];
	 *
	 * for(int x=0;x
代码功能的解释,大致分为这些功能。
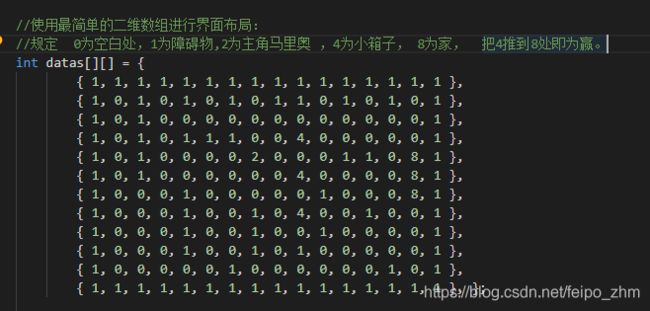
如下图是:整个界面的布局,用二维数组进行清晰的展示
大家可以对照下,数据是一一对应的。
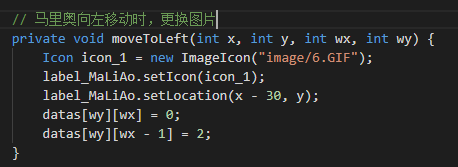
然后是人物移动:向左移动,并切换图片
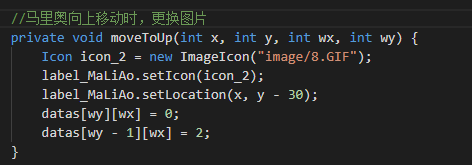
马里奥向上移动
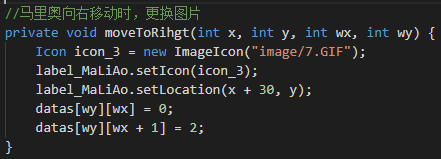
马里奥向右移动时:
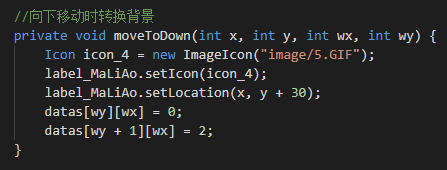
马里奥向下移动时:
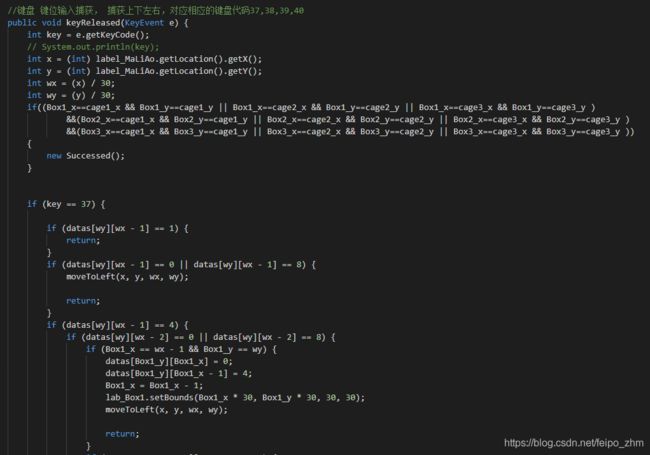
然后是键盘捕获功能,需要监听键盘的输入:
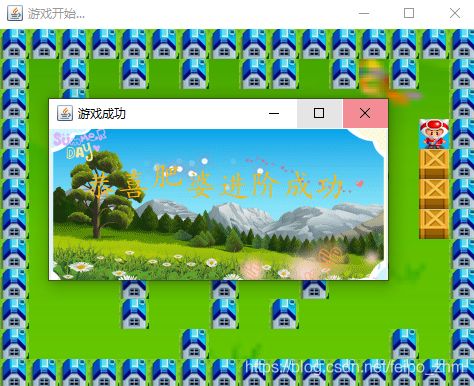
当三个盒子全部推入到家中时,即判定游戏成功!
然后在弹出游戏成功提示框!
游戏成功窗口和欢迎界面大致相同。
package Number;

import javax.swing.Icon;
import javax.swing.ImageIcon;
import javax.swing.JFrame;
import javax.swing.JLabel;

public class Successed extends JFrame {

	public Successed() {
		bgInit();//背景初始化
		setFrame(); //设置弹窗
	}


	private void bgInit() {

		Icon icon = new ImageIcon("Image/last1.gif");

		JLabel label = new JLabel(icon);
		label.setBounds(0, 0, 338, 160);
		this.add(label);
	}

	//游戏成功弹框
	private void setFrame() {
		this.setLayout(null);
		this.setTitle("游戏成功");
		this.setLocation(600, 300);
		this.setSize(355, 190);

		this.setVisible(true);
	}
}
好了,就介绍到这里了,一个简单的小游戏哦!
