python计算机视觉KNN算法、稠密Dense-sift
KNN算法原理:

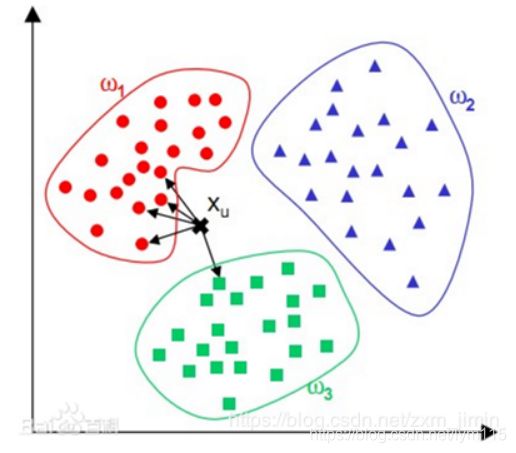
KNN算法是分类方法中最简单且应用最多的一种方法。,这种算法把要分类的对象(例如一个特征向量)与训练集中已知类标记的所有对象进行对比,并由k近邻对指派到哪个类进行投票。
计算步骤:
1)算距离:给定测试对象,计算它与训练集中的每个对象的距离
2)找邻居:圈定距离最近的k个训练对象,作为测试对象的近邻
3)做分类:根据这k个近邻归属的主要类别,来对测试对象分类
距离或相似度的衡量
什么是合适的距离衡量?距离越近应该意味着这两个点属于一个分类的可能性越大。
觉的距离衡量包括欧式距离、夹角余弦等。
对于文本分类来说,使用余弦(cosine)来计算相似度就比欧式(Euclidean)距离更合适。
类别的判定
投票决定:少数服从多数,近邻中哪个类别的点最多就分为该类。
加权投票法:根据距离的远近,对近邻的投票进行加权,距离越近则权重越大(权重为距离平方的倒数)
优缺点
1、优点
简单,易于理解,易于实现,无需估计参数,无需训练
适合对稀有事件进行分类(例如当流失率很低时,比如低于0.5%,构造流失预测模型)
特别适合于多分类问题(multi-modal,对象具有多个类别标签),例如根据基因特征来判断其功能分类,kNN比SVM的表现要好
2、缺点
懒惰算法,对测试样本分类时的计算量大,内存开销大,评分慢
可解释性较差,无法给出决策树那样的规则。
Dense-sift(稠密SIFT)原理:
Dense-SIFT是sift的密集采样板,由于SIFT的实时性差,目前特征提取多采用密集采样(源自李菲菲的A Bayesian Hierarchical Model for Learning Natural Scene Categories),代码好理解,但是有一个疑问SPM中采用Dense-SIFT时,一个patch中的16个采样点8个方向赋值只采用该patch中的像素点进行加权,而网上有些代码则采用以16个采样点为中心的一个patch大小的区域作为基像素进行加权。
KNN代码:
from numpy import *

class KnnClassifier(object):

    def __init__(self,labels,samples):
        """ Initialize classifier with training data. """

        self.labels = labels
        self.samples = samples

    def classify(self,point,k=3):
        """ Classify a point against k nearest
            in the training data, return label. """

        # compute distance to all training points
        dist = array([L2dist(point,s) for s in self.samples])

        # sort them
        ndx = dist.argsort()

        # use dictionary to store the k nearest
        votes = {}
        for i in range(k):
            label = self.labels[ndx[i]]
            votes.setdefault(label,0)
            votes[label] += 1

        return max(votes, key=lambda x: votes.get(x))


def L2dist(p1,p2):
    return sqrt( sum( (p1-p2)**2) )

def L1dist(v1,v2):
    return sum(abs(v1-v2))
# -*- coding: utf-8 -*-
from numpy.random import randn
import pickle
from pylab import *

# create sample data of 2D points
n = 200
# two normal distributions
class_1 = 0.6 * randn(n,2)
class_2 = 1.2 * randn(n,2) + array([5,1])
labels = hstack((ones(n),-ones(n)))
# save with Pickle
#with open('points_normal.pkl', 'w') as f:
with open('points_normal_test.pkl', 'wb') as f:
    pickle.dump(class_1,f)
    pickle.dump(class_2,f)
    pickle.dump(labels,f)
# normal distribution and ring around it
print ("save OK!")
class_1 = 0.6 * randn(n,2)
r = 0.8 * randn(n,1) + 5
angle = 2*pi * randn(n,1)
class_2 = hstack((r*cos(angle),r*sin(angle)))
labels = hstack((ones(n),-ones(n)))
# save with Pickle
#with open('points_ring.pkl', 'w') as f:
with open('points_ring_test.pkl', 'wb') as f:
    pickle.dump(class_1,f)
    pickle.dump(class_2,f)
    pickle.dump(labels,f)

print ("save OK!")
# -*- coding: utf-8 -*-
import pickle
from pylab import *
from PCV.classifiers import knn
from PCV.tools import imtools

pklist=['points_normal.pkl','points_ring.pkl']

figure()

# load 2D points using Pickle
for i, pklfile in enumerate(pklist):
    with open(pklfile, 'rb') as f:
        class_1 = pickle.load(f)
        class_2 = pickle.load(f)
        labels = pickle.load(f)
    # load test data using Pickle
    with open(pklfile[:-4]+'_test.pkl', 'rb') as f:
        class_1 = pickle.load(f)
        class_2 = pickle.load(f)
        labels = pickle.load(f)

    model = knn.KnnClassifier(labels,vstack((class_1,class_2)))
    # test on the first point
    print (model.classify(class_1[0]))

    #define function for plotting
    def classify(x,y,model=model):
        return array([model.classify([xx,yy]) for (xx,yy) in zip(x,y)])

    # lot the classification boundary
    subplot(1,2,i+1)
    imtools.plot_2D_boundary([-6,6,-6,6],[class_1,class_2],classify,[1,-1])
    titlename=pklfile[:-4]
    title(titlename)
show()
实验结果:
当K=3,n=200时候:
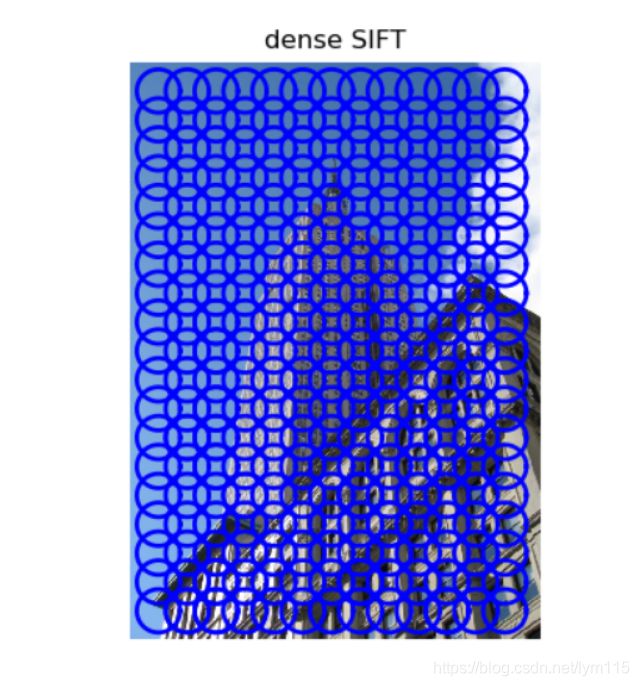
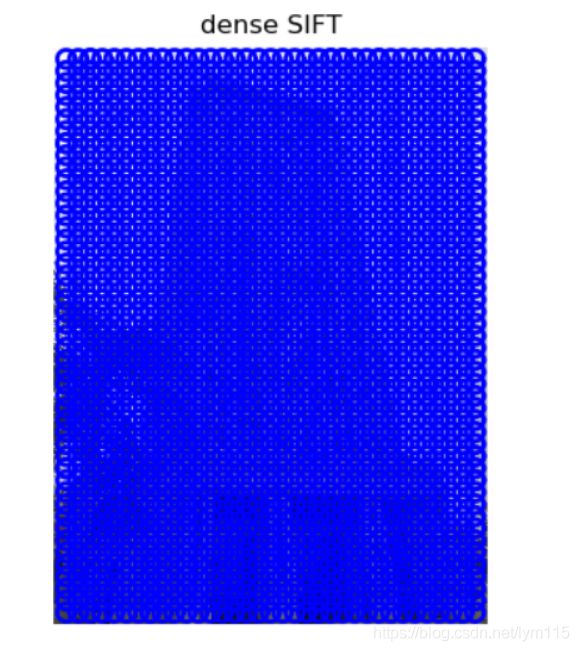
稠密SIFT可视化
代码:
from PIL import Image
from numpy import *
import os

from PCV.localdescriptors import sift


def process_image_dsift(imagename,resultname,size=20,steps=10,force_orientation=False,resize=None):
    """ Process an image with densely sampled SIFT descriptors
        and save the results in a file. Optional input: size of features,
        steps between locations, forcing computation of descriptor orientation
        (False means all are oriented upwards), tuple for resizing the image."""

    im = Image.open(imagename).convert('L')
    if resize!=None:
        im = im.resize(resize)
    m,n = im.size

    if imagename[-3:] != 'pgm':
        #create a pgm file
        im.save('tmp.pgm')
        imagename = 'tmp.pgm'

    # create frames and save to temporary file
    scale = size/3.0
    x,y = meshgrid(range(steps,m,steps),range(steps,n,steps))
    xx,yy = x.flatten(),y.flatten()
    frame = array([xx,yy,scale*ones(xx.shape[0]),zeros(xx.shape[0])])
    savetxt('tmp.frame',frame.T,fmt='%03.3f')

    path = os.path.abspath(os.path.join(os.path.dirname("__file__"),os.path.pardir))
    path = path + "\\python3-ch08\\win32vlfeat\\sift.exe "
    if force_orientation:
        cmmd = str(path+imagename+" --output="+resultname+
                    " --read-frames=tmp.frame --orientations")
    else:
        cmmd = str(path+imagename+" --output="+resultname+
                    " --read-frames=tmp.frame")
    os.system(cmmd)
    print ('processed', imagename, 'to', resultname)


