Android PopupWindow使用详解
PopupWindow应用的场景还是蛮多的。显示在当前activity界面之上的任意弹出窗口基本上都可以用PopupWindow来实现。因为它可以显示任意的View,完全由你定制,而且显示位置也可以灵活控制。
这里回顾一下PopupWindow用法,并通过源码更深层了解PopupWindow。
官方文档:
https://developer.android.com/reference/android/widget/PopupWindow.html
PopupWindow并不是继承Window
PopupWindow的作用的是显示用户自己定义的View。它显示是一个纯净的View,怎么说呢,它与activity的对应的界面不一样,activity封装很多对象,比如Window,DecorView.而PopupWindow显是就是一个View,这涉及到了应用窗口,子窗口,和系统窗口关于android 窗口类型的问题,这里就不详聊了,先知道,显示的顺序是系统窗口(比如状态栏,Toast)会显示在最上面,其次是子窗口(例如popupwindow),然后是应用窗口(activity对应的窗口)。对于系统按键比如back 键 一般窗口的View都没有进行处理,如果想处理,就需要设置key的相关监听器,应用程序窗口中的View没有处理key事件的话,就会交给activity去处理,结果按back 键退出应用,而像子窗口(popupwindow)没有window,activity这些东西包装,所以默认情况就对key事件无效了,这涉及到android key事件的分发,前面我曾分析过源码分析Android触摸事件处理机制,按键事件和触摸事件的处理规则差不多,也是递归处理过程。这里不详聊。但是PopupWindow如果设置了setBackgroundDrawable的话,就会针对back按键进行,后面会分析到。
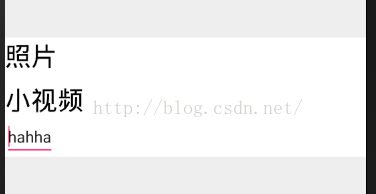
不管怎样,首先用户准备好自己要显示内容。比如现在需要显示的界面如下:
就简单几个控件。将资源文件渲染成View。
popupView = getLayoutInflater().inflate(R.layout.popup_layout,null);准备好了需要显示的内容之后,等于完成了一半,接下就是创建PopupWindow,将该view传给它,让后让它显示。
看一下PopupWindow构造函数:
构造函数蛮多的,可以根据有没有View参数来看,没有 View参数的(就是需要显示的内容视图)的构造函数创建的PopuWindow对象,肯定还需要调用的它的setContentView(View contentView)函数将View设置好。
现在以最后一个构造函数来创建PopuWindow
popupWindow = new PopupWindow(popupView, ViewGroup.LayoutParams.MATCH_PARENT, ViewGroup.LayoutParams.WRAP_CONTENT,true);第1个参数就是View了,第2,3个参数分别是宽度和高度 ,可以传具体值,这些也可以通过 setHeight (int height) setWidth(int width)传入,第4个参数很重要,看意思是是否能获取焦点。
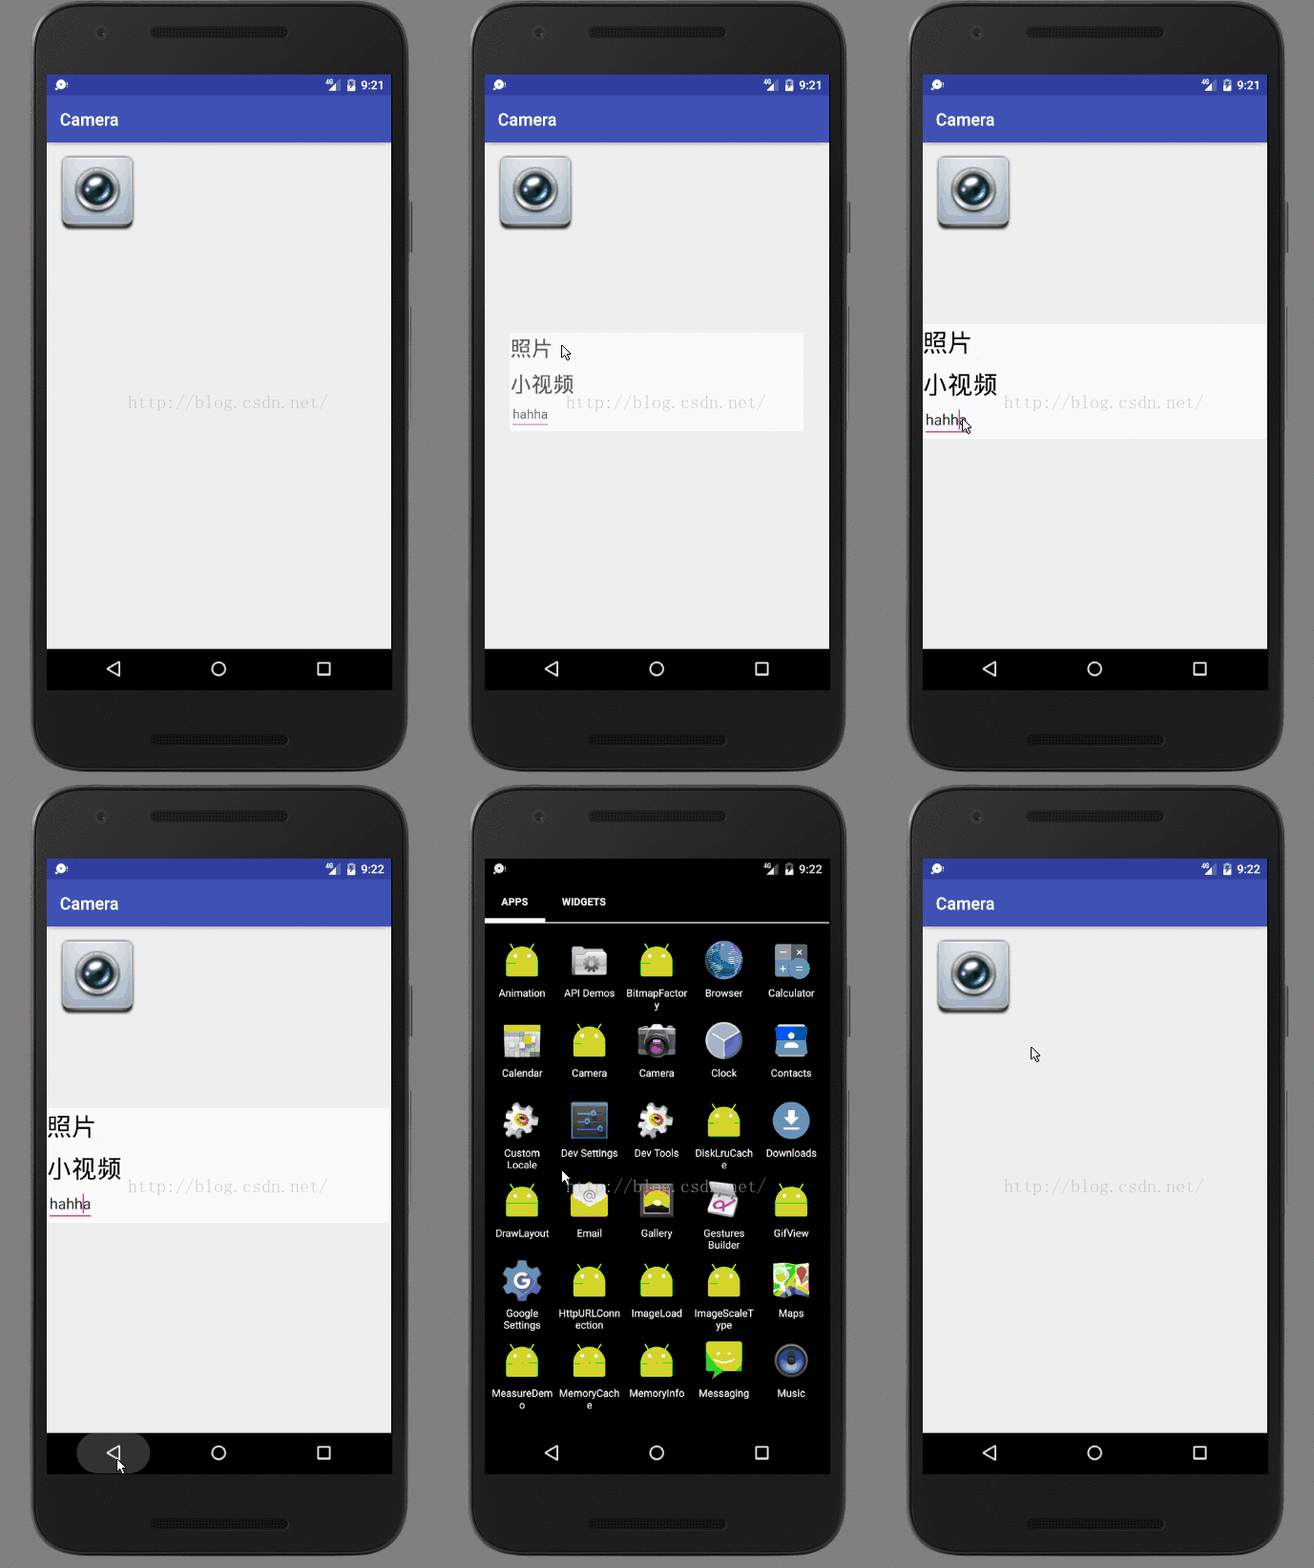
如果focusable为false,代表该PopupWindow显示的窗口不能获取焦点,假如该界面有一个EditText控件,打开界面时,就会这样:
这过程我尝试输入内容,或按退格键都无任何反应。因为没有焦点
这时点击手机的back键,直接退出应用了.相当于焦点都获取不到,key事件肯定也不会传给你处理,给系统处理了,将应用退出。因为PopupWindow确实会处理back键事件,前提是调用了下面的函数:
popupWindow.setBackgroundDrawable(new ColorDrawable(Color.WHITE));
这个函数也很重要,不仅PopupWindow能否处理 back key事件与它有关,而且点击PopupWindow界面之外的地方,PopupWindow会消失也与它有关,后面会讲到。
在这里由于设置了facusable为false,是否设置setBackgroundDrawable函数也无意义。
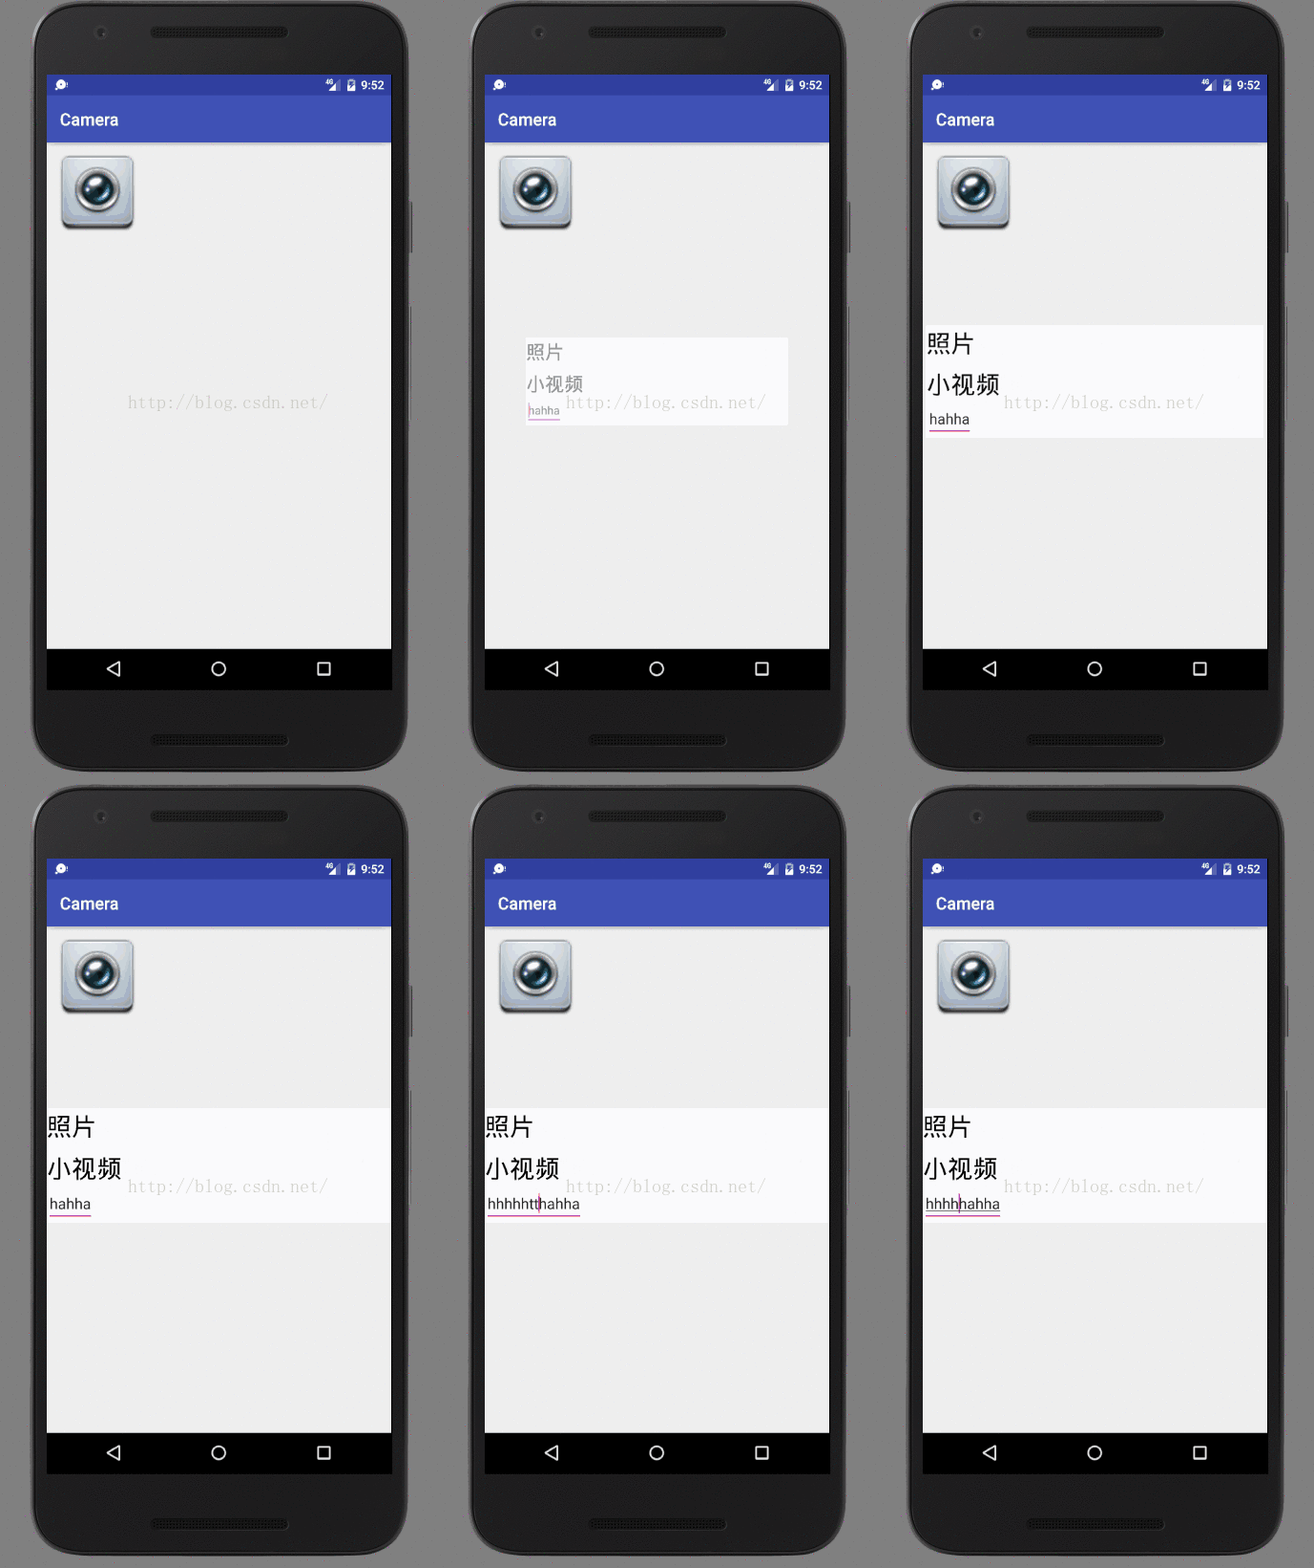
看一下facusable为true的正常情况:
所以一般设置facusable为true。
接来设置setBackgroundDrawable(),假如不设置backgroud了,
然后直接调用:
popupWindow.showAtLocation(view,Gravity.CENTER, 0, 0);显示 的popup,除了发现显示窗口没有背景之外,点击back键也无任何反应.
接下就通过源码看一下设置backgroud的作用,以及显示popup的过程:
在frameworks/base/core/java/android/widget/PopupWindow.java文件中
看一下showAtLocation函数:
public void showAtLocation(View parent, int gravity, int x, int y) {
        showAtLocation(parent.getWindowToken(), gravity, x, y);
    }
函数作用显示popup在什么位置,依据那个view来,接着往下看:
  public void showAtLocation(IBinder token, int gravity, int x, int y) {
        if (isShowing() || mContentView == null) {
            return;
        }

        unregisterForScrollChanged();

        mIsShowing = true;
        mIsDropdown = false;

        WindowManager.LayoutParams p = createPopupLayout(token);
        p.windowAnimations = computeAnimationResource();

        preparePopup(p);
        if (gravity == Gravity.NO_GRAVITY) {
            gravity = Gravity.TOP | Gravity.START;
        }
        p.gravity = gravity;
        p.x = x;
        p.y = y;
        if (mHeightMode < 0) p.height = mLastHeight = mHeightMode;
        if (mWidthMode < 0) p.width = mLastWidth = mWidthMode;
        invokePopup(p);
    }
WindowManager.LayoutParams p = createPopupLayout(token);
p.windowAnimations = computeAnimationResource();popup进入动画和退出动画
下面看preparePopup()这个函数,这个函数涉及到了backgroud了
 private void preparePopup(WindowManager.LayoutParams p) {
        if (mContentView == null || mContext == null || mWindowManager == null) {
            throw new IllegalStateException("You must specify a valid content view by "
                    + "calling setContentView() before attempting to show the popup.");
        }

        if (mBackground != null) {
            final ViewGroup.LayoutParams layoutParams = mContentView.getLayoutParams();
            int height = ViewGroup.LayoutParams.MATCH_PARENT;
            if (layoutParams != null &&
                    layoutParams.height == ViewGroup.LayoutParams.WRAP_CONTENT) {
                height = ViewGroup.LayoutParams.WRAP_CONTENT;
            }

            // when a background is available, we embed the content view
            // within another view that owns the background drawable
            PopupViewContainer popupViewContainer = new PopupViewContainer(mContext);
            PopupViewContainer.LayoutParams listParams = new PopupViewContainer.LayoutParams(
                    ViewGroup.LayoutParams.MATCH_PARENT, height
            );
            popupViewContainer.setBackgroundDrawable(mBackground);
            popupViewContainer.addView(mContentView, listParams);

            mPopupView = popupViewContainer;
        } else {
            mPopupView = mContentView;
        }
        mPopupViewInitialLayoutDirectionInherited =
                (mPopupView.getRawLayoutDirection() == View.LAYOUT_DIRECTION_INHERIT);
        mPopupWidth = p.width;
        mPopupHeight = p.height;
    }
mContentView就是需要显示的内容了,先通过构造函数和设置函数设置好了。
mBackground就是通过setBackgroundDrawable()函数设置进去的。
来看一下如果设置了mBackground,就创建一个容器PopupViewContainer,然后将用户要显示的内容添加到这个容器里,让后显示这个容器,从而就将我们的内容现出来了,来看一下PopupViewContainer:
private class PopupViewContainer extends FrameLayout {
        private static final String TAG = "PopupWindow.PopupViewContainer";

        public PopupViewContainer(Context context) {
            super(context);
        }

        @Override
        protected int[] onCreateDrawableState(int extraSpace) {
            if (mAboveAnchor) {
                // 1 more needed for the above anchor state
                final int[] drawableState = super.onCreateDrawableState(extraSpace + 1);
                View.mergeDrawableStates(drawableState, ABOVE_ANCHOR_STATE_SET);
                return drawableState;
            } else {
                return super.onCreateDrawableState(extraSpace);
            }
        }

        @Override
        public boolean dispatchKeyEvent(KeyEvent event) {
            if (event.getKeyCode() == KeyEvent.KEYCODE_BACK) {
                if (getKeyDispatcherState() == null) {
                    return super.dispatchKeyEvent(event);
                }

                if (event.getAction() == KeyEvent.ACTION_DOWN
                        && event.getRepeatCount() == 0) {
                    KeyEvent.DispatcherState state = getKeyDispatcherState();
                    if (state != null) {
                        state.startTracking(event, this);
                    }
                    return true;
                } else if (event.getAction() == KeyEvent.ACTION_UP) {
                    KeyEvent.DispatcherState state = getKeyDispatcherState();
                    if (state != null && state.isTracking(event) && !event.isCanceled()) {
                        dismiss();
                        return true;
                    }
                }
                return super.dispatchKeyEvent(event);
            } else {
                return super.dispatchKeyEvent(event);
            }
        }

        @Override
        public boolean dispatchTouchEvent(MotionEvent ev) {
            if (mTouchInterceptor != null && mTouchInterceptor.onTouch(this, ev)) {
                return true;
            }
            return super.dispatchTouchEvent(ev);
        }

        @Override
        public boolean onTouchEvent(MotionEvent event) {
            final int x = (int) event.getX();
            final int y = (int) event.getY();

            if ((event.getAction() == MotionEvent.ACTION_DOWN)
                    && ((x < 0) || (x >= getWidth()) || (y < 0) || (y >= getHeight()))) {
                dismiss();
                return true;
            } else if (event.getAction() == MotionEvent.ACTION_OUTSIDE) {
                dismiss();
                return true;
            } else {
                return super.onTouchEvent(event);
            }
        }

        @Override
        public void sendAccessibilityEvent(int eventType) {
            // clinets are interested in the content not the container, make it event source
            if (mContentView != null) {
                mContentView.sendAccessibilityEvent(eventType);
            } else {
                super.sendAccessibilityEvent(eventType);
            }
        }
    }
它继承FrameLayout,看到没它重载了默认的处理的key函数,增加了对back按键的处理。也是为什么poupwindow显示的时候,popupwidnow消失,而应用不退出的原因。还有就是当前在popup之外的地方时,popup也会消失,是在这里触摸事件中处理的。
因此setFocusable(boolean focusable)要设成true,setBackgroundDrawable(Drawable background)必须设置。才能保证popup基本功能正常。
如果没有backgroud,直接显示就是我传进去的view了,默认这view是不处理key事件的,除非你设置key的相关监听器了,在监听器的相关回调里自己处理。
关于PopupWindow两个关键的点讲了,下面还有一下其他Api,提一下:
setTouchable(boolean touchable)
设置popup是否能接收触摸事件:
现在popup上两个textView都是都是可点击的,设置touchable为true,点击两个textview:
@Override
    public void onClick(View v) {
        switch (v.getId()){
            case R.id.select:
                showPopup(v);
            break;
            case R.id.photo:
                Log.d(tag,"select photo");
                break;
            case R.id.vedio:
                Log.d(tag,"select vedio");
                break;
        }
    }
D/popupwindow: select photo
D/popupwindow: select vedio
设置为false的话,就没反应了。
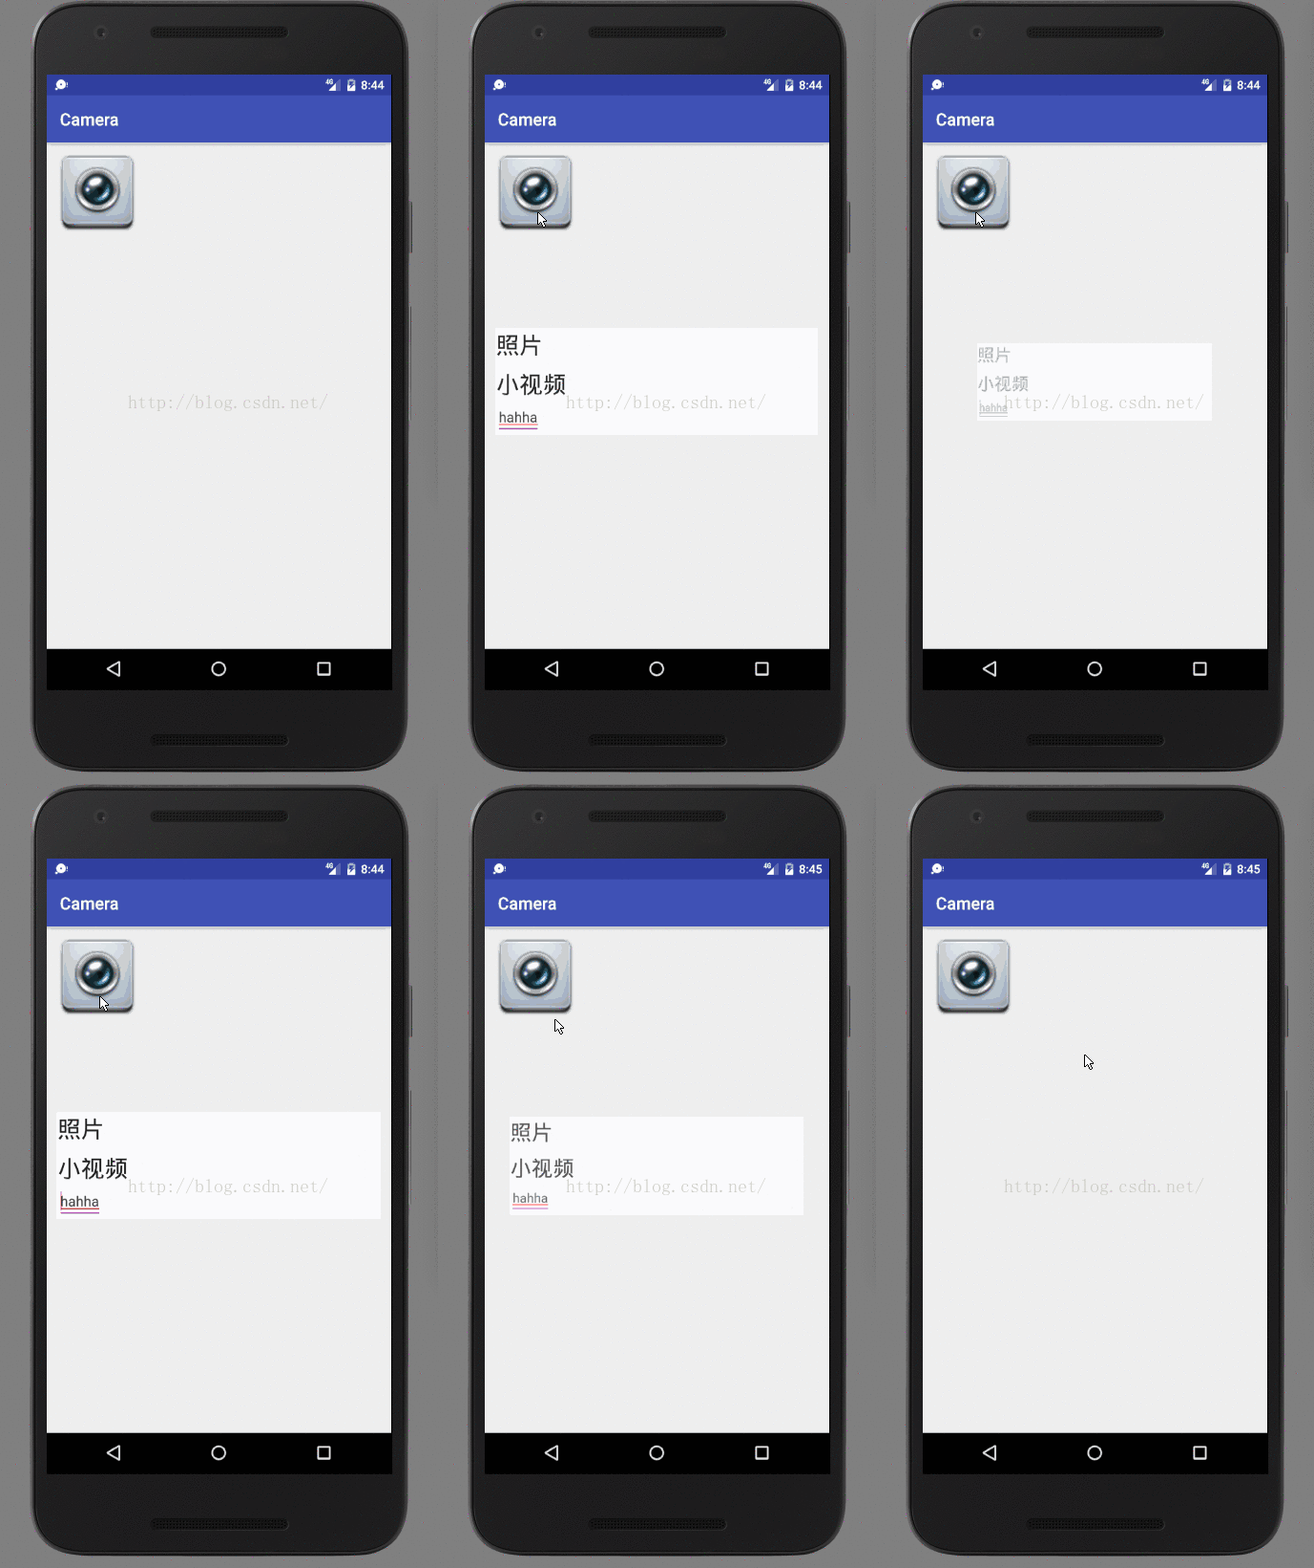
setAnimationStyle(int animationStyle)
设置popup进入和消失的动画,这个在资源文件配置一下:
popup_enter.xml
popupWindow.setAnimationStyle(R.style.PopupAnimation);看效果:
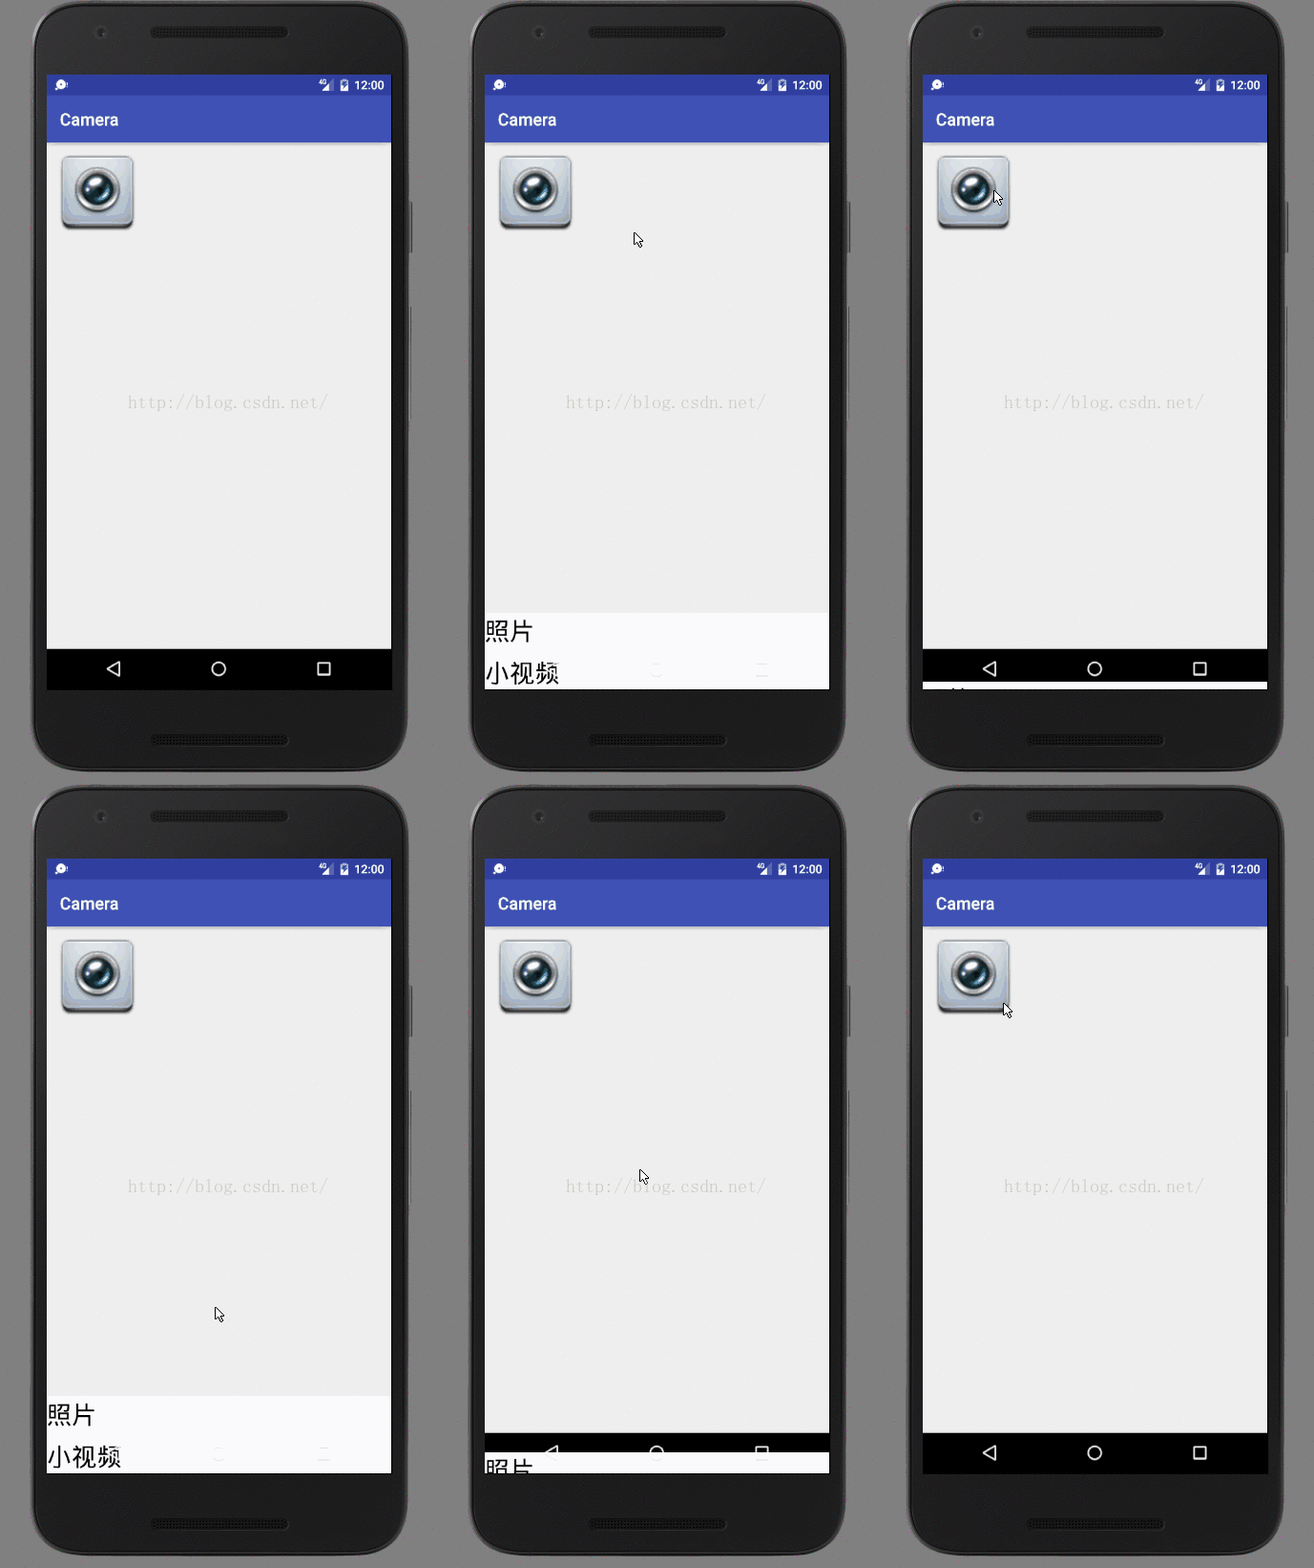
下面再看一下从底部弹出popup:
修改进入动画和退出动画:
enter.xml
out.xml
同时修改一下popup显示的位置的:
popupWindow.showAtLocation(view,Gravity.CENTER_HORIZONTAL|Gravity.BOTTOM, 0, 0);看一下效果:
因为之前用过,不怎么记得了,现在有时间就记录一下笔记,以后用到翻一翻。
