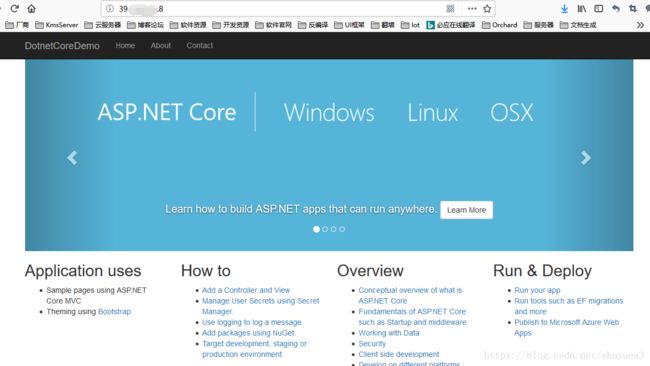
一步一步完成GitLab Runner持续化自动部署
本文将以Ubuntu16.04.4+Docker自动化部署Dotnetcore项目
1.安装gitlab
- 安装使用本地离线安装,下载相应包后直接安装即可,然后安装配置web地址等等,这个在网上很多示例,这里不再赘述.
2.Ubuntu安装Docker
使用官方脚本安装Docker,安装源为阿里云
curl -fsSL https://get.docker.com | bash -s docker --mirror Aliyun- 推荐使用阿里云镜像加速,这样在部署的时候会快一点,按照阿里云官网添加即可,不赘述.
3.在Docker安装并配置GitLab Runner
参考官网地址Girlab Runner https://docs.gitlab.com/runner/install/
在Docker安装GitLab Runner
- 1.使用命令在Docker中安装Gitlab Runner
docker run -d --name gitlab-runner --restart always \
-v /srv/gitlab-runner/config:/etc/gitlab-runner \
-v /var/run/docker.sock:/var/run/docker.sock \
gitlab/gitlab-runner:latest
2.注册并设置Gitlan Runner
1.访问Gitlab获取
http://你的gitlab地址/admin/runners
2.运行
Gitlab Runner注册设置docker exec -it gitlab-runner gitlab-runner register根据提示输入信息
Please enter the gitlab-ci coordinator URL (e.g. https://gitlab.com/):
http://git.xd5u.cn/
Please enter the gitlab-ci token for this runner:
eF8wyzi****2RhgTHMis
Please enter the gitlab-ci description for this runner:
[6d1bc8938869]:
Please enter the gitlab-ci tags for this runner (comma separated):
demo
Whether to run untagged builds [true/false]:
[false]: true
Whether to lock the Runner to current project [true/false]:
[true]: true
Registering runner... succeeded                     runner=eF8wyziy
Please enter the executor: parallels, shell, ssh, virtualbox, docker+machine, docker, docker-ssh, docker-ssh+machine, kubernetes:
docker
Please enter the default Docker image (e.g. ruby:2.1):
microsoft/dotnet:latest
Runner registered successfully. Feel free to start it, but if it's running already the config should be automatically reloaded!
设置了默认源为
microsoft/dotnet:latest,这里时候Runners里面应该已经添加好了
4.添加一个dotnetcore测试项目
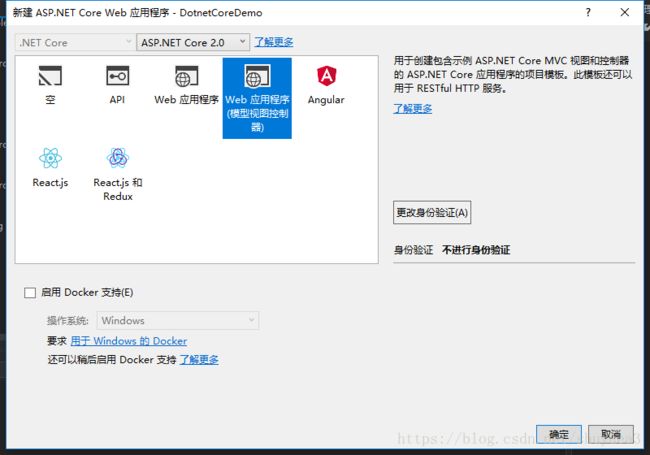
- 1.创建一个mvc示例
- 2.在gitlab创建一个项目,并且将刚创建项目提交上去
5.自动部署脚本.gitlab-ci.yml添加
1.添加.gitlab-ci.yml文件
还原包并且生成
# image: microsoft/aspnetcore-build

stages:
- build
build_job:
stage: build
only:
  - master
script:
- dotnet restore
- dotnet build
保存后就应该已经在运行中了
第一次部署,正在获取
microsoft/aspnetcore-build镜像,这里如果很慢的话,可以使用阿里云镜像加速下面是完成后的截图
这里测试生成已经正常了,在这步可以还可以做部署测试等等,测试完成了再部署.
6.部署到web服务器
我这里使用阿里云作为部署服务器,再服务器安装好运行环境.我是ASP.NET Core+Nginx,下面开始搭建.
1.安装dotnet-sdk
参考官网,这里不赘述:https://www.microsoft.com/net/learn/get-started/linux/ubuntu16-04
2.安装Nginx并配置
- 安装nginx
sudo apt-get install nginx- 启动nginx
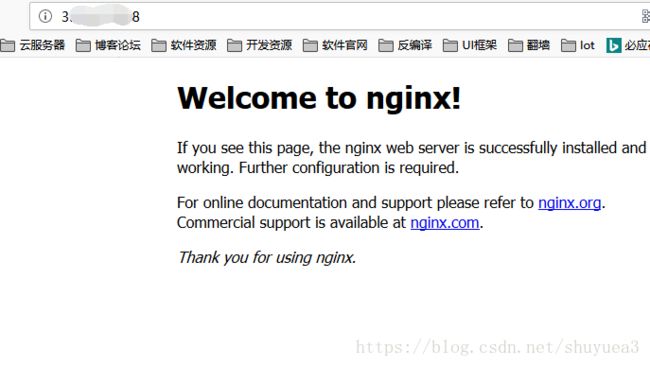
sudo service nginx start- 启动后访问ip测试nginx是否已经正常
3.现在环境已经搭建好了,继续配置nginx以及添加一个dotnetcore运行的服务和创建web路径
1.修改nginx的默认配置(实际可以添加配置文件,绑定域名,我这里就不分配域名了)
vim /etc/nginx/sites-available/default
修改为内容,主要是代理5000端口
server {
    listen        80;
    location / {
        proxy_pass         http://localhost:5000;
        proxy_http_version 1.1;
        proxy_set_header   Upgrade $http_upgrade;
        proxy_set_header   Connection keep-alive;
        proxy_set_header   Host $http_host;
        proxy_cache_bypass $http_upgrade;
    }
}
修改保存后重新加载配置文件
sudo nginx -t
sudo nginx -s reload
现在访问地址应该是502错误,不用管他,因为我们dotnetcore网站还没运行
2.创建一个目录用于部署DotnetCoreDemo项目的目录
mkdir /var/www/DotnetCoreDemo稍后网站以及服务会再这个目录执行
3.创建一个运行DotnetCoreDemo网站的服务并启用
sudo vim /etc/systemd/system/kestrel-DotnetCoreDemo.service
内容为
[Unit]
Description=DotnetCoreDemo

[Service]
WorkingDirectory=/var/www/DotnetCoreDemo
ExecStart=/usr/bin/dotnet /var/www/DotnetCoreDemo/DotnetCoreDemo.dll # 路径根据自己项目来设置
Restart=always
RestartSec=10
SyslogIdentifier=DotnetCoreDemo_log
User=www-data
Environment=ASPNETCORE_ENVIRONMENT=Production
Environment=DOTNET_PRINT_TELEMETRY_MESSAGE=false

[Install]
WantedBy=multi-user.target
# 启用服务(这里只是启用了,并没有启动)
systemctl enable kestrel-DotnetCoreDemo.service4.配置服务器ssh免密码登陆,在脚本中会使用到
在本地服务器创建RSA无密码密钥,并添加远程授权
ssh-keygen -t rsa -P ''
ssh-copy-id root@阿里云部署服务器IP
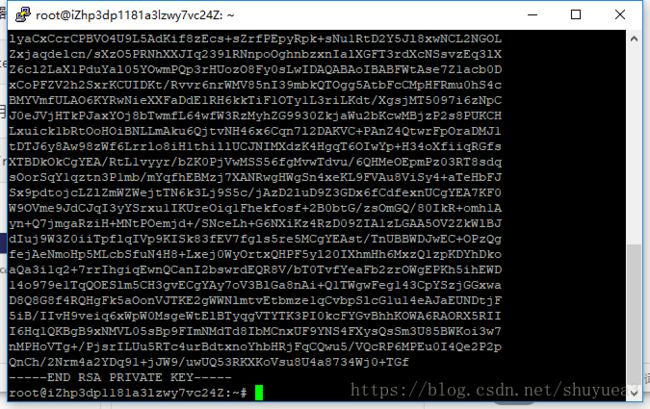
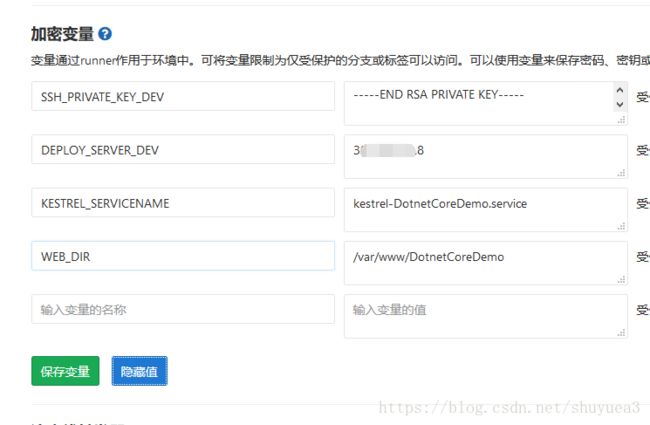
复制私钥添加到项目变量SSH_PRIVATE_KEY_DEV
cat /root/.ssh/id_rsa继续在Gitlab添加变量
DEPLOY_SERVER_DEV,服务器部署的地址
KESTREL_SERVICENAME,服务器部署的dotnet网站的服务名称
WEB_DIR,服务器网站部署的路径
修改脚本.gitlab-ci.yml文件
# 指定镜像 microsoft/aspnetcore-build暂时没有sdk2.1的编译环境,暂时不需要
# image: microsoft/aspnetcore-build
stages:
  - build
  - deploy_dev

before_script:
  # Install ssh-agent if not already installed, it is required by Docker.
  # (change apt-get to yum if you use a CentOS-based image)
  - 'which ssh-agent || ( apt-get update -y && apt-get install openssh-client -y )'

  # Run ssh-agent (inside the build environment)
  - eval $(ssh-agent -s)

  # Add the SSH key stored in SSH_PRIVATE_KEY variable to the agent store
  # error: https://gitlab.com/gitlab-examples/ssh-private-key/issues/1
  # - echo "$SSH_PRIVATE_KEY_DEV"
  - ssh-add <(echo "$SSH_PRIVATE_KEY_DEV")

  # For Docker builds disable host key checking. Be aware that by adding that
  # you are suspectible to man-in-the-middle attacks.
  # WARNING: Use this only with the Docker executor, if you use it with shell
  # you will overwrite your user's SSH config.
  - mkdir -p ~/.ssh
  - '[[ -f /.dockerenv ]] && echo -e "Host *\n\tStrictHostKeyChecking no\n\n" > ~/.ssh/config'
build_job:
  stage: build
  only:
    - master
  script:
  - dotnet restore
  - dotnet build
deploy_dev_job:
  stage: deploy_dev
  environment:
    name: development
  only:
    - master
  script:
    # 发布程序
    - dotnet publish -c Release --output /publish
    # 停止服务器网站的服务
    - ssh root@$DEPLOY_SERVER_DEV "systemctl stop $KESTREL_SERVICENAME"
    # scp复制发布文件到服务器
    - scp -r /publish/* root@$DEPLOY_SERVER_DEV:$WEB_DIR
    # 启动服务器的服务
    - ssh root@$DEPLOY_SERVER_DEV "systemctl start $KESTREL_SERVICENAME"
到这里,自动化部署全部完成.其他方式类似操作.


