ZXing和ZBar扫描二维码、扫描条形码和连续扫码
-------------更新--------------
这个是比较快识别率很高的二维码条形码识别库https://github.com/1948421773/XCodeScanner
如果想用其它可以参考下面:
----------------------------------------------------------------------------------------------------------------------------------
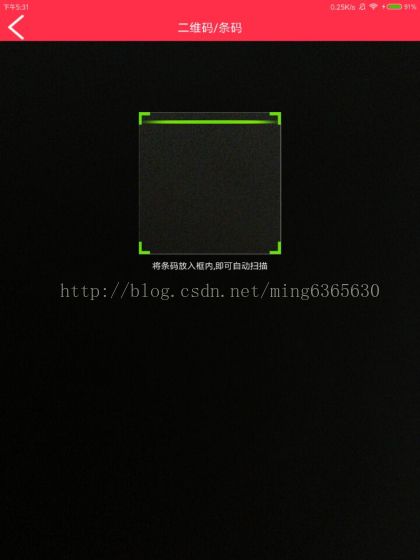
商城需要用到扫描二维码的功能,所以上网看了github上精简版的QRcode二维码扫描,找到了BGAQRCode-Android
转载自:https://github.com/bingoogolapple/BGAQRCode-Android

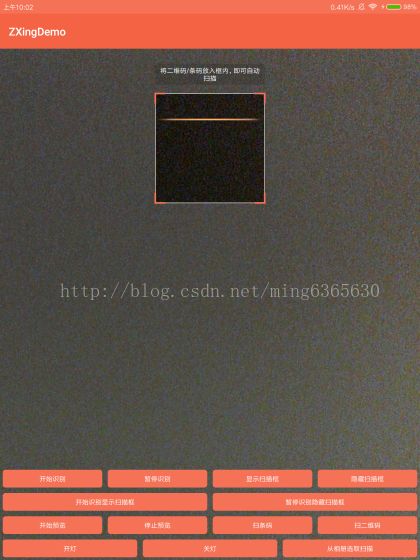

但是运行之后发现有BUG,开着扫描,经常会有扫描结果提示,这个是最头疼的,相比ZXingdemo进去之后要点开始识别才会有扫描结果相比,这个坑有点大。

这个功能挺强大的,封装的比较好,拓展性比较强,有兴趣的朋友可以研究下
但是有个BUG,要么如果是全部数字就不显示;要么扫完就条另一个界面并且关掉扫描activity;要么改源码,改的话耗时间比较长。不过不建议偷懒,所以我还是老老实实造个轮子。
最终决定:
方案1:找到官方ZXing的github然后自己弄一个精简版的出来
ZXing github:https://github.com/zxing/zxing
参考:http://blog.csdn.net/xx326664162/article/details/50952856
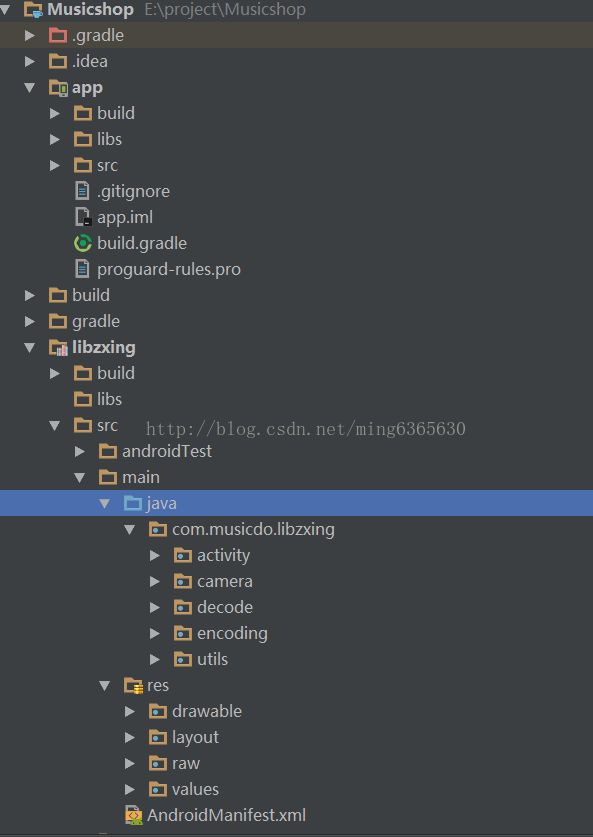
自己整出来了。其实是参照这个:https://github.com/1948421773/musicshop001 只是新建了个项目然后自己新建了Library的module,然后把网上精简版中包名下面的5个文件夹(activity camera decode encoding utils)复制替换com.XXX.Library下面的,然后修改主module中的build.gradle添加引用此library,
compile project(':libzxing')
然后在Library的molule中引用com.google.zxing:core:3.3.0这个包
最后就是替换res和androidMeanifest.xml,遇到问题自己百度就可以了。
是比较粗糙的,不过有条形码和二维码同框识别的,如果想要像微信那样有黑暗情况下提示开灯的可以自己后期添加上去。
源码下载:https://github.com/1948421773/musicshop001
-----------------------------记录到此,欢迎指正
--------------------------------添加连续扫码更新-----------------------------
1.连续扫码修改CaptureActivity中的handleDecode方法:
/**
 * A valid barcode has been found, so give an indication of success and show
 * the results.
 *
 * @param rawResult The contents of the barcode.
 * @param bundle    The extras
 */
public void handleDecode(Result rawResult, Bundle bundle) {
    runnable = new Runnable(){

            @Override
            public void run() {
                // handler自带方法实现定时器
                try {
                    if (handler != null){
                        mHandler.postDelayed(runnable, 4000);
                        handler.restartPreviewAndDecode(); // 实现多次扫描
                    }
                    System.out.println("do...");
                } catch (Exception e) {
                    // TODO Auto-generated catch block
                    e.printStackTrace();
                    System.out.println("exception...");
                }

            }
        };
        mHandler.postDelayed(runnable, 4000);
    inactivityTimer.onActivity();
    beepManager.playBeepSoundAndVibrate();
    Toast.makeText(this, rawResult.getText(), Toast.LENGTH_SHORT).show();
    /*Intent resultIntent = new Intent();
    bundle.putInt("width", mCropRect.width());
    bundle.putInt("height", mCropRect.height());
    bundle.putString("result", rawResult.getText());
    resultIntent.putExtras(bundle);
    this.setResult(RESULT_OK, resultIntent);
    CaptureActivity.this.finish();*/
}

2.记得声明用到的两个变量:
Handler mHandler = new Handler();
Runnable runnable;