本人是第一次寫文章.
首先用 VSCode 的朋友應該也會用到不同的 extensions. 但有一些是自己才會用的要如何做呢?
(這比較簡單, 相對之前 Visual Studio 的 plug-in 同 VSXI.)
先決條件: node.js, vscode 1.22.2 (我用 1.22.1 都不成功)
要用到使用 Yeoman generator
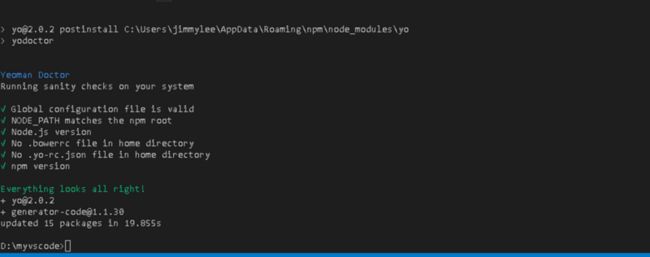
在 vs code -> console (終端): npm install -g yo generator-code
安裝完後就可以用 yo 指令去 Create code 了
建立個新的 Folder (e.g. mkdir exttest) -> cd exttest
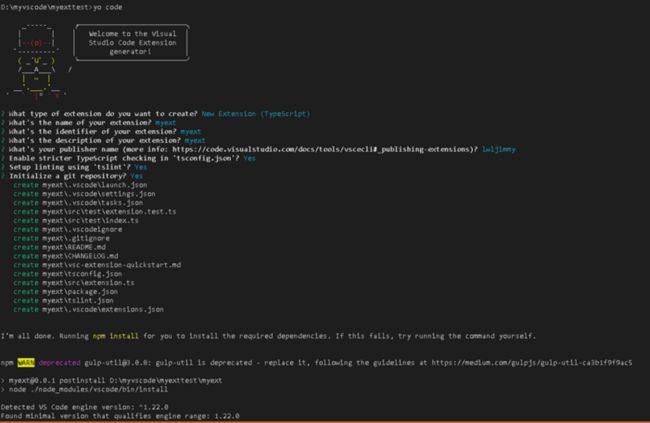
輸入: yo code
- 要留意的是 "what's your publisher name ...." 這地方, 要先去 code.visualstudio.com 開 Account. 雖然我沒有要做 publish 但就是要我輸入... 之後就選 Y 就可以了.
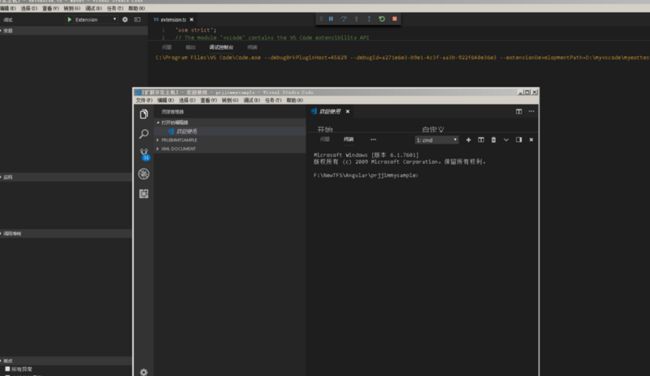
我們要寫的就是在 src\extension.ts , yo code 這 command 會自動做出基本的 source. 在這我們可以試下按 F5 去運行.
好了. 以下就是重點了. 我就以一個代碼生成工具的想法開始 ...
主要目的的是當我在 Editor 輸入我特定的字眼.
如 TBL=myTableName, CON=192.168.X.X,User,PWD,DBNAME, etc...
我就在 Server 的 API 返回我想要的 Result. 下面我作了簡單的Example
'use strict';
// The module 'vscode' contains the VS Code extensibility API
// Import the module and reference it with the alias vscode in your code below
import * as vscode from 'vscode';

// this method is called when your extension is activated
// your extension is activated the very first time the command is executed
export function activate(context: vscode.ExtensionContext) {

    // Use the console to output diagnostic information (console.log) and errors (console.error)
    // This line of code will only be executed once when your extension is activated
    console.log('Congratulations, your extension "myext" is now active!');
    let editor: any;
    // The command has been defined in the package.json file
    // Now provide the implementation of the command with  registerCommand
    // The commandId parameter must match the command field in package.json
    let disposable = vscode.commands.registerCommand('extension.mycode', () => {
        // The code you place here will be executed every time your command is executed

        //取得 active 的 editor
        editor = vscode.window.activeTextEditor;
        if (!editor) {
            return; // No open text editor
        }
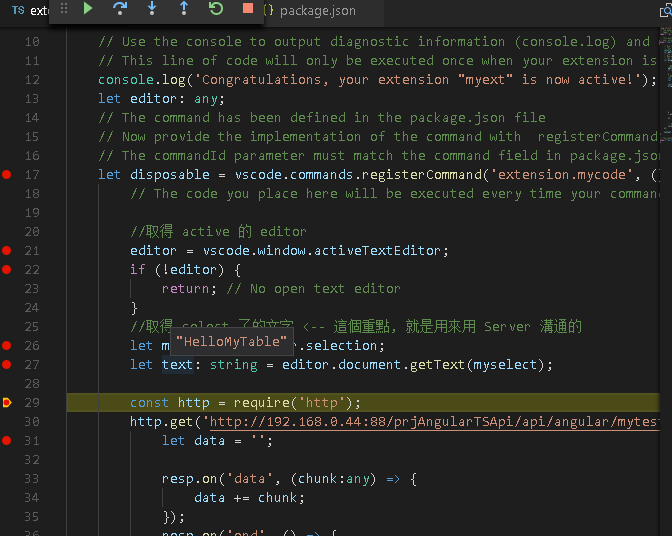
        //取得 select 了的文字 <-- 這個重點, 就是用來用 Server 溝通的
        let myselect = editor.selection;
        let text: string = editor.document.getText(myselect);

        const http = require('http');
        http.get('http://192.168.0.44:88/prjAngularTSApi/api/angular/mytest?data=' + text , (resp:any) => {
            let data = '';

            resp.on('data', (chunk:any) => {
                data += chunk;
            });
            resp.on('end', () => {
                console.log(data);
                let tmp = JSON.parse(data);
                let s: vscode.SnippetString;
                s = new vscode.SnippetString(tmp);
                editor.insertSnippet(s);
            });
        }
        ).on("error", (err:any) => {
            console.log("Error: " + err.message);
        });

        // Display a message box to the user
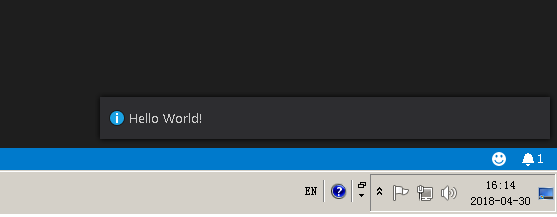
        vscode.window.showInformationMessage('Hello World!');
    });

    context.subscriptions.push(disposable);
}

// this method is called when your extension is deactivated
export function deactivate() {
}
另外, 以上的Source 的 registerCommand 的名改了. 也要在 package.json 也改.
{
    "name": "myext",
    "displayName": "myext",
    "description": "myext",
    "version": "0.0.1",
    "publisher": "lwljimmy",
    "engines": {
        "vscode": "^1.22.0"
    },
    "categories": [
        "Other"
    ],
    "activationEvents": [
        "onCommand:extension.mycode"
    ],
    "main": "./out/extension",
    "contributes": {
        "commands": [
            {
                "command": "extension.mycode",
                "title": "mycode"
            }
        ]
    },
    "scripts": {
        "vscode:prepublish": "npm run compile",
        "compile": "tsc -p ./",
        "watch": "tsc -watch -p ./",
        "postinstall": "node ./node_modules/vscode/bin/install",
        "test": "npm run compile && node ./node_modules/vscode/bin/test"
    },
    "devDependencies": {
        "typescript": "^2.6.1",
        "vscode": "^1.1.6",
        "tslint": "^5.8.0",
        "@types/node": "^7.0.43",
        "@types/mocha": "^2.2.42"
    }
}
現在 Command 叫做 mycode.
我就在位何一個地方輸入 HelloMyTable 再 SelectText 選取個文字後入Command: mycode
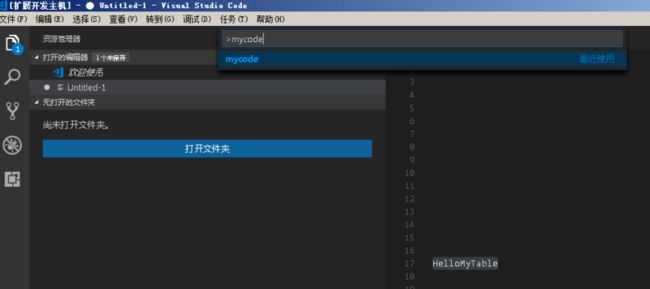
當知道我 selection 的文字為 HelloMyTable 時, 我就直接Send 比我 Server 的 Api
當然要打 Command 不是佷方便, VS Code 可以定 short-cut (我就用 ctrl+J)
Server 返回的 Result 寫到 editor, .insertSnippet().
可能有些朋友問這樣做與用 VS Code 的 Code Snippet 有什麼不同? 這是十分之不同呢, 因為我的代碼不是固定的, 是實時按要求生成的. 下面比例實際的例字我用作 Generate Model 層的 Typescript code.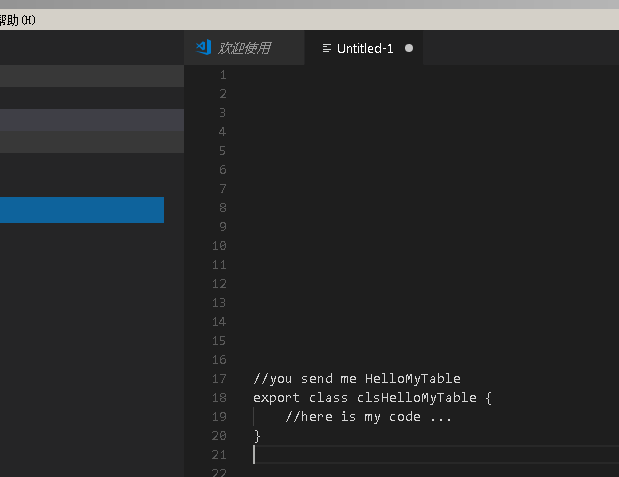
我們就可在這做我們自動代碼了. 以 TypeScript 的 Model 為例. 當我要自動出個 Table Model 去
TypeScript .... 我輸入 con=XXXX 後我先記下要用到那個database, 當發現有 TBL=tblItemmas. Server 就知道現在要在那個 database 找 table (e.g. mssql -> select * From information_schema.columns), Server 的 Api 我就不作介紹了. 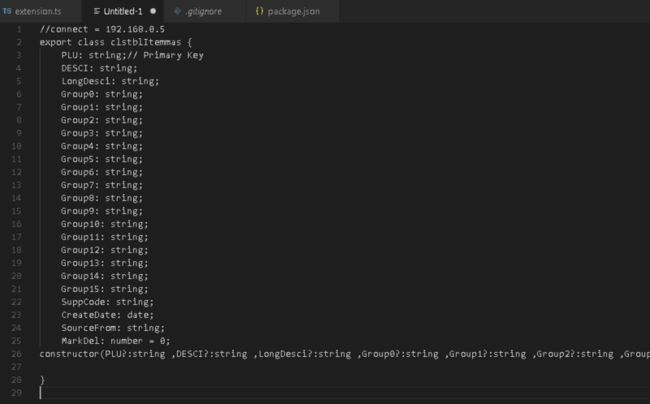
WebApi 要如何做就任其發揮. 我主要目的是我統一部份 Coding 的 standard, 當多人一同開發時可以少很問題, 而且 Data 的 CRUD 這些真的比較差不多. 也用不少時間去寫. 做好個 standard 還是比較好管理.
如何安裝? 直接把個 Folder Copy 去以下地方就可以. 不用什麼 exe, dll ... 直接就用到.
Windows: %USERPROFILE%.vscodeextensions
macOS/Linux: $HOME/.vscode/extensions
