在IDEA中新建springboot项目
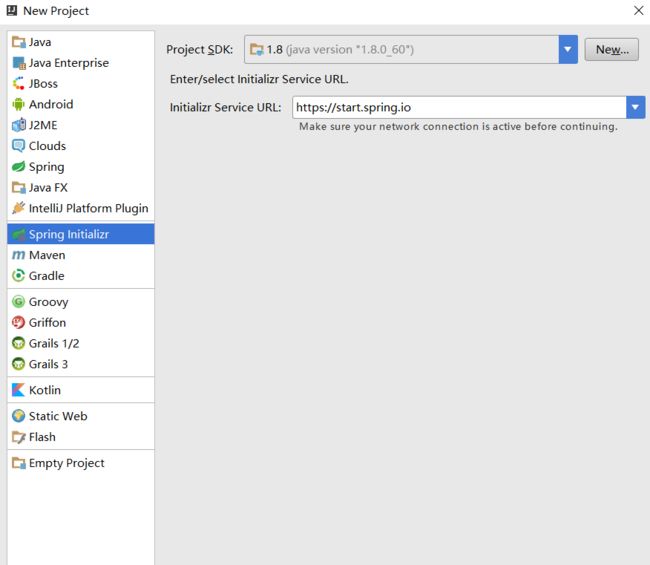
新建项目1
Type选Gradle Project,使用Gradle进行构建;Packaging,选jar,构建时打包成jar格式。
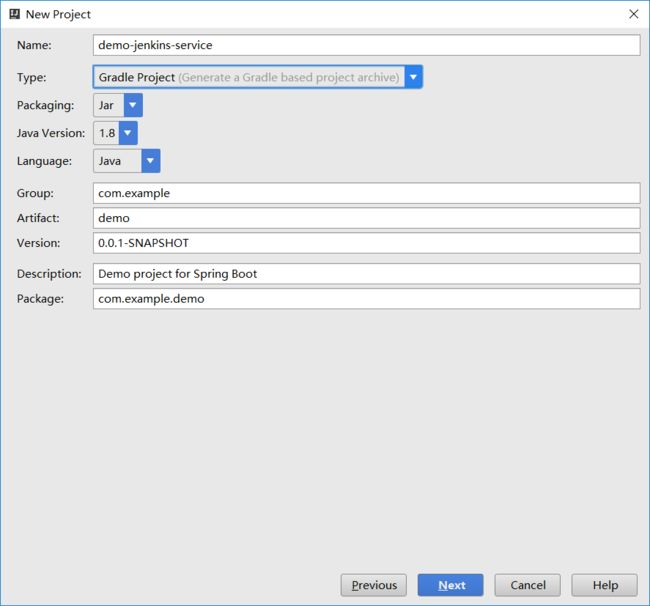
新建项目2
spring的依赖包选一个WEB,这个工程只是为了演示自动构建,不用太复杂。
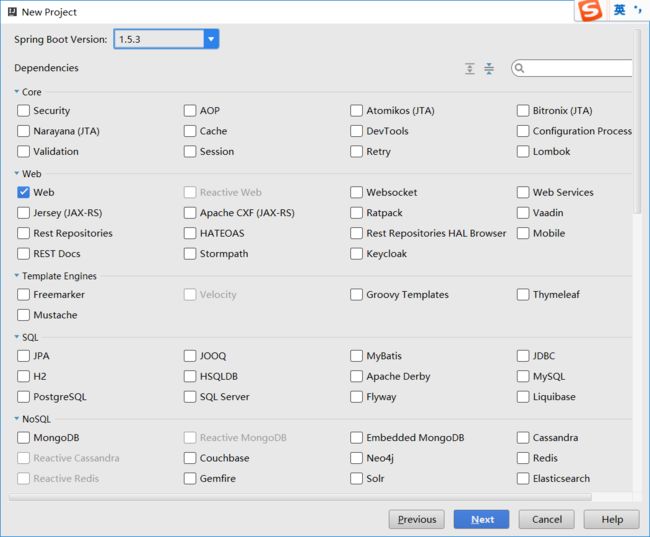
新建项目3
点开build.gradle,在其中增加配置
jar { baseName ='demo-jenkins-service'}springBoot { executable =true}
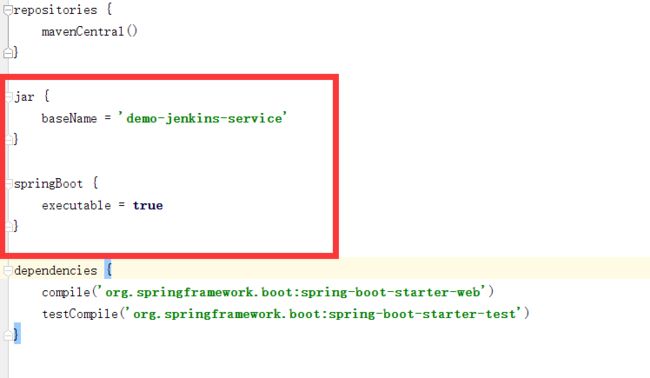
修改build.gradle
这两个配置非常关键。分别是设置构建后jar的名字、设置jar包支持直接在linux中使用sh demo-jenkins-service.jar直接启动应用。
当jar包可以直接启动时,就可以通过命令将其配置成linux服务了。这一块后面会仔细说。
另外,新项目目前没有任何接口,随便写一个接口供测试。
@RestControllerpublicclassTestController{ @GetMapping("/index") publicMap index() {Map result =newHashMap<>(); result.put("test1","test1"); result.put("test2","test2"); result.put("test3","test3");returnresult; }}
现在演示代码准备好了,需要将代码传到git仓库中,这里git仓库我们使用github。
github仓库是通过ssh密钥进行安全控制的,建立仓库前,我们需要先将开发机器的ssh密钥和github进行关联。
打开Git Gui,选择Help,Show SSH Key,可以获取到本机的SSH密钥。
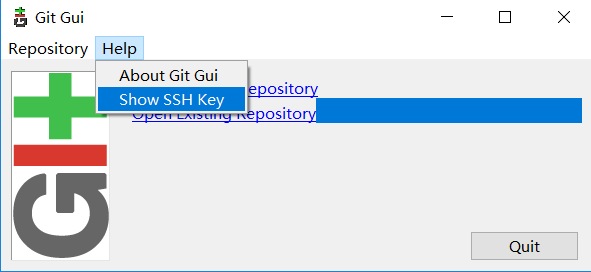
Git Gui
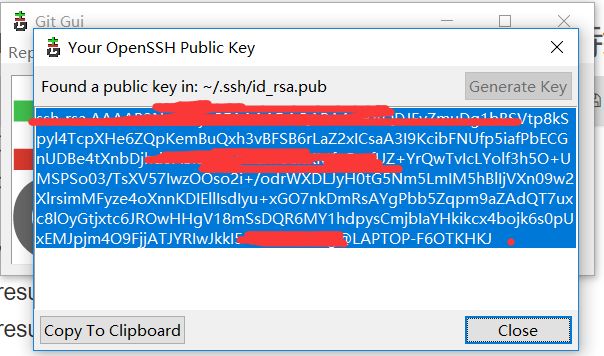
获取SSH Key
进入github管理页面,选择菜单SSH and GPG keys,点击New SSH key。
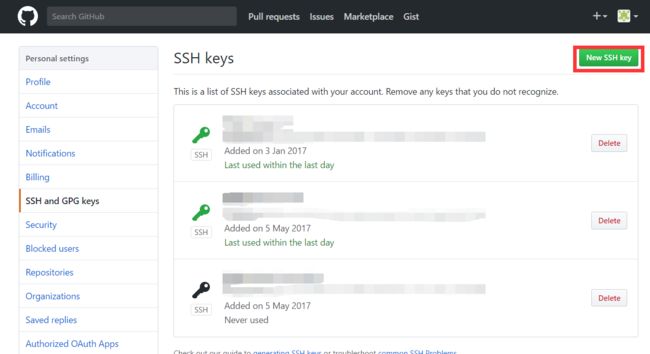
SSH keys
在此页面将本地的SSH Key和github关联,在Key下面的文本框里粘贴上复制来的SSH Key,点击Add SSH key。
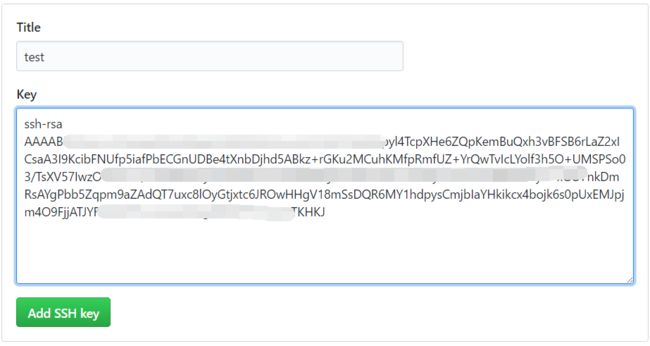
Add SSH key
至此开发机器和github的关联就完成了,下面开始创建远程仓库并上传代码。
在github上新建一个远程仓库,登录github,右下角找到按钮New repository,点击创建远程仓库。

github主页
输入仓库名,其他设置都是默认就好,点击Create repository

创建git远程仓库
git仓库创建成功,可以从下图框出来的位置获取到git仓库路径。

git仓库创建成功
现在git远程仓库有了,我们将代码传到git仓库里吧。
在IDEA中,先创建本地仓库,菜单栏,选VCS、Import into Version Control、Create Git Repository。
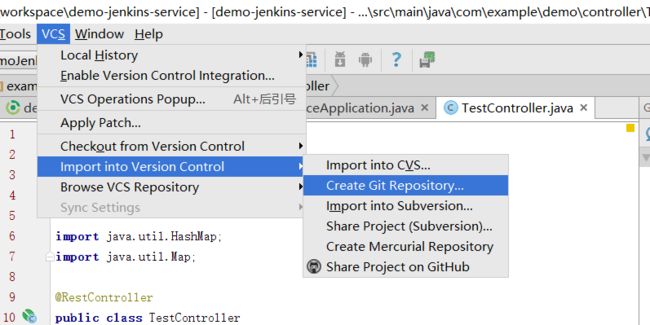
创建本地git仓库1
选择代码根目录,点击OK。
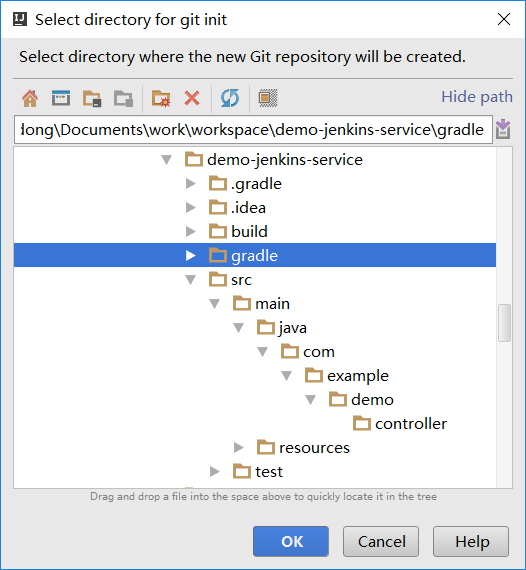
创建本地仓库2
在项目名处点击右键,选择Git、Add。
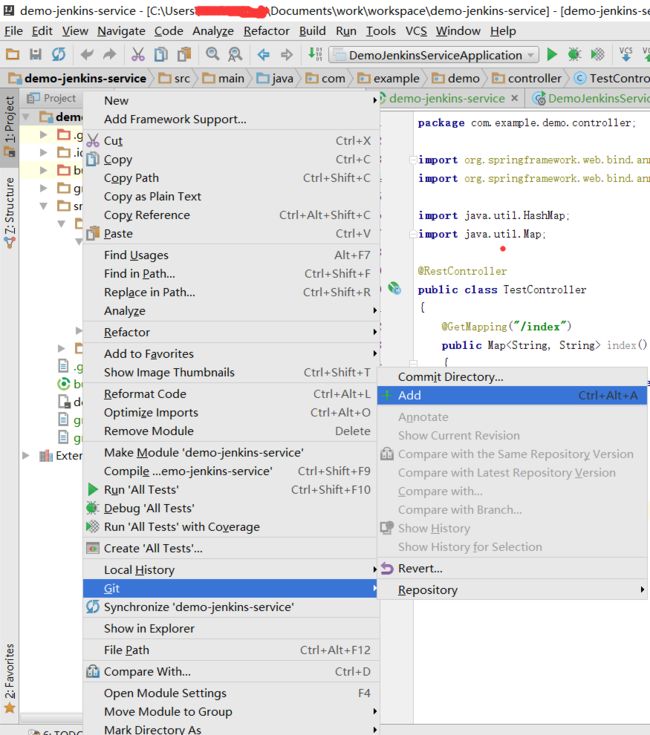
git-add
add成功后,再选择Git、Commit Directory。
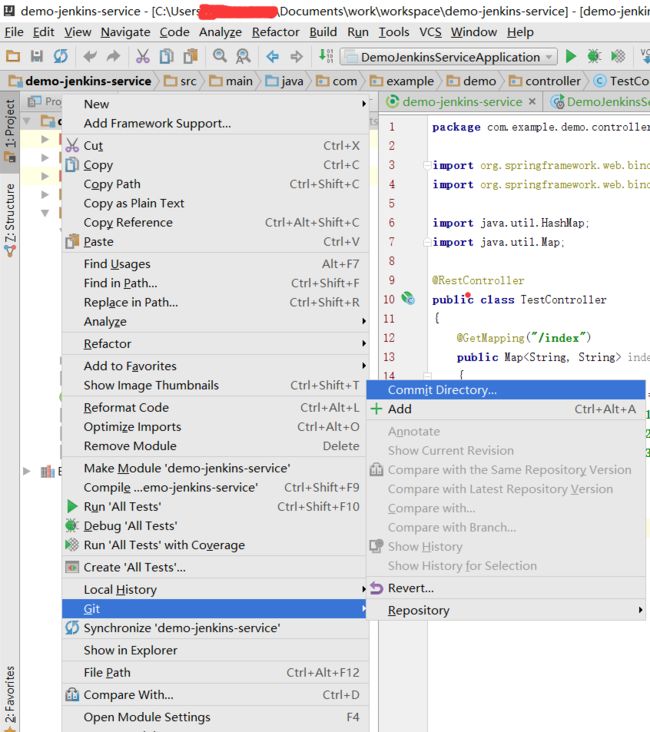
git-commit1
在Commit页面,输入注释,随便输什么,不输入也行,不过建议最好写点什么。点击Commit and Push。
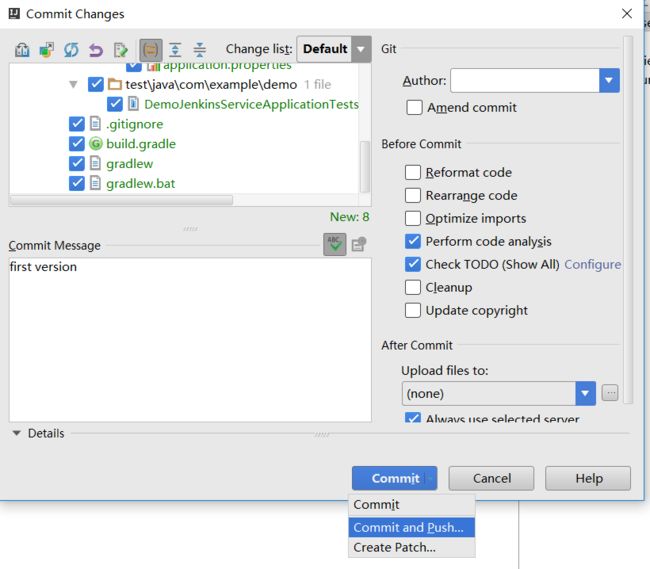
Commit and Push
进入Push Commit页面,点击Define remote,在URL处填入刚才获取到的git远程仓库地址。点击OK。
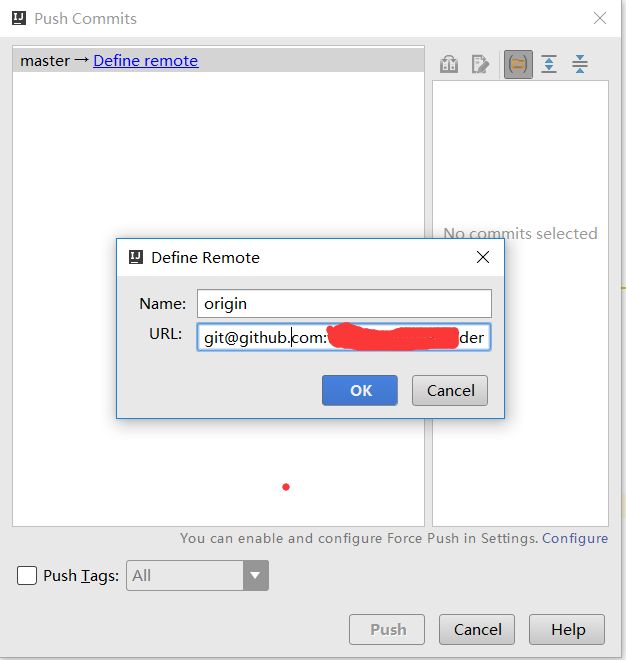
输入远程仓库地址
等待验证后,页面会变成这样,点击Push。

Push代码至远程仓库
在github仓库页面点击刷新,确认代码已成功上传。
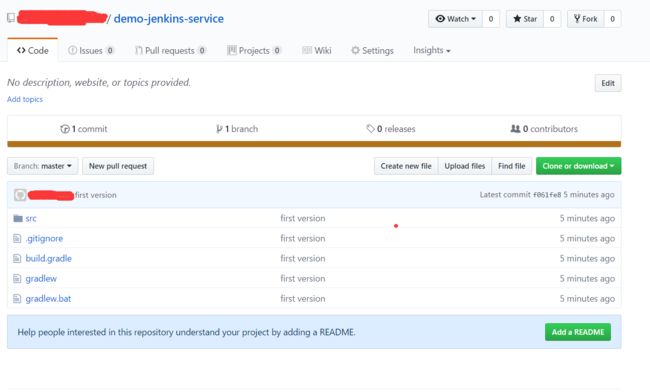
github页面确认