Android多点触摸交互处理
安卓手机中,多点触摸是是最基本的操作,下面就使用程序进行演示多点触摸操作
一、获取触摸事件中的点击,移动和抬起事件,创建新的安卓项目,如下面代码所示,分别为MainActivity类代码和Layout布局文件,用于实现获取点击事件
1.1、MainActivity类中代码,代码中为布局对象root添加监听事件,使用switch进行对屏幕时间进行判断,用于判断事件的按下还是移动,在代码中
root=(RelativeLayout) findViewById(R.id.content);用于绑定布局文件中的id,用于进行监听整个页面;
root.setOnTouchListener(new OnTouchListener()用于设置监听事件,监听屏幕;
public boolean onTouch(View v, MotionEvent event)用于对触目事件进行响应;
switch用于对事件响应时进行判断,判断是什么类型的触摸,然后进行对事件响应;
System.out.println("Action Move");System.out.println(String.format("x:%f,y:%f",event.getX(),event.getY()));用于输出相应的类型与坐标
下面就是详细代码:
package com.lutsoft.android_010_multouch;
import android.app.Activity;
import android.os.Bundle;
import android.view.MotionEvent;
import android.view.View;
import android.view.View.OnTouchListener;
import android.widget.FrameLayout;
import android.widget.ImageView;
import android.widget.RelativeLayout;
import android.widget.RelativeLayout.LayoutParams;
public class MainActivity extends Activity {
	private RelativeLayout root;
	@Override
	protected void onCreate(Bundle savedInstanceState) {
		super.onCreate(savedInstanceState);
		setContentView(R.layout.activity_main);
		root=(RelativeLayout) findViewById(R.id.content);
		root.setOnTouchListener(new OnTouchListener() {
			@Override
			public boolean onTouch(View v, MotionEvent event) {
				switch (event.getAction()) {
				case MotionEvent.ACTION_DOWN:
					System.out.println("Action down");
					break;
				case MotionEvent.ACTION_MOVE:
					System.out.println("Action Move");
					System.out.println(String.format("x:%f,y:%f",event.getX(),event.getY()));
					break;
				case MotionEvent.ACTION_UP:
					System.out.println("Action up");
					break;
				}
				return true;
			}
		});
	}
}
1.2 布局文件activity_main.xml代码如下所示,此时布局中不需要任何文件,在代码中,android:id="@+id/content"用于为整个布局设置id,方便在类中的使用。
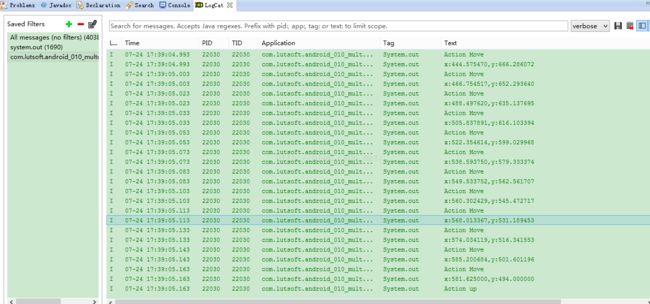
1.3、在点击运行之后,在点击界面之后在logcat中我们能够看到有如下信息输出:
二、设置图片的移动操作
2.1、在获取了点击事件之后,我们进行设置图片的移动,实现一个图片的移动,首先我们需要在布局文件中添加ImageView组件,在组件中设置宽高与图片来源,代码如下所示(即将下面代码添加到上面的activity_main.xml页面):
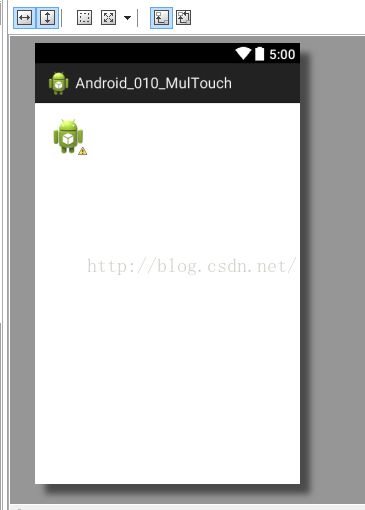
下面是添加代码后的图形化界面:
2.2、在编写完布局文件之后,我们需要对MainActivity中的代码进行添加相应的响应事件,其代码如下所示:
在代码中,
iv=(ImageView) findViewById(R.id.iv);用于实现绑定布局文件activity-main.xml文件中的ImageView组件的对象;
RelativeLayout.LayoutParams lp=(LayoutParams) iv.getLayoutParams();
lp.leftMargin=(int) event.getX();
lp.topMargin=(int) event.getY();
iv.setLayoutParams(lp);//用于获取布局参数,对ImageView组件中的参数进行修改,实现图片的动态布局,即实现拖动功能
下面就是MainActivity的详细代码:
package com.lutsoft.android_010_multouch;
import android.app.Activity;
import android.os.Bundle;
import android.view.MotionEvent;
import android.view.View;
import android.view.View.OnTouchListener;
import android.widget.FrameLayout;
import android.widget.ImageView;
import android.widget.RelativeLayout;
import android.widget.RelativeLayout.LayoutParams;
public class MainActivity extends Activity {
	private RelativeLayout root;
	private ImageView iv;
	@Override
	protected void onCreate(Bundle savedInstanceState) {
		super.onCreate(savedInstanceState);
		setContentView(R.layout.activity_main);
		iv=(ImageView) findViewById(R.id.iv);
		root=(RelativeLayout) findViewById(R.id.content);
		root.setOnTouchListener(new OnTouchListener() {
			@Override
			public boolean onTouch(View v, MotionEvent event) {
				switch (event.getAction()) {
				case MotionEvent.ACTION_DOWN:
					System.out.println("Action down");
					break;
				case MotionEvent.ACTION_MOVE:
					System.out.println("Action Move");
					RelativeLayout.LayoutParams lp=(LayoutParams) iv.getLayoutParams();
					lp.leftMargin=(int) event.getX();
					lp.topMargin=(int) event.getY();
					iv.setLayoutParams(lp);
					System.out.println(String.format("x:%f,y:%f",event.getX(),event.getY()));
					break;
				case MotionEvent.ACTION_UP:
					System.out.println("Action up");
					break;
				}
				return true;
			}
		});
	}
}
2.3、在实现以上功能之后,我们能够运行,拖动手机屏幕中的图标,图标会跟随着移动
三、在上面的操作中,无法判断点击屏幕时所使用的触摸点,下面我们就来实现跟踪触摸点,在跟踪触摸点时,不需要更改其他任何部分,只需要将onTouch函数代码中进行修改,代码修改如下所示:
@Override
			public boolean onTouch(View v, MotionEvent event) {
				switch (event.getAction()) {
				case MotionEvent.ACTION_DOWN:
					System.out.println("Action down");
					break;
				case MotionEvent.ACTION_MOVE:
					System.out.println("Action Move");
					System.out.println("Pointer Count:"+event.getPointerCount());
					System.out.println(String.format("x1:%f,y1:%f  x2:%f,y2:%f",event.getX(0),event.getY(0),event.getX(1),event.getY(1)));
				/*	RelativeLayout.LayoutParams lp=(LayoutParams) iv.getLayoutParams();
					lp.leftMargin=(int) event.getX();
					lp.topMargin=(int) event.getY();
					iv.setLayoutParams(lp);
					System.out.println(String.format("x:%f,y:%f",event.getX(),event.getY()));
				*/	break;
				case MotionEvent.ACTION_UP:
					System.out.println("Action up");
					break;
				}
				return true;
			}
修改之后运行程序,当我们在屏幕上进行分别用一个触摸点或多个触摸点点击时,能够在Logcat中进行相应的输出。
四、实现图片的缩放
4.1、在实现图片的缩小与放大时,我们仍然修改onTouch函数代码,修改如下所示,在代码中,
float offsetX=event.getX(0)-event.getX(1);float offsetY=event.getY(0)-event.getY(1);用于记录触屏的改变量;
currentDistance=(float) Math.sqrt(offsetX*offsetX+offsetY*offsetY);根据该变量,根据勾股定理进行判断缩放;
RelativeLayout.LayoutParams lp=(LayoutParams) iv.getLayoutParams();
lp.width=(int) (1.1f*iv.getWidth());
lp.height=(int) (1.1f*iv.getHeight());
iv.setLayoutParams(lp);
lastDisance=currentDistance;//用于改变图片的大小,最后将当前量赋给最后的记录量
下面是详细的代码:
@Override
			public boolean onTouch(View v, MotionEvent event) {
				switch (event.getAction()) {
				case MotionEvent.ACTION_DOWN:
					System.out.println("Action down");
					break;
				case MotionEvent.ACTION_MOVE:
					//System.out.println("Action Move");
					if(event.getPointerCount()>=2)
					{
						float offsetX=event.getX(0)-event.getX(1);
						float offsetY=event.getY(0)-event.getY(1);
						currentDistance=(float) Math.sqrt(offsetX*offsetX+offsetY*offsetY);
						if(lastDisance<0)
						{
							lastDisance=currentDistance;
						}
						else
						{
							if (currentDistance-lastDisance>5) {
								System.out.println("放大");
								RelativeLayout.LayoutParams lp=(LayoutParams) iv.getLayoutParams();
								lp.width=(int) (1.1f*iv.getWidth());
								lp.height=(int) (1.1f*iv.getHeight());
								iv.setLayoutParams(lp);
								lastDisance=currentDistance;
							}
							else if(lastDisance-currentDistance>5)
							{
								System.out.println("缩小");
								RelativeLayout.LayoutParams lp=(LayoutParams) iv.getLayoutParams();
								lp.width=(int) (0.9f*iv.getWidth());
								lp.height=(int) (0.9f*iv.getHeight());
								iv.setLayoutParams(lp);
								lastDisance=currentDistance;
							}
						}
					}

					//System.out.println("Pointer Count:"+event.getPointerCount());
					//System.out.println(String.format("x1:%f,y1:%f  x2:%f,y2:%f",event.getX(0),event.getY(0),event.getX(1),event.getY(1)));
				/*	RelativeLayout.LayoutParams lp=(LayoutParams) iv.getLayoutParams();
					lp.leftMargin=(int) event.getX();
					lp.topMargin=(int) event.getY();
					iv.setLayoutParams(lp);
					System.out.println(String.format("x:%f,y:%f",event.getX(),event.getY()));
				*/	break;
				case MotionEvent.ACTION_UP:
					System.out.println("Action up");
					break;
				}
				return true;
			}
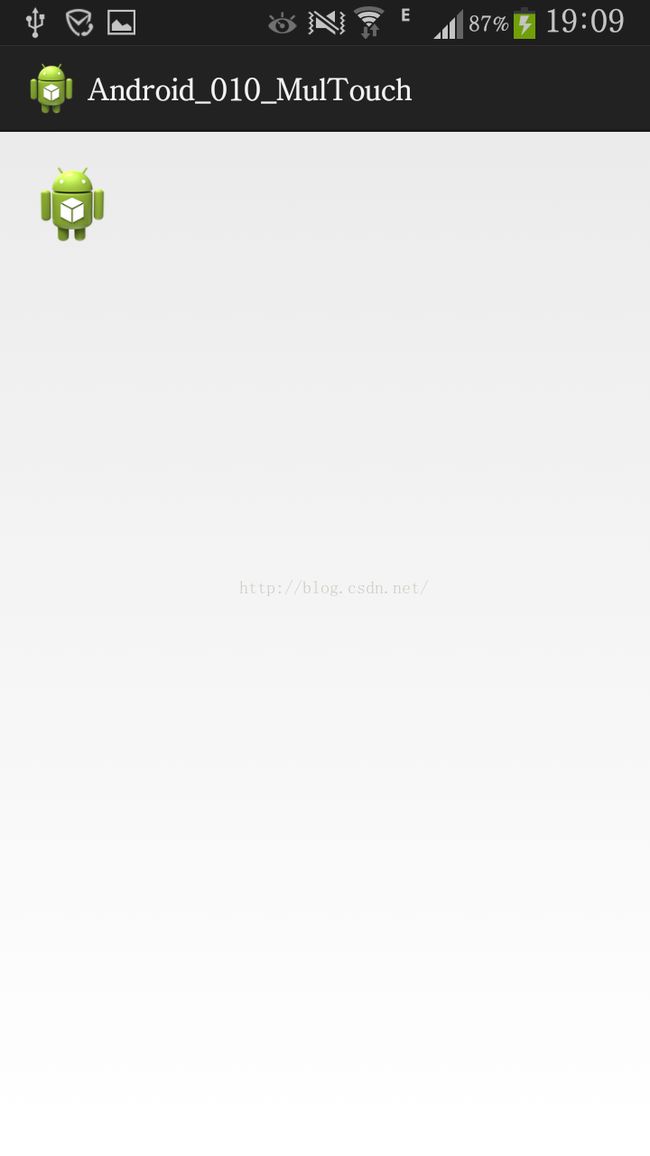
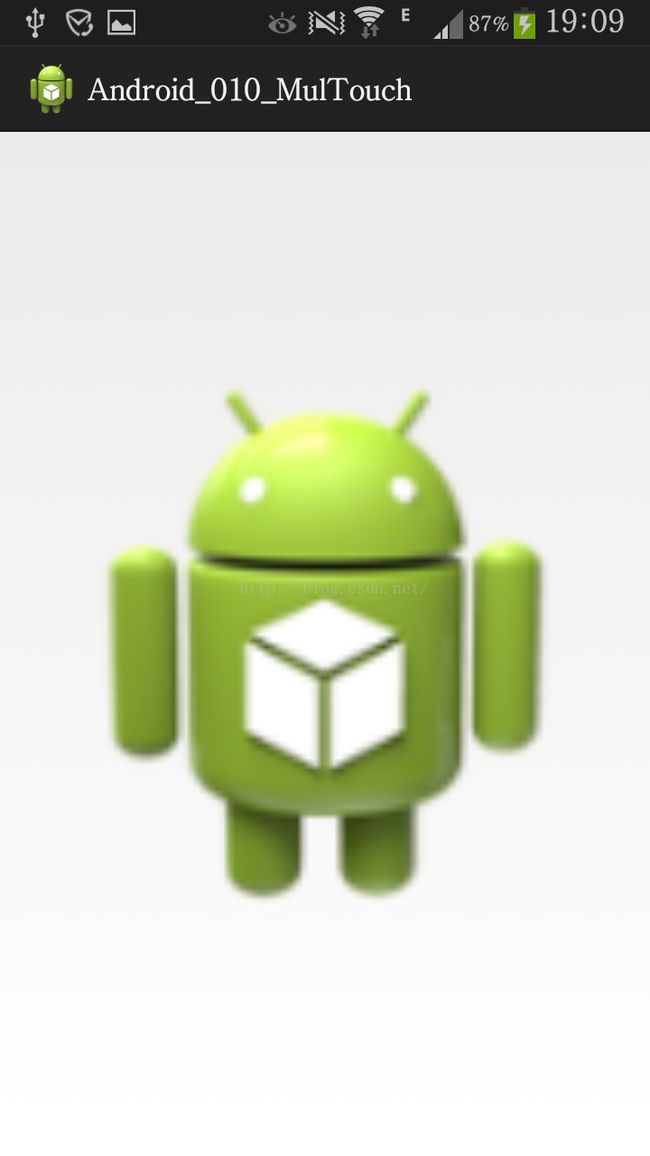
4.2、在完成代码编写工作之后,我们能够通过触摸点间距的大小进行判断图片的缩放,当距离增大时,图片放大,距离减小时,图片缩小,其结果如下所示:
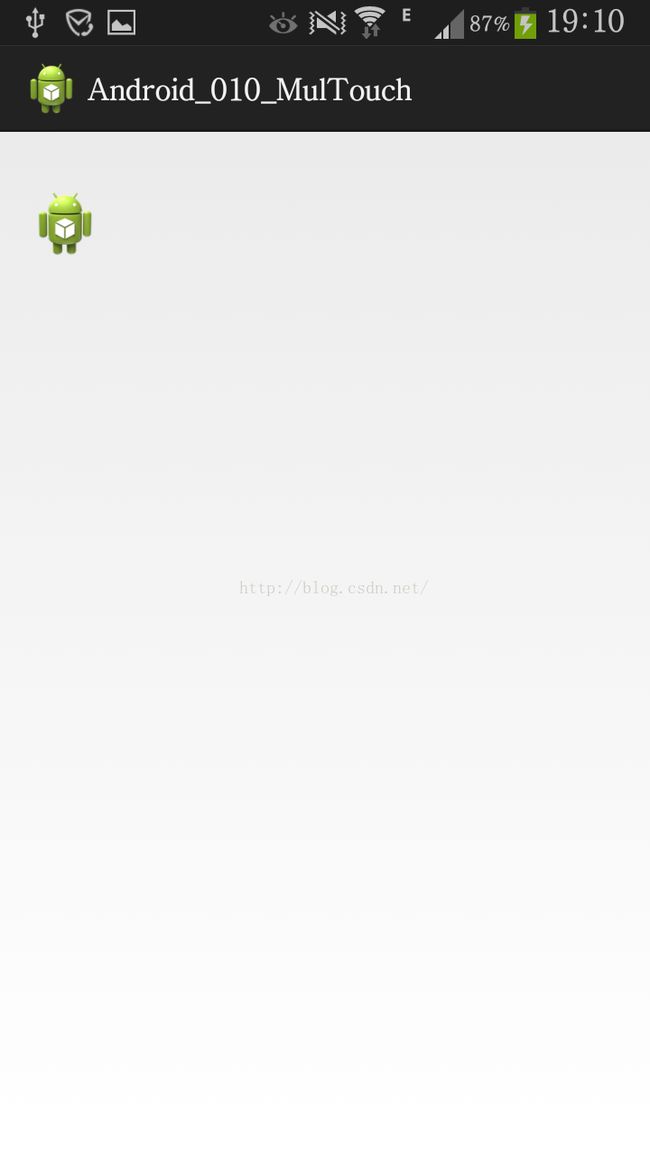
(1)原图
(2)放大
(3)缩小
以上就是安卓屏幕的多点触摸事件的使用
