vue h5项目集成环信webIM超详细步骤,附代码注释讲解
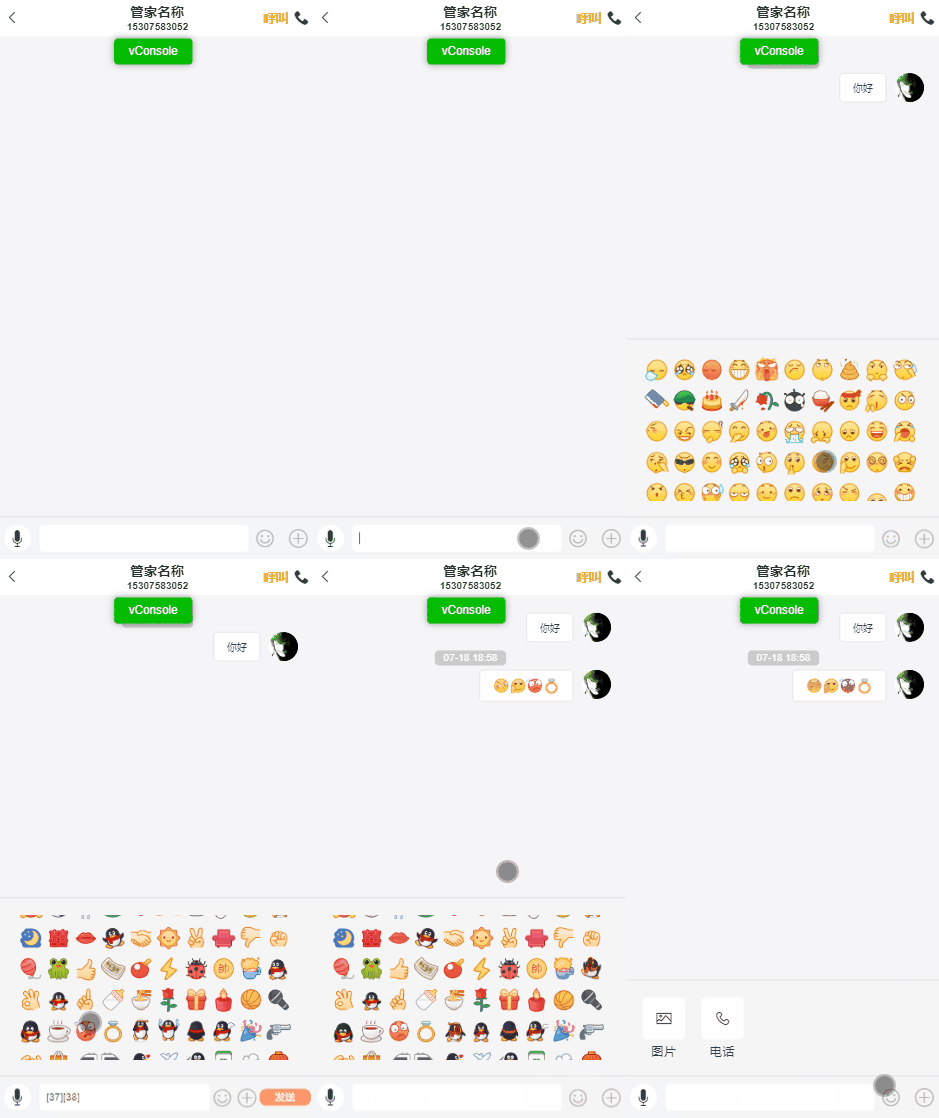
最近做项目时有需求去实现实时通讯,要求可以文字聊天、表情聊天、图片聊天、语音聊天。接下来我会先说该如何在vue项目中去配置webIM的环境以及集成webIM的方法。
1. 第一步是npm install 依赖包
npm install easemob-websdk
npm install strophe.js
2. 修改原生代码文件
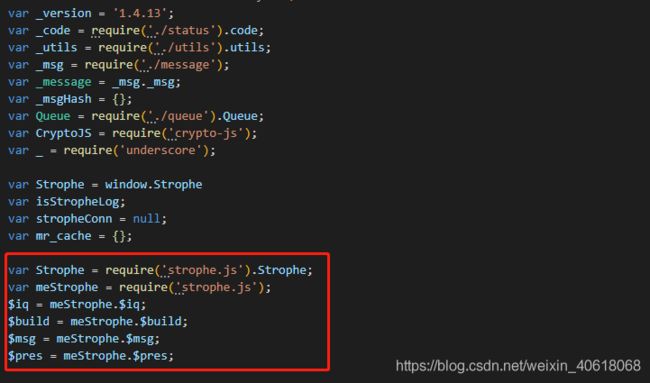
- 找到node_modules/easemob-websdk/src/connection.js 在16行加入
var Strophe = require('strophe.js').Strophe;
var meStrophe = require('strophe.js');
$iq = meStrophe.$iq;
$build = meStrophe.$build;
$msg = meStrophe.$msg;
$pres = meStrophe.$pres;
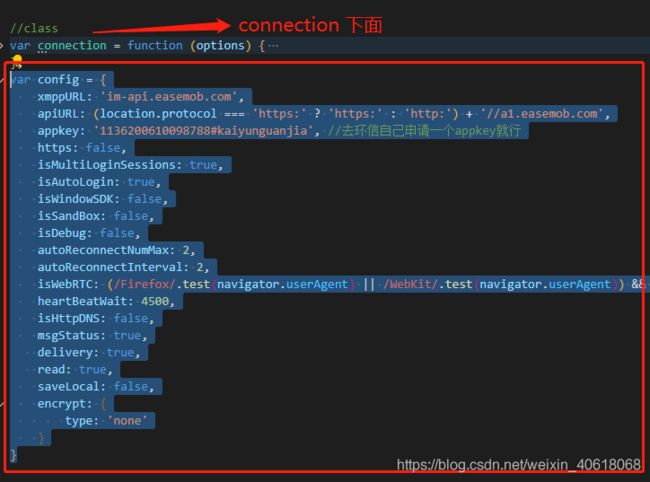
- 找业务人员或项目经理要环信ID,并依旧在connection.js大概740行中加入
var config = {
    xmppURL: 'im-api.easemob.com',
    apiURL: (location.protocol === 'https:' ? 'https:' : 'http:') + '//a1.easemob.com',
    appkey: 'xxxxxxxxxxxxxxxxxxxxxxxxxxxx', //去环信自己申请一个appkey就行
    https: false,
    isMultiLoginSessions: true,
    isAutoLogin: true,
    isWindowSDK: false,
    isSandBox: false,
    isDebug: false,
    autoReconnectNumMax: 2,
    autoReconnectInterval: 2,
    isWebRTC: (/Firefox/.test(navigator.userAgent) || /WebKit/.test(navigator.userAgent)) && /^https\:$/.test(window.location.protocol),
    heartBeatWait: 4500,
    isHttpDNS: false,
    msgStatus: true,
    delivery: true,
    read: true,
    saveLocal: false,
    encrypt: {
        type: 'none'
    }
}
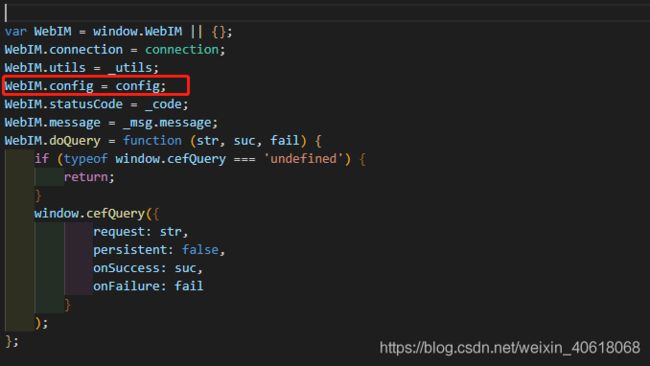
- 在connection.js中大概4110行中挂载刚才的config配置对象
WebIM.config = config;
- 找到node_modules/strophe.js/dist/strophe.js 在2892行左右加入以下代码
setJid: function (jid) {
    this.jid = jid;
    this.authzid = Strophe.getBareJidFromJid(this.jid);
    this.authcid = Strophe.getNodeFromJid(this.jid);
  },
  getJid: function () {
    return this.jid;
  },
3. 在环信控制台新建一个IM用户,方便在控制台模拟发送rest信息,此时你要记住测试用户的ID
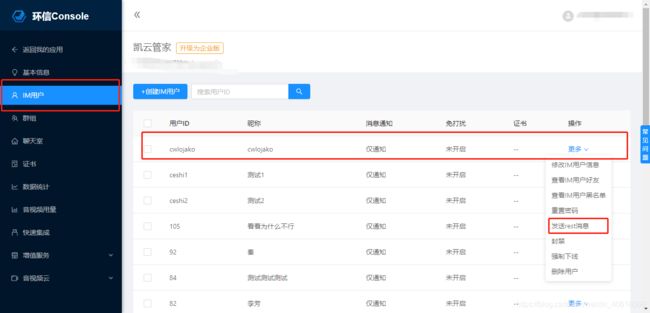
4. 在main.js中引入配置
import websdk from 'easemob-websdk'
let WebIM = window.WebIM = websdk
Vue.prototype.$WebIM = WebIM

// 这里是建立连接,要聊天之前肯定需要进行协议之间的连接,成功之后才可聊天
var conn = new WebIM.connection({
    isMultiLoginSessions: WebIM.config.isMultiLoginSessions,
    https: typeof WebIM.config.https === 'boolean' ? WebIM.config.https : location.protocol === 'https:',
    url: WebIM.config.xmppURL,
    heartBeatWait: WebIM.config.heartBeatWait,
    autoReconnectNumMax: WebIM.config.autoReconnectNumMax,
    autoReconnectInterval: WebIM.config.autoReconnectInterval,
    apiUrl: WebIM.config.apiURL,
    isAutoLogin: true
});

// 登录配置项(这里后续的账号密码是后端提供的,所以是需要对接后端接口的,我后面会将这里的配置迁移到聊天页面)
const options = {
    apiUrl: WebIM.config.apiURL,
    user: 'xxxxxxxx', //换成刚才自己添加的IM用户的账号和密码
    pwd: 'xxxxxxxx',
    appKey: WebIM.config.appkey,
    success:function (re) {
        console.log('登陆成功')
    },
    error:function (err) {
        console.log(err)
    }
}
// 分别将连接对象和登录配置对象挂载到vue实例上,方便页面的调用
Vue.prototype.$imconn = conn
Vue.prototype.$imoption = options
到这里main.js的配置也算成功了,如何判断是否成功,如果连接成功会在控制台中打印登陆成功的。如:
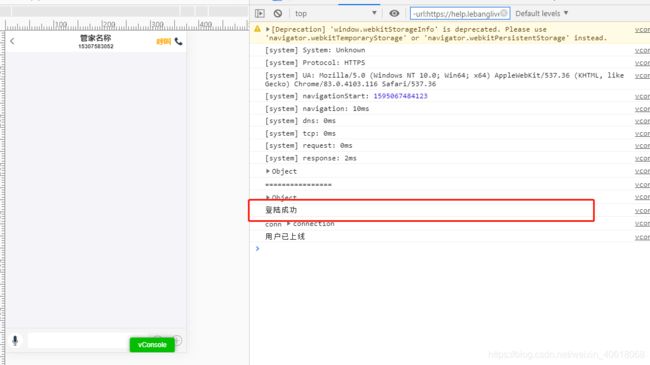
5. 接下来就可以在组件中使用了,先说最基础的发送文本把(需要看方法的得自己去看WebIM的文档)
data() {
 return {
 	// 在data中声明这两个vue实例挂载的对象,并在created中赋值
    $imconn: {},
    $imoption: {},
    // 每次发送信息或收到信息后都会吧数据push到这一个聊天数组中
    chatContent: [],
    // 发送的消息内容
    content: ''
 }
},
 created() {
    this.$imconn = this.$imconn;
    this.$imoption = this.$imoption;
    // 调用登录方法
   	this.loginWebIM()
 },
 methods: {
 	loginWebIM() {
		// open方法,传入挂载在vue实例上的配置对象
	    this.$imconn.open(this.$imoption);
	    let _this = this;
	    this.$imconn.listen({
	        onOpened: function (message) {
	            console.log('用户已上线') // 控制台打印出这句证明连接成功啦
	        },
	    })
	    // 集成收到文本信息方法
	    onTextMessage: function ( message ) {
	       console.log('收到文本信息')
	       console.log(message)
	       let date = +new Date()
	       let value = {}
	       // 普通文本信息
	       value = {
	           type: 'text', // 加上标识,后续还有语音、图片、表情等类型,加上标识好用于dom元素的判断并修改样式
	           avatar: require('@/assets/defult-avatar.jpg'),
	           content: message.data,
	           to: message.to,
	           from: message.from,
	           time: date
	         }
	       }
	       _this.chatContent.push(value) // 添加到聊天信息数组中
		}
	},
	// 发送文本信息
      sendMsg() {
        let _this = this;
        // 生成本地消息id
        var id = this.$imconn.getUniqueId()
        var msg = new WebIM.message('txt', id)
        var time = +new Date()
        // 设置body
        msg.set({
          msg: _this.content, // 发送的消息内容(content是与input输入框双向绑定的变量)
          to: 'admin', // 接收消息对象,这里可以先写死是admin,代表发给控制台
          roomType: false,
          // ext表示拓展对象,这个会随着你发送而发送过去,你接收时同样可以拿到这个数据
          ext: {
            time
          },
          success: function (id, serverMsgId) {
            console.log(msg) // 自己去打印出来看看是啥
            //把发送者的头像和文本数据push到数组中在页面上展示
            let value = {
              type: 'text',
              avatar: require('../../assets/defult-avatar.jpg'),
              content: msg.value,
              to: 'admin', // 先写死admin
              from: 'cwlojako', // 这里写上你控制台创建的测试IM用户ID(我这里是cwlojako,见上图)
              time: msg.body.ext.time // 获取发送时间
            }
            _this.chatContent.push(value);
          },
          fail: function(e){
            console.log("消息发送失败");
          }
        });
        msg.body.chatType = 'singleChat';
        this.$imconn.send(msg.body);
        // 发送后将输入框清空
        this.content = ''
      }
}
致此 发送文本信息到此成功结束。时间有限,后续会更新配置表情,发送表情等。如果要看看具体效果的小伙伴想要源码私信我。总体效果:
