mysql-主从环境搭建
准备2个机器分别都安装好mysql
https://blog.csdn.net/ko0491/article/details/108513400
防火墙基本操作命令
https://blog.csdn.net/ko0491/article/details/107374919
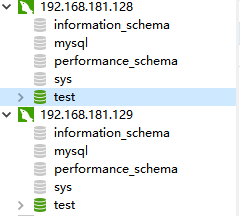
关闭防火墙-同时禁止开机启动
[root@localhost ~]# systemctl stop iptables;
Failed to stop iptables.service: Unit iptables.service not loaded.
[root@localhost ~]# systemctl stop firewalld
[root@localhost ~]# systemctl disable firewalld.service
Removed symlink /etc/systemd/system/multi-user.target.wants/firewalld.service.
Removed symlink /etc/systemd/system/dbus-org.fedoraproject.FirewallD1.service.
[root@localhost ~]#
开始配置mysql 找到my.cnf配置文件
开启binlog
sudo vim my.cnf
- 配置
# endable binlog
log_bin=mysql-bin
server-id=1  # 主库的server-id
sync-binlog=1  #每次提交事务都刷盘
# 哪些库同步不步不设置就全步
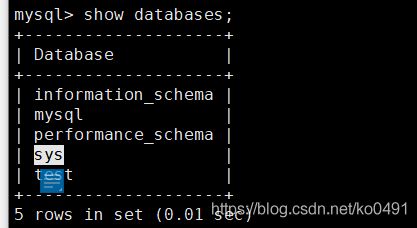
binlog-ignore-db=information_schema
binlog-ignore-db=mysql
binlog-ignore-db=performance_schema
binlog-ignore-db=sys
# 指定同步哪些库
# binlog-db-db=test
重启主库
systemctl restart mysqld

已经开启binglog

刷盘配置
0: 每秒提交 Redo buffer ->OS cache -> flush cache to disk,可能丢失一秒内的事务数据。由后台Master线程每隔 1秒执行一次操作。
1: 1(默认值):每次事务提交执行 Redo Buffer -> OS cache -> flush cache to disk,最安全,性能最差的方式
2. 每次事务提交执行 Redo Buffer -> OS cache,然后由后台Master线程再每隔1秒执行OScache -> flush cache to disk 的操作
授权
登录主库
mysql -uroot -p
- 授权失败
grant replication slave on *.* to 'root'@'%' identified by 'root';
ERROR 1819 (HY000): Your password does not satisfy the current policy requirements
- 密码策略问题
SHOW VARIABLES LIKE 'validate_password%';
- 修改密码策略
set global validate_password_policy=LOW;
- 修改密码长度
set global validate_password_length=4;
- 再次授权
grant replication slave on *.* to 'root'@'%' identified by 'root';

grant all privileges ON *.* to 'root'@'%' identified by 'root';
# 刷新权限
flush privileges;
- 查看状态
show master status;
从库配置
- 修改配置文件
sudo vim /etc/my.cnf
- 配置
从库可以不开binlog
# server id
server-id=2
relay_log=mysql-relay-bin
# 是否只读
read_only=1
~
同步初始化
change master to master_host='192.168.181.128',master_port=3306,master_user='root',master_password='root',master_log_file='mysql-bin.000001',master_log_pos=869;
-
master_host 主库ip
-
master_port 主库端口
-
master_user主库用户
-
master_password 主库用户对应的密码
-
master_log_file 主库binlog日志文件名称
-
master_log_pos 主库binlog日志的POS位置上面图中的position
-
开启从库
start slave;
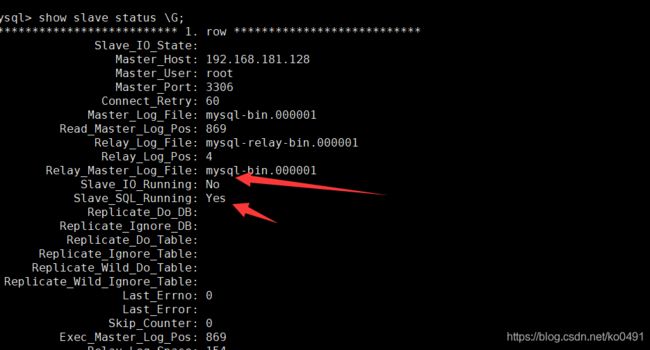
show slave status;
- Slave_IO_Running: No 不正常
- Slave_SQL_Running: Yes 正常
cat /etc/my.cnf
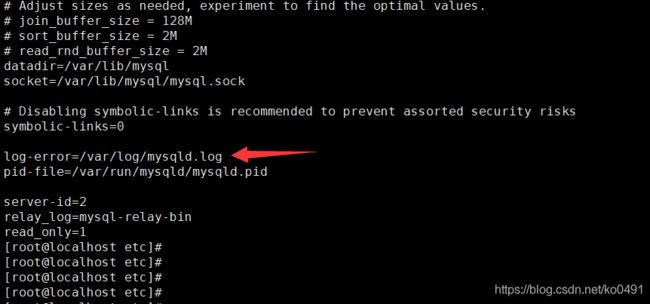
cat /var/log/mysqld.log
 Event Scheduler: Loaded 0 events
2020-09-10T07:02:36.347493Z 0 [Note] /usr/sbin/mysqld: ready for connections.
Version: '5.7.31'  socket: '/var/lib/mysql/mysql.sock'  port: 3306  MySQL Community Server (GPL)
2020-09-10T07:06:59.917295Z 2 [Note] 'CHANGE MASTER TO FOR CHANNEL '' executed'. Previous state master_host='', master_port= 3306, master_log_file='', master_log_pos= 4, master_bind=''. New state master_host='192.168.181.128', master_port= 3306, master_log_file='mysql-bin.000001', master_log_pos= 869, master_bind=''.
2020-09-10T07:09:17.040682Z 3 [Warning] Storing MySQL user name or password information in the master info repository is not secure and is therefore not recommended. Please consider using the USER and PASSWORD connection options for START SLAVE; see the 'START SLAVE Syntax' in the MySQL Manual for more information.
2020-09-10T07:09:17.041849Z 4 [Warning] Slave SQL for channel '': If a crash happens this configuration does not guarantee that the relay log info will be consistent, Error_code: 0
2020-09-10T07:09:17.041922Z 4 [Note] Slave SQL thread for channel '' initialized, starting replication in log 'mysql-bin.000001' at position 869, relay log './mysql-relay-bin.000001' position: 4
2020-09-10T07:09:20.856378Z 3 [Note] Slave I/O thread for channel '': connected to master '[email protected]:3306',replication started in log 'mysql-bin.000001' at position 869
2020-09-10T07:09:20.893554Z 3 [ERROR] Slave I/O for channel '': Fatal error: The slave I/O thread stops because master and slave have equal MySQL server UUIDs; these UUIDs must be different for replication to work. Error_code: 1593
2020-09-10T07:09:20.893589Z 3 [Note] Slave I/O thread exiting for channel '', read up to log 'mysql-bin.000001', position 869
查看ERROR
[ERROR] Slave I/O for channel ‘’: Fatal error: The slave I/O thread stops because master and slave have equal MySQL server UUIDs; these UUIDs must be different for replication to work. Error_code: 1593
问题定位:由于uuid相同,而导致触发此异常
把uuid修改即可
-
问题
首先我只安装了一台linux 又克隆了两台,一主一从 , 关键点就在于我是克隆的,才导致了报Slave_IO_Running: NO
原因:mysql 有个uuid , 然而uuid 是唯一标识的,所以我克隆过来的uuid是一样的,只需要修改一下uuid 就ok了,找到auto.cnf 文件修改uuid -
具体解决方案:
查询命令找此auto.cnf修改uuid即可
find -name auto.cnf

其实这个文件就在mysql的data目录中/var/lib/mysql,这是我的文件位置

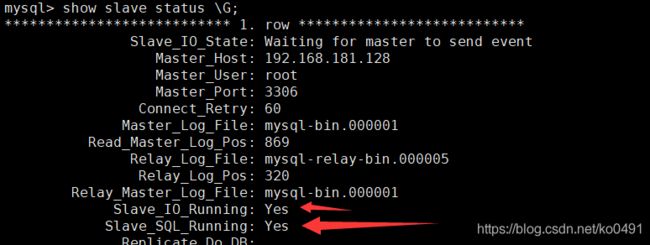
启mysql服务器,再查看mysql从节点的状态,恢复正常
systemctl restart mysqld
修改主库
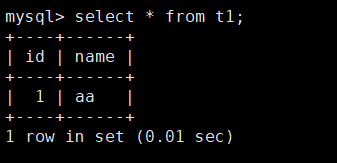
- 创建一张表
create table t1(id int(11) primary key auto_increment, name VARCHAR(50)) engine=innodb charset=utf8;
insert into t1 (name) values('aa');
后期增加从库
- 备份主库
mysqldump --all-databases > mysql_back_all.sql
-
在新的从库上恢复
-
配置新的从库按上面的
半同步复制
半同步复制—解决数据丢失的问题
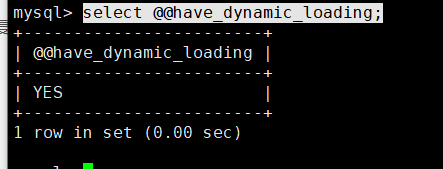
select @@have_dynamic_loading;
- 安装semi插件
install plugin rpl_semi_sync_master soname 'semisync_master.so';
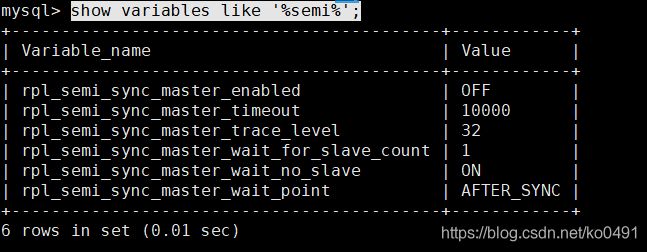
- 开启配置
show variables like '%semi%';
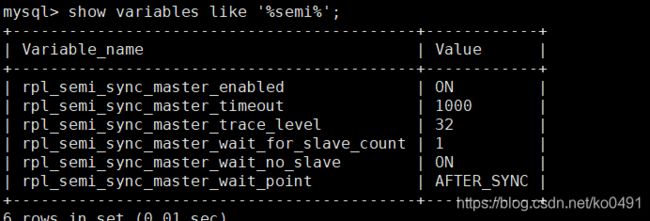
- 修改
set global rpl_semi_sync_master_enabled=1;
set global rpl_semi_sync_master_timeout=1000;
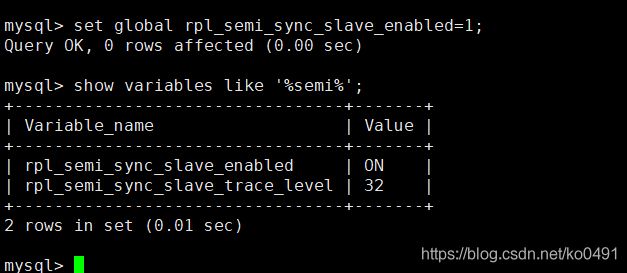
从库同上
install plugin rpl_semi_sync_slave soname 'semisync_slave.so';
set global rpl_semi_sync_slave_enabled=1;
- 重启slave
stop slave;
start slave;
- 查看日志
var /var/log/mysqld.log
并行复制
并行复制----解决从库复制延迟的问题
主库配置
show variables like '%binlog_group%';
# 延时时间
set global binlog_group_commit_sync_delay=1000;
# 一组中的最大事务数
set global binlog_group_commit_sync_no_delay_count=100;
从库配置
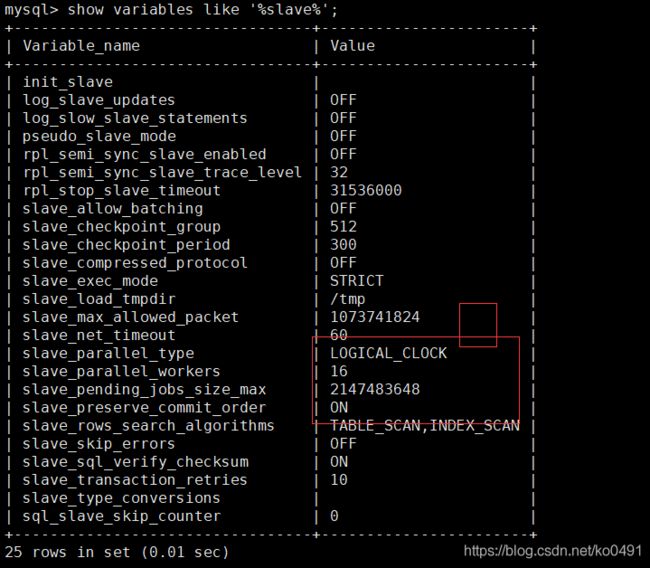
 set global slave_parallel_type='LOGICAL_CLOCK';
 set global slave_parallel_workers=16;
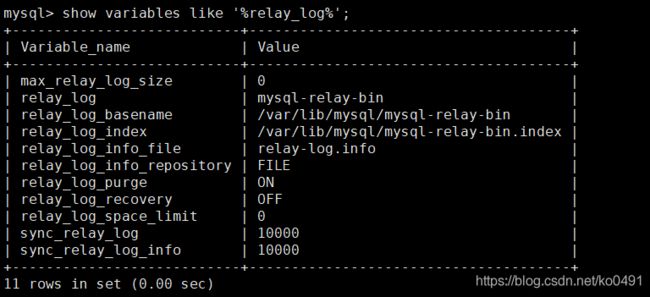
- relay_log
show variables like '%relay_log%';
修改从库的my.cnf
#log-bin=ON
#log-bin-basename=mysqlbinlog
binlog-format=ROW
log-bin=mysqlbinlog


slave-parallel-type=LOGICAL_CLOCK
slave-parallel-workers=16
slave_pending_jobs_size_max = 2147483648
slave_preserve_commit_order=1
master_info_repository=TABLE
relay_log_info_repository=TABLE
relay_log_recovery=ON
重启mysql
systemctl restart mysqld
问题
slave_preserve_commit_order is not supported unless both log_bin and log_slave_updates are enabled
- 解决开启bin_log
#log-bin=ON
#log-bin-basename=mysqlbinlog
binlog-format=ROW
log-bin=mysqlbinlog
# 设置为ON
log_slave_updates=ON
- 完整的配置
#log-bin=ON
#log-bin-basename=mysqlbinlog
binlog-format=ROW
log-bin=mysqlbinlog


slave-parallel-type=LOGICAL_CLOCK
slave-parallel-workers=16
slave_pending_jobs_size_max = 2147483648
slave_preserve_commit_order=1
master_info_repository=TABLE
relay_log_info_repository=TABLE
relay_log_recovery=ON
log_slave_updates=ON
主库插入一条记录
从库
切换数据库
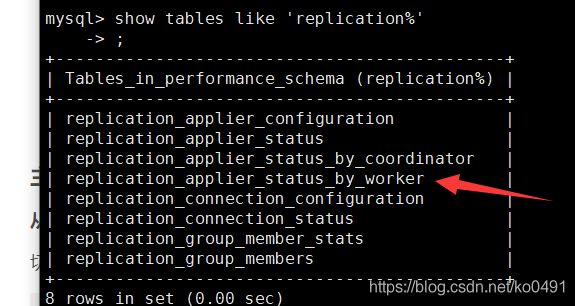
use performance_schema;
- 查看
show tables like 'replication%';
select * from replication_applier_status_by_worker;


