毕加索的艺术——Picasso,一个强大的Android图片下载缓存库,OkHttpUtils的使用,二次封装PicassoUtils实现微信精选...
毕加索的艺术——Picasso,一个强大的Android图片下载缓存库,OkHttpUtils的使用,二次封装PicassoUtils实现微信精选
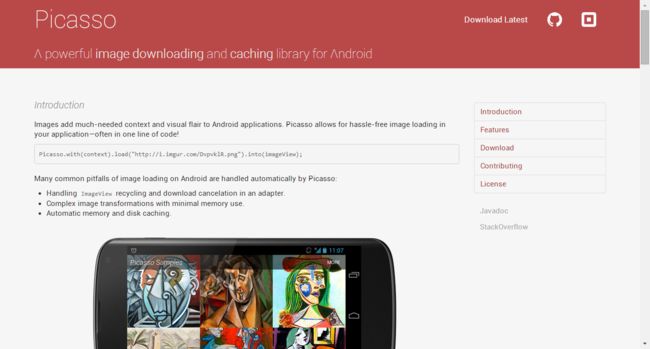
- 官网: http://square.github.io/picasso/
我们在上篇OkHttp的时候说过这个Picasso,学名毕加索,是Square公司开源的一个Android图形缓存库,而且使用起来也是非常的简单,只要一行代码就轻松搞定了,你会问,为什么不介绍一下Glide?其实Glide我有时间也是会介绍的,刚好上篇我们用到了Picasso,所以就聊下这个,其实现在网上已经有很多关于Picasso的文章了,而Glide是Google的一位工程师根据Picasso做了很多优化的一个库,孰强孰弱,大家这块看看这个前辈的文章:
- https://inthecheesefactory.com/blog/get-to-know-glide-recommended-by-google/en
好的,我们就正式的开始今天的文章吧!
一.准备工作
图片缓存一直是个老掉牙的套路,即使众多老司机,也有不少在这里翻出,一言不合就大打出手的更加不计其数,我们在开发中要考虑很多种情况,比如
- 在ListView中,我们要对Adapter进行一系列优化,而图片,要是没在视图中,我们应该取消这个不在视野中的图片加载,否则会导致很多情况发生
- 图片太多,OOM,复杂的图片需要进行压缩,尽量减少内存的消耗
- 图片缓存,本地缓存,二级硬盘缓存等
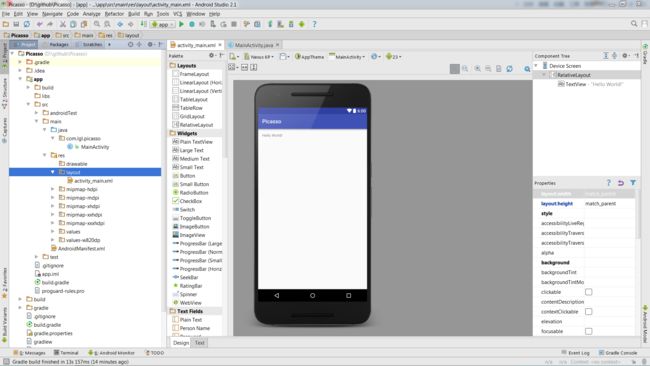
这些都是诸多需要考虑的东西,我们不可否认,虽然是有很多的解决方案,但都不是非常有效的,直到这些库的出现,乃至于优秀的库出现,比如Picasso,Glide之内的,我们先新建一个项目——Picasso
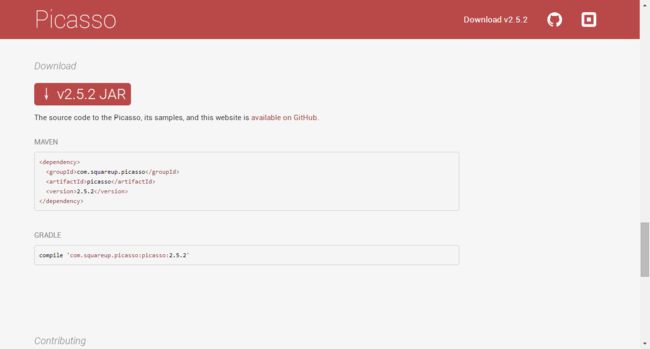
我们要想使用Picasso,需要配置他的依赖或者他的jar了
这里,我就集成他的依赖便于使用了,毕竟老司机使用的是Android Studio
compile 'com.squareup.picasso:picasso:(insert latest version)'再加个网络权限
<uses-permission android:name="android.permission.INTERNET"/>二.加载图片
这里,我们先从最简单的开始,Picasso和Glide类似,都很方便,一句话搞定,加载的话,哪里都会涉及,相信你也是会用的,所以我们从加载图片开始,首先,我们在xml中定义一个布局
紧接着,我们直接看他的点击事件
//下载图片
 btn_loading.setOnClickListener(new View.OnClickListener() {
     @Override
     public void onClick(View v) {
            Picasso.with(MainActivity.this).load(url).into(iv_img);
        }
   });
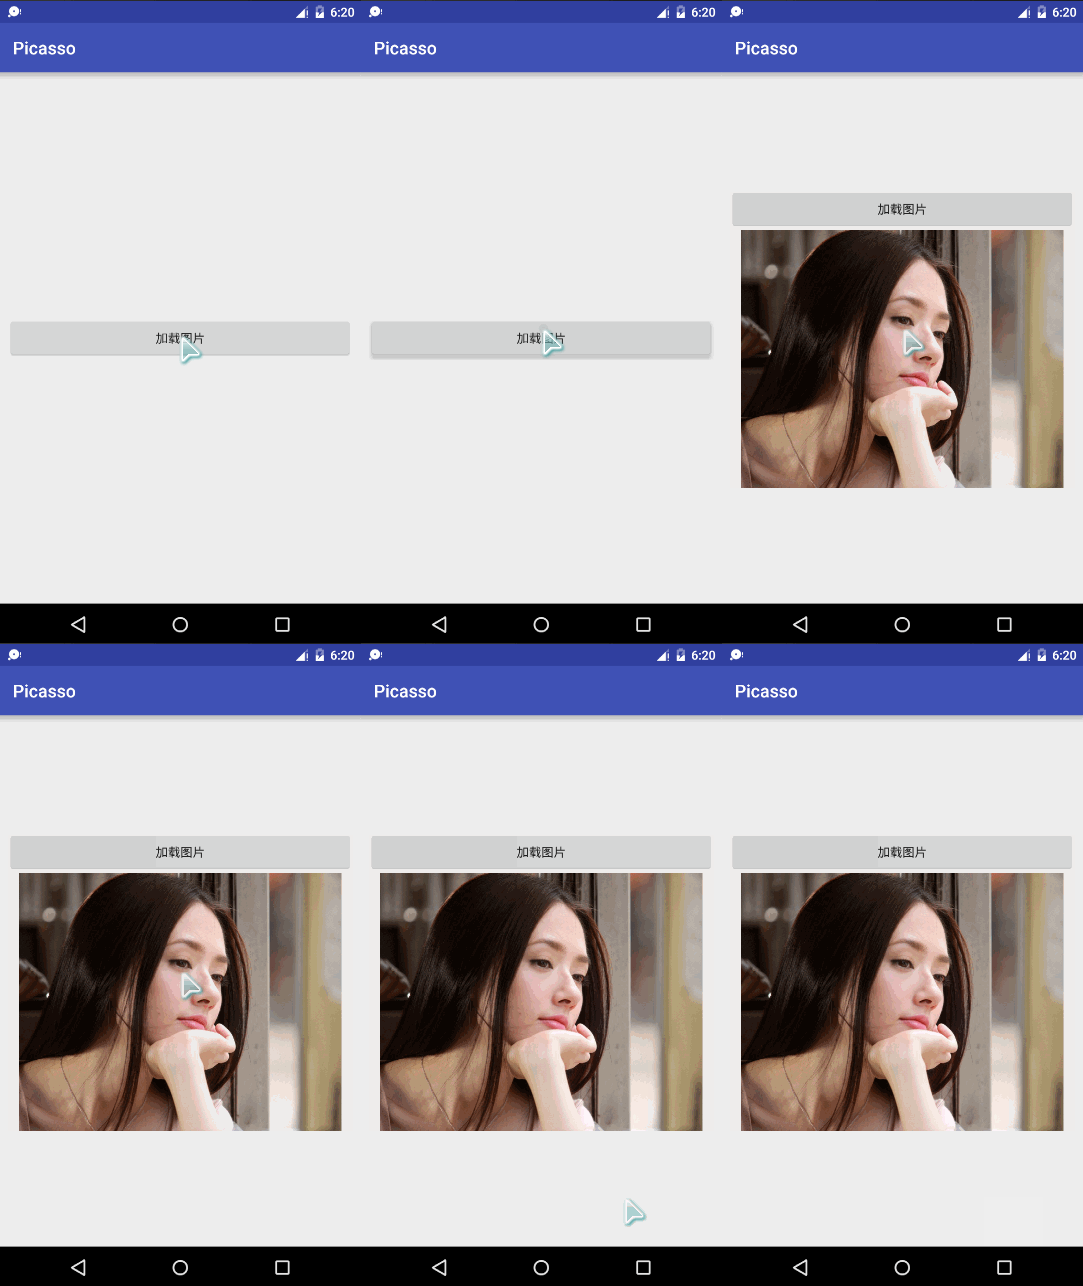
可以看到,就一行代码,我的天哪,就是这么简单,而且你后面还可以增加一些属性,包括对图片翻转,定义大小,加载失败显示什么图片之类的,这个就详细的去看一下他的API文档就行,不是跟多,我们来看一下他运行的效果
OK,简单的加载我们就学会了
二.PicassoUtils
既然我们使用会了,现在应该去玩玩他的缓存了,这里我们直接封装成一个工具类岂不美哉?好的,我们开始封装,当然,我们也会封装我们OkHttp中说道的裁剪功能等:而且我们还会使用到我们上次封装的OkHttpUtils类
首先,我们封装与喜爱工具类,方法的作用也都有详细的注释
package com.lgl.picasso;

import android.content.Context;
import android.graphics.Bitmap;
import android.widget.ImageView;

import com.squareup.picasso.Picasso;
import com.squareup.picasso.Transformation;

/**
 * Picasso工具类
 * Created by LGL on 2016/6/23.
 */
public class PicassoUtils {

    /**
     * 指定大小加载图片
     *
     * @param mContext   上下文
     * @param path       图片路径
     * @param width      宽
     * @param height     高
     * @param mImageView 控件
     */
    public static void loadImageViewSize(Context mContext, String path, int width, int height, ImageView mImageView) {
        Picasso.with(mContext).load(path).resize(width, height).centerCrop().into(mImageView);
    }


    /**
     * 加载有默认图片
     *
     * @param mContext   上下文
     * @param path       图片路径
     * @param resId      默认图片资源
     * @param mImageView 控件
     */
    public static void loadImageViewHolder(Context mContext, String path, int resId, ImageView mImageView) {
        Picasso.with(mContext).load(path).fit().placeholder(resId).into(mImageView);
    }


    /**
     * 裁剪图片
     *
     * @param mContext   上下文
     * @param path       图片路径
     * @param mImageView 控件
     */
    public static void loadImageViewCrop(Context mContext, String path, ImageView mImageView) {
        Picasso.with(mContext).load(path).transform(new CropImageView()).into(mImageView);
    }

    /**
     * 自定义图片裁剪
     */
    public static class CropImageView implements Transformation {

        @Override
        public Bitmap transform(Bitmap source) {
            int size = Math.min(source.getWidth(), source.getHeight());
            int x = (source.getWidth() - size) / 2;
            int y = (source.getHeight() - size) / 2;

            Bitmap newBitmap = Bitmap.createBitmap(source, x, y, size, size);

            if (newBitmap != null) {
                //内存回收
                source.recycle();
            }
            return newBitmap;
        }

        @Override
        public String key() {

            return "lgl";
        }
    }
}
三.微信精选
既然工具类写完了,我们就要开工了,我们这次做的是一个微信精选,接口我是从聚合数据拿的
 //微信精选接口
 private String wechat_url = "http://v.juhe.cn/weixin/query?key=78f723dccf85aea324a3cf0daac97f35";
我们在xml中定义一个listview的控件
 <ListView
        android:id="@+id/mListView"
        android:layout_width="match_parent"
        android:layout_height="match_parent" />
然后我们就可以去解析这个接口,我们使用的是上节封装的OkHttp
 OkHttpUtils okHttp = OkHttpUtils.getInstance();
        okHttp.syncJsonStringByURL(wechat_url, new OkHttpUtils.FuncJsonString() {
            @Override
            public void onResponse(String result) {
                Log.i("json", result);
                getJson(result);
            }
        });
如果你还不知道怎么去使用OkHttp的话,可以去看我的博文
- OkHttp框架从入门到放弃,解析图片使用Picasso裁剪,二次封装OkHttpUtils,Post提交表单数据
OK,我们解析得到json,现在就要根据json去写个实体类了
package com.lgl.picasso;

/**
 * 微信精选
 *
 * @author LGL
 */
public class WechatBean {

    private String url;
    private String title;
    private String type;

    public String getUrl() {
        return url;
    }

    public void setUrl(String url) {
        this.url = url;
    }

    public String getTitle() {
        return title;
    }

    public void setTitle(String title) {
        this.title = title;
    }

    public String getType() {
        return type;
    }

    public void setType(String type) {
        this.type = type;
    }

    @Override
    public String toString() {
        return "WechatBean [url=" + url + ", title=" + title + ", type=" + type
                + "]";
    }
}
做完实体类,我们有数据封装方式了,那就直接去写Adapter吧
package com.lgl.picasso;

import android.content.Context;
import android.text.TextUtils;
import android.view.LayoutInflater;
import android.view.View;
import android.view.ViewGroup;
import android.widget.BaseAdapter;
import android.widget.ImageView;
import android.widget.TextView;

import java.util.List;

/**
 * 数据源
 *
 * @author LGL
 */
public class WechatAdapter extends BaseAdapter {

    private Context mContext;
    private LayoutInflater inflater;
    private List mList;
    private WechatBean bean;

    public WechatAdapter(Context mContext, List mList) {
        this.mContext = mContext;
        this.mList = mList;
        inflater = (LayoutInflater) mContext
                .getSystemService(Context.LAYOUT_INFLATER_SERVICE);
    }

    @Override
    public int getCount() {
        // TODO Auto-generated method stub
        return mList.size();
    }

    @Override
    public Object getItem(int position) {
        // TODO Auto-generated method stub
        return mList.get(position);
    }

    @Override
    public long getItemId(int position) {
        // TODO Auto-generated method stub
        return position;
    }

    @Override
    public View getView(int position, View convertView, ViewGroup parent) {
        ViewHoldwe vHoldwe = null;
        if (convertView == null) {
            vHoldwe = new ViewHoldwe();
            convertView = inflater.inflate(R.layout.wechatist_item, null);
            vHoldwe.iv_url = (ImageView) convertView
                    .findViewById(R.id.iv_url);
            vHoldwe.tv_title = (TextView) convertView
                    .findViewById(R.id.tv_title);
            vHoldwe.tv_type = (TextView) convertView.findViewById(R.id.tv_type);
            convertView.setTag(vHoldwe);
        } else {
            vHoldwe = (ViewHoldwe) convertView.getTag();
        }

        bean = mList.get(position);
        vHoldwe.tv_title.setText(bean.getTitle());
        vHoldwe.tv_type.setText(bean.getType());

        if(!TextUtils.isEmpty(bean.getUrl())){
            PicassoUtils.loadImageViewSize(mContext, bean.getUrl(),150,100, vHoldwe.iv_url);
        }else{
            vHoldwe.iv_url.setImageResource(R.mipmap.ic_launcher);
        }

        return convertView;
    }

    class ViewHoldwe {
        private ImageView iv_url;
        private TextView tv_title;
        private TextView tv_type;
    }

}
Adapter算是老生常谈的问题了,我们这里使用到了我们封装好的Picasso工具类,到这里我们就可以去看一下怎么解析json了
/**
     * 解析Json
     *
     * @param json
     */
    private void getJson(String json) {
        try {
            JSONObject jsonObject = new JSONObject(json);
            JSONObject jsonresult = jsonObject.getJSONObject("result");
            JSONArray jArray = jsonresult.getJSONArray("list");

            for (int i = 0; i < jArray.length(); i++) {
                JSONObject jb = (JSONObject) jArray.get(i);
                WechatBean bean = new WechatBean();
                bean.setTitle(jb.getString("title"));
                bean.setType(jb.getString("source"));
                bean.setUrl(jb.getString("firstImg"));
                mList.add(bean);

                //存起来
                urlList.add(jb.getString("url"));
                titleList.add(jb.getString("title"));
            }
            adapter = new WechatAdapter(this, mList);
            mListView.setAdapter(adapter);

        } catch (JSONException e) {
            // TODO Auto-generated catch block
            e.printStackTrace();
        }
    }
解析json还是比较简单的,如果不会,可以移步我的博文
- Android JSON原生解析的几种思路,以号码归属地,笑话大全,天气预报为例演示
- Android JSON解析库Gson和Fast-json的使用对比和图书列表小案例
好的,到这里我们初步的解析算是OK了,我们来看下效果
四.缓存优化
这里做一些简单的处理就好了,首先,我们滑动视图,如果我们看不见的视图我们可以不加载,这样慢慢的加载,对我们app提升还是很有帮助的,所以我们要设置监听
 //监听
  mListView.setOnScrollListener(new ListScroller());
关于它的回调
 /**
     * 滚动监听
     */
    public class ListScroller implements AbsListView.OnScrollListener {

        @Override
        public void onScrollStateChanged(AbsListView view, int scrollState) {
            final Picasso picasso = Picasso.with(MainActivity.this);
            if (scrollState == SCROLL_STATE_IDLE || scrollState == SCROLL_STATE_TOUCH_SCROLL) {
                //重置
                picasso.resumeTag(MainActivity.this);
            } else {
                //暂停
                picasso.pauseTag(MainActivity.this);
            }
        }

        @Override
        public void onScroll(AbsListView view, int firstVisibleItem, int visibleItemCount, int totalItemCount) {

        }
    }
当然,还有我们既然是一个新闻客户端,怎么的,也要可以看新闻才对,对吧,所以我们新建一个WebViewActivity,首先传值跳转
        //监听
        mListView.setOnScrollListener(new ListScroller());

        //跳转
        mListView.setOnItemClickListener(new AdapterView.OnItemClickListener() {
            @Override
            public void onItemClick(AdapterView parent, View view, int position, long id) {
                Intent i = new Intent(MainActivity.this, WebViewActivity.class);
                i.putExtra("title", titleList.get(position));
                i.putExtra("url", urlList.get(position));
                startActivity(i);
            }
        });
而WebViewActivity的代码就比较少了
package com.lgl.picasso;

import android.content.Intent;
import android.os.Bundle;
import android.support.annotation.Nullable;
import android.support.v7.app.AppCompatActivity;
import android.webkit.WebView;

/**
 * 客户端
 * Created by LGL on 2016/6/23.
 */
public class WebViewActivity extends AppCompatActivity{

    private WebView mWebView;

    @Override
    protected void onCreate(@Nullable Bundle savedInstanceState) {
        super.onCreate(savedInstanceState);
        setContentView(R.layout.activity_webview);

        mWebView = (WebView) findViewById(R.id.mWebView);

        Intent i = getIntent();

        getSupportActionBar().setTitle(i.getStringExtra("title"));
        mWebView.loadUrl(i.getStringExtra("url"));

        //本地显示
        mWebView.setWebViewClient(new android.webkit.WebViewClient(){
            @Override
            public boolean shouldOverrideUrlLoading(WebView view, String url) {

                view.loadUrl(url);

                return true;
            }
        });
    }
}
哦,对了,别忘记了注册
<activity android:name=".WebViewActivity"/>到这里,整个项目下来算是做完了,我们可以运行一下
到此,我们的博文算是结束了,当然,我还有很多知识没讲,需要大家一起去研究
