直接操作SurfaceFlinger画图并通过小demo深入分析SurfaceFlinger内部机制
SurfaceFlinger
摘要:本文将以 使用 和 分析 两部分来了解SurfaceFlinger。
首先使用,通过写一个测试程序来直接使用SurfaceFlinger提供的服务,使界面显示图片。
然后分析,通过解剖测试程序和SurfaceFlinger之间的联系,来分析SurfaceFlinger的内部机制。
这样先使用后分析,更容易理解。不然枯燥的去看代码,效率非常低,并且很容易厌倦。
文章目录
- SurfaceFlinger
-
- 1. 测试SurfaceFlinger
-
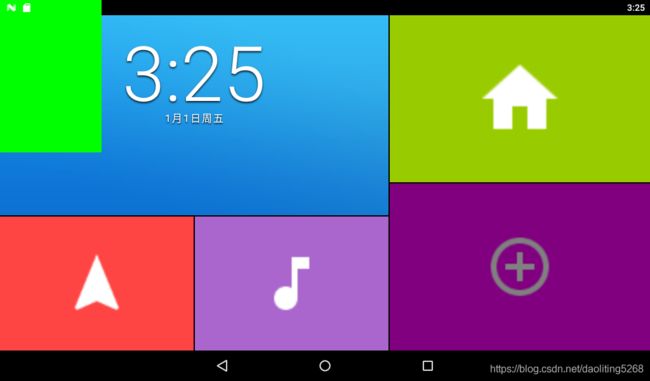
- 试验1:显示绿色的图片。
- 试验二:显示红、绿、蓝(RGB)
- 试验三:通过设置layer隐藏我们的显示。
- 试验结论
- 未完待续。。。。。。
1. 测试SurfaceFlinger
- 实验目的:写一个c++应用,调用SurfaceFlinger显示颜色
- 关键字:SurfaceFlinger
- 实验平台:全志T7-android
- 步骤:
- 编写cpp代码
- 获得SurfaceFlinger服务
- 创建Surface
- 得到buffer
- 写buffer
- 提交buffer
- 测试
- push到机器中看现象。
- 编写cpp代码
试验1:显示绿色的图片。
步骤:编译代码,push到机器中,运行!
#include 试验二:显示红、绿、蓝(RGB)
- 步骤:增加以下代码:
        sleep(1);
        surface->lock(&outBuffer, NULL);
        android_memset16((uint16_t*)outBuffer.bits, 0x07E0, bpr*outBuffer.height);
        surface->unlockAndPost();
        sleep(1);

        surface->lock(&outBuffer, NULL);
        android_memset16((uint16_t*)outBuffer.bits, 0x001F, bpr*outBuffer.height);
        surface->unlockAndPost();
        sleep(1);
- 结果:启动应用程序后先后顺序显示红、绿、蓝。时间间隔1s。
试验三:通过设置layer隐藏我们的显示。
- 步骤:
- dumpsys SurfaceFlinger查看当前显示的所有layer
+ Layer 0xb69cc000 (surfaceTest)
  Region transparentRegion (this=0xb69cc230, count=1)
    [  0,   0,   0,   0]
  Region visibleRegion (this=0xb69cc008, count=1)
    [  0,   0, 160, 240]
  Region surfaceDamageRegion (this=0xb69cc044, count=1)
    [  0,   0,  -1,  -1]
      layerStack=   0, z=   100000, pos=(0,0), size=( 160, 240), crop=(   0,   0,  -1,  -1), finalCrop=(   0,   0,  -1,  -1), isOpaque=1, invalidate=0, alpha=0xff, flags=0x00000000, tr=[1.00, 0.00][0.00, 1.00]
      client=0xb6620540
      format= 4, activeBuffer=[ 160x 240: 160,  4], queued-frames=0, mRefreshPending=0
            mTexName=7 mCurrentTexture=1
            mCurrentCrop=[0,0,0,0] mCurrentTransform=0
            mAbandoned=0
            -BufferQueue mMaxAcquiredBufferCount=1, mMaxDequeuedBufferCount=2, mDequeueBufferCannotBlock=0 mAsyncMode=0, default-size=[160x240], default-format=4, transform-hint=00, FIFO(0)={}
            >[01:0xb661be60] state=ACQUIRED, 0xb66345b0 [ 160x 240: 160,  4]
             [00:0xb661b140] state=FREE    , 0xb66342a0 [ 160x 240: 160,  4]
             [02:0x0] state=FREE
以我们的测试层序为例,layer的结构。其中"z= 100000"指的z轴数据。
2. 修改surfaceControl->setLayer(100000);中的数值小于所有layer的z轴值。
修改:surfaceControl->setLayer(10);
试验结论
通过SurfaceFlinger获取Surface,设置z轴,填充buffer,post输出。

