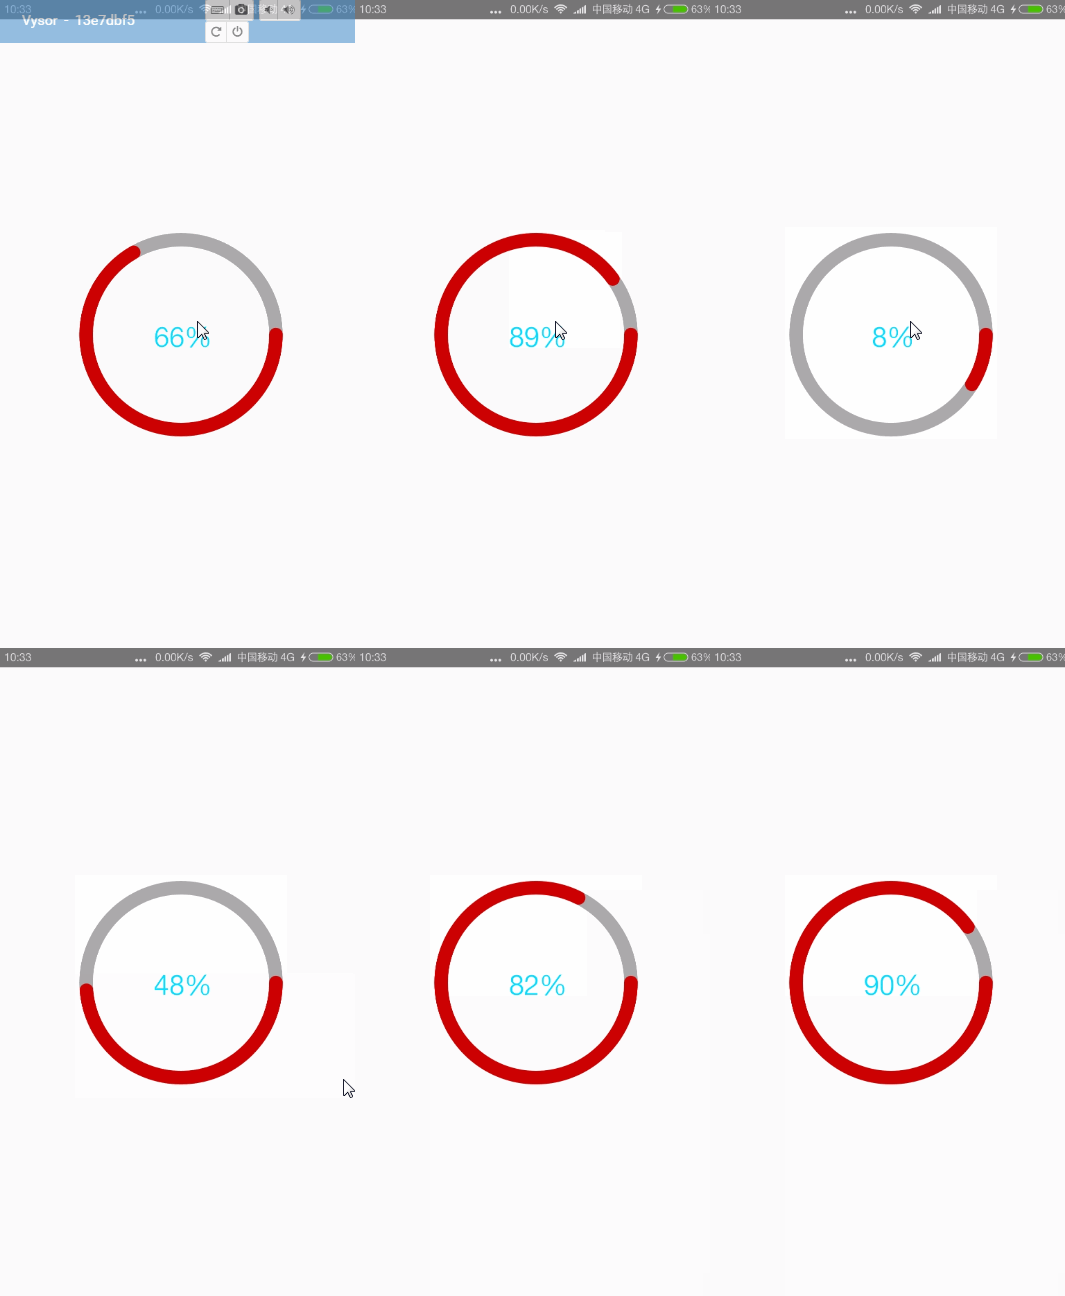
自定义控件:圆形进度条的实现
前言
圆形进度条是很常见的自定义组件,相信大家都看到过,它的实现方式很简单,效果很绚丽,而且代码具有典型性,是学习自定义控件中不可多得的素材。
源码下载:https://github.com/heshiweij/RoundProgress
效果
由于录制 GIF 小工具的采样频率较低,以上效果图有卡顿,但是在真机上是非常流畅的,这个不必在意。
原理
照例,贴代码之前,先用大白话描述一下它的原理:首先,在正方形画布上画一个外侧紧贴控件边缘的灰色内切圆(OutCircle)。然后,在相同的位置绘制一个圆环(InnerCircle),InnerCircle 和 OutCircle 一开始就是完全重叠在一起,只是 InnerCircle 不显示。通过属性动画+差值器(先加速后减速),不断修改 InnerCircle 扫过的角度,使其不断显示完整,直到设定的最大百分比。在此过程中,还应不断修改中间的进度百分比。
关注的技术点:
1. 圆形的绘制(对 drawCircle 参数的理解)
2. 圆环的绘制(对 drawArc 参数的理解)
3. 属性动画,差值器,估值器的使用
4. 文字的宽高测量、定位
5. 自定义属性
实现
绘制 OutCircle
// 设置 OutCircle 的画笔宽度
mPaint.setStrokeWidth(mStrokeWidth);
mPaint.setColor(roundColor);

// 圆形为控件的正中心
float cx = mWidth / 2.0f;
float cy = mHeight / 2.0f;
// 半径刚好能让外侧的园和控件边缘相切
float radius = mWidth / 2.0f - mStrokeWidth / 2.0f;
canvas.drawCircle(cx, cy, radius, mPaint);
drawCircle 方法:
drawCircle(float cx, float cy, float radius, @NonNull Paint paint)
参数说明:
cx 圆心 x 坐标(相对于画布所装载的 bitmap)
cy 圆心 y 坐标(相对于画布所装载的 bitmap)
radius 半径
绘制 InnerCircle
mPaint.setDither(true);
mPaint.setStrokeJoin(Paint.Join.BEVEL);
// 设置笔触为圆形
mPaint.setStrokeCap(Paint.Cap.ROUND);

mPaint.setStrokeWidth(mStrokeWidth);
mPaint.setColor(roundProgressColor);

// 此矩形是确定圆环的位置
RectF oval = new RectF(0 + mStrokeWidth / 2, 0 + mStrokeWidth / 2, mWidth - mStrokeWidth / 2, mHeight - mStrokeWidth / 2);

// 通过修改 progress 的值,使圆环的弧度在 0 ~ 360 之间变化
canvas.drawArc(oval, 0, progress / maxProgress * 360, false, mPaint);
drawArc 方法:
drawArc( RectF oval, float startAngle, float sweepAngle, boolean useCenter, Paint paint)

参数说明:
oval 作为哪个矩形的内切圆
startAngle 从哪个角度开始
sweepAngle 扫过的角度
useCenter 是否包含圆心
paint 画笔
贴上一张图,便于理解:
绘制文字
绘制文字其实很简单,重点是测量文字的宽高,并将文字定位到控件正中心位置。
String text = ((int) (progress / maxProgress * 100)) + "%";
Rect bounds = new Rect();
mTextPaint.getTextBounds(text, 0, text.length(), bounds);
// 位子的坐标系是左下角,所以 y 的坐标是 mWidth / 2 + bounds.height() / 2
canvas.drawText(text, mWidth / 2 - bounds.width() / 2, mHeight / 2 + bounds.height() / 2, mTextPaint);
动画实现
 /**
     * 设置当前显示的进度条
     *
     * @param progress
     */
    public void setProgress(float progress) {
        this.progress = progress;

        // 使用 postInvalidate 比 postInvalidat() 好,线程安全
        postInvalidate();
    }


    /**
     * 开始执行动画
     *
     * @param targetProgress 最终到达的进度
     */
    public void runAnimate(float targetProgress) {
        // 运行之前,先取消上一次动画
        cancelAnimate();

        mLastProgress = targetProgress;

        mAnimator = ValueAnimator.ofObject(new FloatEvaluator(), 0, targetProgress);
        // 设置差值器
        mAnimator.setInterpolator(new AccelerateDecelerateInterpolator());
        mAnimator.addUpdateListener(new ValueAnimator.AnimatorUpdateListener() {
            @Override
            public void onAnimationUpdate(ValueAnimator animation) {
                float value = (float) animation.getAnimatedValue();
                setProgress(value);
            }
        });

        mAnimator.setDuration((long) (targetProgress * 33));
        mAnimator.start();
    }

    /**
     * 取消动画
     */
    public void cancelAnimate() {
        if (mAnimator != null && mAnimator.isRunning()) {
            mAnimator.cancel();
        }
    }
可以看到,这段代码是动画的核心:
FloatEvaluator 估值器,估算从 0 度角到 targetProgress 度角中间的所有值。AccelerateDecelerateInterpolator 是影响估值过程一个差值器,使得计算出来的值呈由慢到快再到慢的趋势。
 mAnimator = ValueAnimator.ofObject(new FloatEvaluator(), 0, targetProgress);
        // 设置差值器
        mAnimator.setInterpolator(new AccelerateDecelerateInterpolator());
        mAnimator.addUpdateListener(new ValueAnimator.AnimatorUpdateListener() {
            @Override
            public void onAnimationUpdate(ValueAnimator animation) {
                float value = (float) animation.getAnimatedValue();
                setProgress(value);
            }
        });
需要注意:
1. 每次动画开始前,应该取消上一次动画
2. setProgress 方法中,应该调用 postInvalidate 触发重绘
自定义属性
定义属性:
<resources>

    <declare-styleable name="MyRoundProcess">
        <attr name="roundColor" format="color"/>
        <attr name="roundProgressColor" format="color"/>
        <attr name="textColor" format="color" />
        <attr name="textSize" format="dimension" />
    declare-styleable>

resources>
取值:
  /**
     * 初始化属性
     *
     * @param context
     * @param attrs
     * @param defStyleAttr
     */
    private void initAttrs(Context context, AttributeSet attrs, int defStyleAttr) {
        TypedArray a = null;
        try {
            a = context.obtainStyledAttributes(attrs, R.styleable.MyRoundProcess);

            roundColor = a.getColor(R.styleable.MyRoundProcess_roundColor, getResources().getColor(android.R.color.darker_gray));
            roundProgressColor = a.getColor(R.styleable.MyRoundProcess_roundProgressColor, getResources().getColor(android.R.color.holo_red_dark));
            textColor = a.getColor(R.styleable.MyRoundProcess_textColor, getResources().getColor(android.R.color.holo_blue_dark));
            textSize = a.getDimension(R.styleable.MyRoundProcess_textSize, 22f);

        } finally {
            a.recycle();
        }
    }
public MyRoundProcess(Context context, AttributeSet attrs, int defStyleAttr) {
super(context, attrs, defStyleAttr);
// 初始化属性
initAttrs(context, attrs, defStyleAttr);
}至此,自定义圆形进度条基本完成。
使用
  "true"
        android:background="@android:color/white"
        android:id="@+id/my_round_process"

        app:roundColor="@android:color/darker_gray"
        app:roundProgressColor="@android:color/holo_red_dark"
        app:textSize="22sp"
        app:textColor="@android:color/holo_blue_bright"

        android:layout_width="200dip"
        android:layout_height="200dip"/>
属性:
textSize 百分数的尺寸
textColor 百分数的尺寸
roundColor 圆环的颜色
roundProgressColor 圆弧的颜色
方法:
setProgress(float progress) 设置显示指定百分比
runAnimate(float targetProgress) 从 0 开始渐进显示到指定百分比
附录
源码下载:https://github.com/heshiweij/RoundProgress

