最近读书上的例子,发现例子有点老,xcode发生了变化,所以写一篇视图切换的帖子,给自己做个参考.
话不多说,让我们开始把!
实现思路:
这里我们实现两个视图之间的切换.
1. 我们需要两个视图(xib文件 - FirstView.xib SecondView.xib)
2. 我们需要三个视图控制类FirstViewController, SecondViewController, SwitchViewController
这里我们为什么需要三个视图控制类呢?
FirstView -- FirstViewController
SecondView -- SecondViewController
SwitchViewController -- 转换 -- [ FirstView < - - > SencondView ]
代码实现:
一. 搭建项目 ---
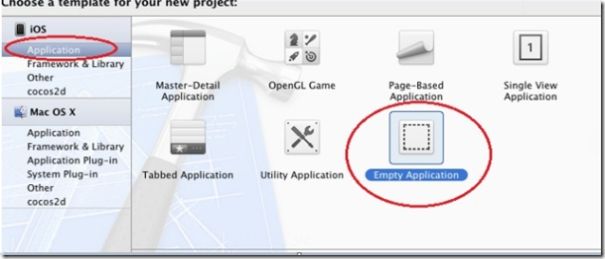
1. 打开xcode File -- > New... --> project -- >
选择 Empty Application (xcode 3 是 Window-base Application).
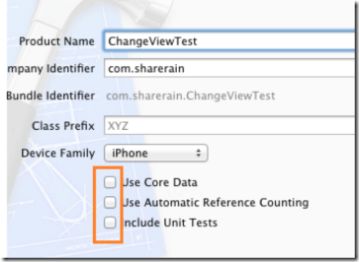
然后点击下一步,为project起个名字,为changeViewTest
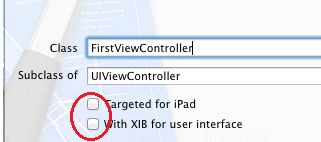
这里这三个不要选.
到这里,我们的项目初步就搭建好了.
---------- 二. 创造视图与视图类 --------
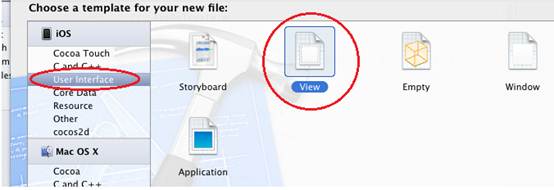
1.在项目包下,右键 --- new --- New File --- 左面选择User interface
选View
2. 下一步,在Device Family 选在iphone
3. 下一步,起名叫FirstView
生成的FirstView.xib就是相应的文件了
接下来我们用同样的方法,创建SecondView.xib;
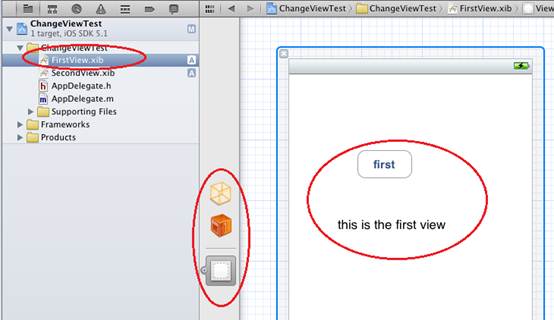
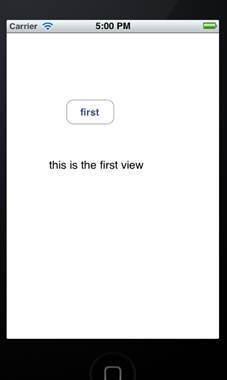
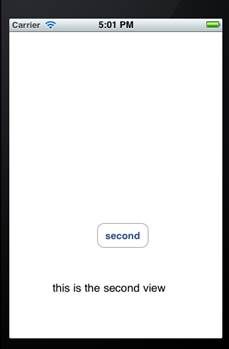
4. 在每 *View.xib里添加控件,我这里分别为两个view添加一个button,label控件. 如图.
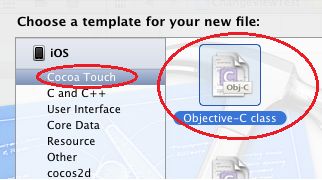
5. 现在我们们对应FirstView.xib和SecondView.xib分别创建视图类FirstViewController和SecondViewController.
6. 创建FirstViewController类继承自UIViewController.
创建SecondViewController类继承自UIViewController.
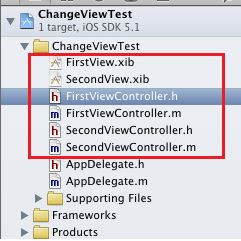
7. 创建完之后如图:
8. 把视图与视图类关联起来.
[FirstView – FirstViewController ]
9. 把视图与视图类关联起来.
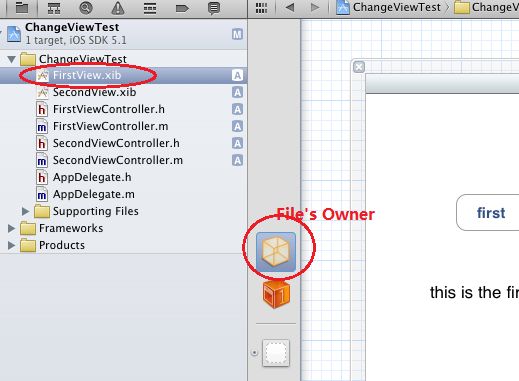
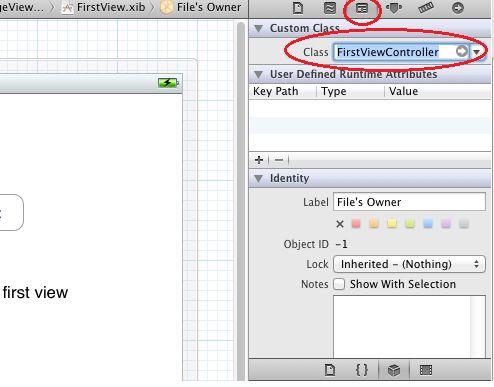
选择FirstView.xib,然后选择File’s Owner,然后在属性选择器里,把Custom Class写成FirstViewController. 如图:
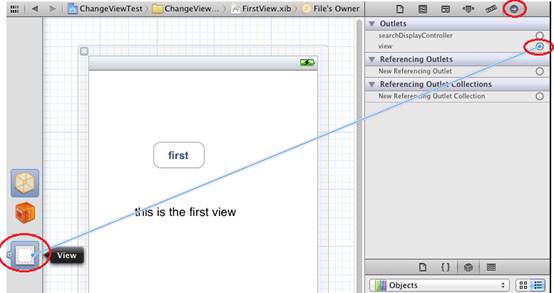
10. 把当前的视图的View与outlets关联.
左键点击view拉直线
完事后,我们就把视图和视图类关联到一起了.
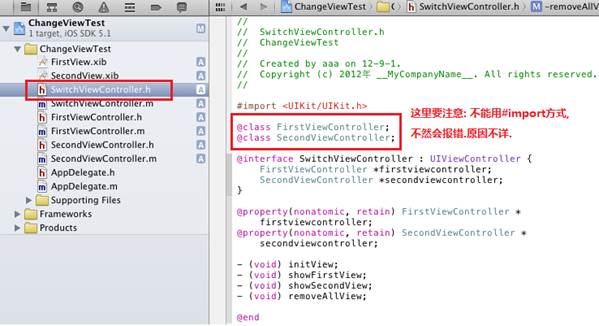
11.添加控制ViewController的类:SwitchViewController
在控制类SwitchViewController添加代码,实现对2个视图的跳转。
说明: initView 方法用来程序加载时初始化view,showFirstView方法用来显示第一个view,showSecondView用来显示第二view
接下图:
--------- 三. 委托类,激活SwitchViewController的控制功能 --------
1.选中AppDelegate.h. 添加代码如下:
2. 接下来在AppDelegate.m中实现:
+ (AppDelegate *) App {
return (AppDelegate *) [[UIApplication sharedApplication] delegate];
}
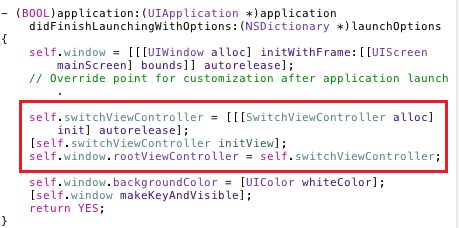
3. 把swicthViewnController设置为window的rootViewController,以便操作视图.
----- 最后,实现FirstViewController与SecondViewController的视图切换 ----
1. 在FirstViewController中添加IBAction,实现按钮的切换动作,如下:
- (IBAction) buttonClick: (id) sender {
[[AppDelegate App].switchViewController showSecondView];
}
2. 在SecondViewController中添加IBAction,实现按钮的切换动作,如下:
(前提是你要把AppDelegate导入到项目中)
最后: 运行程序如图:

