2.4-使用idea开发javaWeb应用程序-1(前端页面)
使用idea开发javaWeb应用程序-编写前端页面
回到第一章:目录
文章目录
- 使用idea开发javaWeb应用程序-编写前端页面
- 前言
- 一、新建index.html
前言
上一节搭建了idea+maven+tomcat的java web开发环境,创建了一个webapp模板工程:FirstJavaWeb
这节将在此基础上,编写3个静态页面,并实现页面的一些效果和跳转:
index.html 用 html4编写
login.html 用html5 编写
main.jsp 用jsp页面编写
工程结构如下:
一、新建index.html
1、在webapp目录上点右键,new - HTML File,选html4,输入名字index。

2、代码如下:
<html>

<head>

    <title>我的第一个网站title>
    <meta charset="utf-8">
    <link rel="stylesheet" type="text/css" href="css/my.css">
head>

<body>
<div id="main-container" >
    <div id="div-header" >
        <h3 style="margin-bottom:0;">欢迎进入我的网站h3>
        hr>
        <p>
            天将降大任于斯人也,必先苦其心志,劳其筋骨,饿其体肤,空乏其身,行拂乱其所为,所以动心忍性,曾益其所不能。——孟子
        p>
    div>

    <div id="div-content" >
        <img src="./pics/pic0.jpg" alt="" class="main-img">
        br>
        <hr>
        <button id="enterButton" onclick="toJsp()">登录入口button>
    div>


div>

<script type="text/javascript">
//点击按钮跳转到登录页面
function toJsp()
{

    window.location.href="login.html";
}
script>
body>
html>
3、在webapp上右键,new - Directory ,新建一个目录:css

4、在css下新建文件,命名:my.css,代码如下:
/*所有的 p 标签的样式*/
p {

    color:black;
}
/* # id选择器*/

/**最外层区域的样式*/
#main-container
{

    position:absolute;/**采用绝对布局*/
    width:100%;/**宽度填满浏览器*/
    height:100%;/**高度填满浏览器*/
    background-color:#D0D0D0/**设置背景色为灰色*/
}
/** 头部 区域的样式*/
#div-header
{

    text-align:center;/** 区域元素居中显示*/
    color:red;/** 设置字体颜色为红色 */
    position:relative;/**采用相对布局*/
    height:80px;/** 高度 80像素*/
    width:800px; /** 宽度 800像素*/
    margin-left:50px; /** 距离左边的边距 50像素*/
}
/** 内容 区域的样式*/
#div-content
{

    text-align:center;/** 该div区域的所有文本居中显示*/
    position:absolute;/**采用相对布局*/
    background-color:#D0D0D9; /**设置背景色为灰色*/
    height:600px;/** 高度 600像素*/
    width:800px;/** 宽度 800像素*/
    border:2px dashed; /** 边框的像素 2, dashed 含义为 虚线框*/
    border-color:gray; /** 边框颜色为灰色*/
    box-shadow: 2px 2px 5px #D0D0D9; /** 边框阴影效果*/
    margin-top:20px; /** 上边距20 像素*/
    margin-bottom:10px; /** 下边距10 像素*/
    margin-right:50px; /** 右边距50 像素*/
    margin-left:50px; /** 左边距50 像素*/
    border-radius:25px; /** 边框的圆角像素 25像素*/

}
#enterButton{

    background-color:gray;  /** 设置按钮背景色为灰色*/
    position:relative;      /**采用相对布局*/;
    width:100px; /** 宽度 100像素*/
    height:40px; /** 高度 40像素*/
}

/* . class选择器*/
.main-img {

    position:relative;/**采用相对布局*/;
    width:784px;   /**宽度:784像素,为了让图片居中在div中*/
    height:584px;  /**高度:584像素,为了让图片居中在div中*/
        margin-top:8px;
        margin-bottom:8px;
        margin-right:8px;
        margin-left:8px;
}
.loginForm
{

    position:absolute;/**采用绝对布局*/
    top:70%; /**上边距离父元素边距:70%*/
    left:10%; /**左边距离父元素边距:10%*/
}
5、在webapp目录下新建 js文件夹,再新建文件 my.js ,代码如下:
//判断输入参数是否为空,是则返回false,否则返回true
function loginCheck(uname,pwd){

    if(uname == null || pwd == null || uname == "" || pwd == "") {

        return false;
    }
    return true;
}
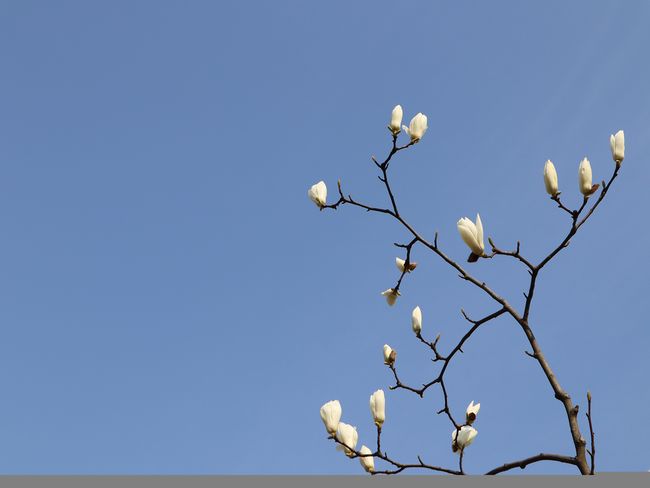
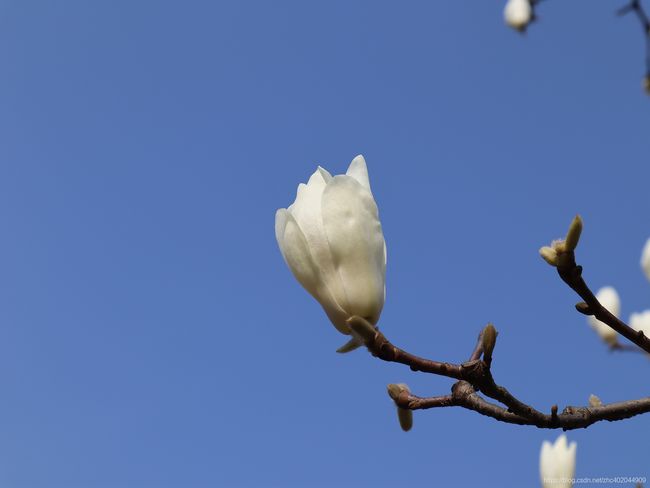
6、在 webapp目录下,新建pics文件夹,任意复制2张图片(分辨率最好为4:3)到该文件加下,命名分别为:pic0.jpg和pic1.jpg,如果找不到可以用下面2张。
7、在webapp上点右键,新建文件 login.html 代码:
<html lang="en">
<head>
    <meta charset="UTF-8">
    <title>登录页面title>
    <link rel="stylesheet" type="text/css" href="css/my.css">
    <script type="text/javascript" src="./js/my.js">script>
head>

<body>
<div id="main-container" >
    <div id="div-header" >
        <h3 style="margin-bottom:0;">欢迎进入我的网站h3>
        hr>
        <p>
            天将降大任于斯人也,必先苦其心志,劳其筋骨,饿其体肤,空乏其身,行拂乱其所为,所以动心忍性,曾益其所不能。——孟子
        p>
    div>

    <div id="div-content" >
        <img src="./pics/pic0.jpg" alt="" class="main-img">
        <form id="loginForm" class="loginForm" action="main.jsp" method="post">
            <p>户 名: <input id="uname" type="text" name="uname" />p>
            <p>密 码: <input id="pwd" type="password" name="pwd" />p>
            <input type="button" value="登录" onclick="check()"/>
        form>
    div>


div>
<script type="text/javascript">

//检查输入是否为非空
function check()
{

    var uname = document.getElementById("uname").value;//获取输入的用户名的值
    var pwd = document.getElementById("pwd").value;//获取输入的密码值

    if(loginCheck(uname,pwd)){
       //调用 js/my.js 中定义的方法,来检查输入是否非空
        document.getElementById("loginForm").submit();  //输入不为空则跳转到主页面
    }else{

        alert("户名和密码不能空。");
        return false;
    }
}


script>
body>
html>
8、在webapp上点右键,新建文件 main.jsp 代码:
<%@ page language="java" contentType="text/html; charset=UTF-8"
    pageEncoding="UTF-8"%>

<html>
<head>
    <title>我的网站title>
    <meta charset="utf-8">
    <link rel="stylesheet" type="text/css" href="css/my.css">
head>
<body>

<%
    String uname = request.getParameter("uname");
%>
<div id="main-container" >
    <div id="div-header" >
        <h3 style="margin-bottom:0;">欢迎你,<%= uname %> !h3>
        hr>
        <p>
            天将降大任于斯人也,必先苦其心志,劳其筋骨,饿其体肤,空乏其身,行拂乱其所为,所以动心忍性,曾益其所不能。——孟子
        p>
    div>
    <div id="div-content" >
        <img src="./pics/pic1.jpg" alt="" class="main-img">
        <p>
          当前时间: <%= (new java.util.Date()).toLocaleString()%>
        p>
    div>
div>
body>
html>
9、运行,启动成功后,浏览器输入:http://localhost:8282/FirstJavaWeb/index.html
测试页面效果。
