uni-app实战教程-----H5移动app以及小程序(四)---前后端编写,交互,百度图像识别接入
创建项目已经完成了
qq交流群 535620886
最终效果体验
http://dadandmother.cn/stt/这节课我们来讲下 页面跳转以及底部选项
开发工具: Hbuilder X
完整代码已上传github https://github.com/dmhsq/image-recognition-flask-uniapp
bilibili教程视频 https://www.bilibili.com/video/BV1R5411H7r2/
底部有视频教程
前后端编写,交互,百度图像识别接入
- 百度图像识别接入
- 编写后端
-
- 编写api文件
- 编写flask程序
- 编写前端
- 测试
- 教学视频
百度图像识别接入
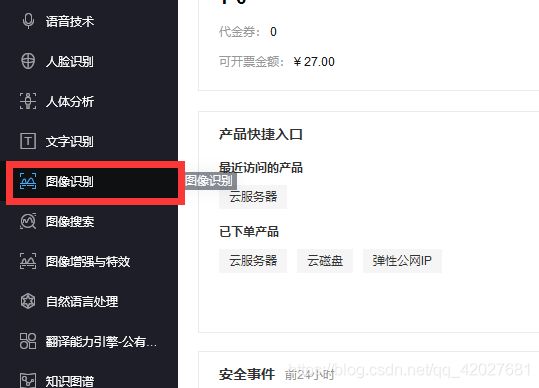
百度ai开放平台 http://ai.baidu.com/


创建应用 选择个人就好
在应用列表获取
 记得这几个值
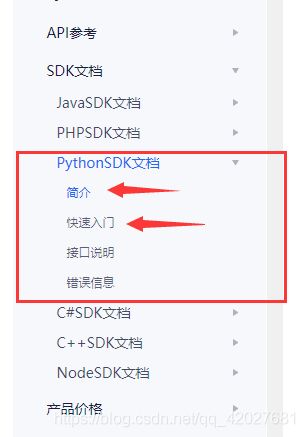
查看文档 https://cloud.baidu.com/doc/IMAGERECOGNITION/s/vk3bcxiu2

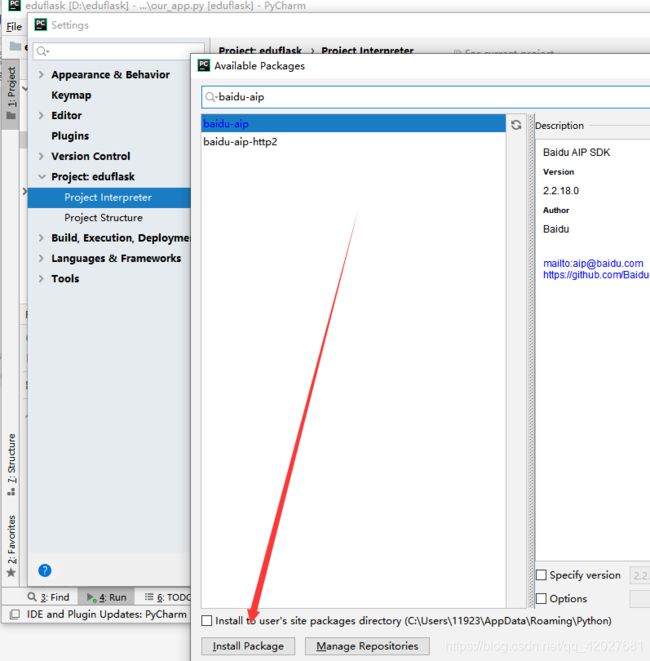
根据文档 我们编写后端
编写后端
编写api文件
![]()
参数说明 type为1时 动物识别 为2时植物识别 image是读取图片文件的结果 file.read()
from aip import AipImageClassify

""" 你的 APPID AK SK """
APP_ID = '你的 App ID'
API_KEY = '你的 Api Key'
SECRET_KEY = '你的 Secret Key'

client = AipImageClassify(APP_ID, API_KEY, SECRET_KEY)


def delImg(type,image):
    if(type==1):
        return __animal(image)
    if(type==2):
        return __plant(image)


""" 调用动物识别 """
def __animal(image):
    return client.animalDetect(image)


""" 调用植物识别 """
def __plant(image):
    return client.plantDetect(image)
编写flask程序
![]()
from flask import Flask,request
import os,json
from md5random import sjs
from ourApi import delImg

app = Flask(__name__)

@app.route("/file",methods=['POST'])
def test():
    get_image = request.files['file']
    dst = sjs();
    get_image.save(dst)
    cont = ""
    with open(dst,'rb') as file:
        cont = file.read();
    os.remove(dst)
    return json.dumps(delImg(1,cont))

if __name__ == '__main__':
    app.run(host='0.0.0.0',port=8087)
md5random说明 :是一个随机字符串生成器
import random
import hashlib
def sjs():
    a = random.randint(0, 100)
    a = "a" + str(a);
    b = random.randint(100, 10000);
    b = "b" + str(b);
    c = hashlib.md5(a.encode(encoding='UTF-8')).hexdigest() + hashlib.md5(b.encode(encoding='UTF-8')).hexdigest();
    c = "c" + str(c);
    d = random.randint(10, 100);
    d = "d" + str(d);
    e = hashlib.md5(c.encode(encoding='UTF-8')).hexdigest() + hashlib.md5(d.encode(encoding='UTF-8')).hexdigest();
    e = hashlib.md5(e.encode(encoding='UTF-8')).hexdigest()
    return e;
编写前端
说明
先选择图片 再上传图片
uniapp官方文档 api
选择图片 https://uniapp.dcloud.io/api/media/image?id=chooseimage
上传文件 https://uniapp.dcloud.io/api/request/network-file
imgSrc 图片路径
<template>
	<view class="content">
		<image class="logo" :src="imgSrc" @click="goTest()">image>
		<view class="text-area">
			<text class="title">{
    {title}}text>
		view>
	view>
template>

<script>
	export default {

		data() {

			return {

				title: 'Hello',
				imgSrc: '/static/logo.png'
			}
		},
		onLoad() {


		},
		methods: {

			goTest(){

				let vm =this;
				uni.chooseImage({

				    count: 1,
				    success: function (res) {

				        vm.imgSrc = res.tempFilePaths[0];
						uni.uploadFile({

							url:'http://localhost:8087/file',
							filePath:res.tempFilePaths[0],
							name:'file',
							formData:{

								'type':1
							},
							success:function(ress){

								console.log(ress)
							}
						})
				    }
				});
			}
		}
	}
script>

<style>
	.content {

		display: flex;
		flex-direction: column;
		align-items: center;
		justify-content: center;
	}

	.logo {

		height: 200rpx;
		width: 200rpx;
		margin-top: 200rpx;
		margin-left: auto;
		margin-right: auto;
		margin-bottom: 50rpx;
	}

	.text-area {

		display: flex;
		justify-content: center;
	}

	.title {

		font-size: 36rpx;
		color: #8f8f94;
	}
style>
测试
成功
教学视频
uniapp开发教程-P3-前后端编写,交互,百度图像识别接入
大家好,我是代码哈士奇,是一名软件学院网络工程的学生,因为我是“狗”,狗走千里吃肉。想把大学期间学的东西和大家分享,和大家一起进步。但由于水平有限,博客中难免会有一些错误出现,有纰漏之处恳请各位大佬不吝赐教!博客主页:https://blog.csdn.net/qq_42027681。
腾讯云+社区专栏https://cloud.tencent.com/developer/column/90853
未经本人允许,禁止转载
![]()
后续会推出
前端:vue入门 vue开发小程序 等
后端: java入门 springboot入门等
服务器:mysql入门 服务器简单指令 云服务器运行项目
python:推荐不温卜火 一定要看哦
一些插件的使用等
大学之道亦在自身,努力学习,热血青春
如果对编程感兴趣可以加入我们的qq群一起交流:974178910
![]()
有问题可以下方留言,看到了会回复哦

