教你编译 Spring 源码 (超简单)
Spring 源码编译
1. 下载源码
下载地址:
https://github.com/spring-projects/spring-framework
我这里下载的是:
https://github.com/spring-projects/spring-framework/tree/v5.2.11.RELEASE
解压压缩包。
2.修改配置
进入目录:
D:\ideaworkspace\spring-framework-5.2.11.RELEASE
修改 build.gradle 文件配置
添加 阿里云镜像
	repositories {

			maven {
      url "https://maven.aliyun.com/nexus/content/groups/public/" }
			maven {
      url "https://maven.aliyun.com/nexus/content/repositories/jcenter" }
			mavenCentral()
			maven {
      url "https://repo.spring.io/libs-spring-framework-build" }
		}
3.编译
gradlew :spring-oxm:compileTestJava
如果是首次编译的话他会自动下载配置好的 gradle-5.6.4-bin.zip 包速度会比较慢。
这里建议网速不好的同学可以自己下
3.1 网速不好 gradle 下载慢解决方案
直接 copy
D:\ideaworkspace\spring-framework-5.2.11.RELEASE\gradle\wrapper\gradle-wrapper.properties
gradle-wrapper.properties 配置文件夹下的下载地址出来下载 OR 官网下载
distributionUrl=https\://services.gradle.org/distributions/gradle-5.6.4-bin.zip
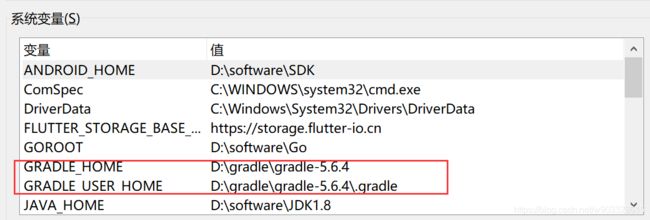
在你的 gradle 安装包下新建 .gardle 配置环境变量
%GRADLE_HOME%\bin
验证是否配置成功:gradle -v

配置全局阿里镜像:
在 .gradle 目录下新建 init.gradle 文件并配置
allprojects{

    repositories {

        def ALIYUN_REPOSITORY_URL = 'http://maven.aliyun.com/nexus/content/groups/public'
        def ALIYUN_JCENTER_URL = 'http://maven.aliyun.com/nexus/content/repositories/jcenter'
        all {
      ArtifactRepository repo ->
            if(repo instanceof MavenArtifactRepository){

                def url = repo.url.toString()
                if (url.startsWith('https://repo1.maven.org/maven2')) {

                    project.logger.lifecycle "Repository ${repo.url} replaced by $ALIYUN_REPOSITORY_URL."
                    remove repo
                }
                if (url.startsWith('https://jcenter.bintray.com/')) {

                    project.logger.lifecycle "Repository ${repo.url} replaced by $ALIYUN_JCENTER_URL."
                    remove repo
                }
            }
        }
        maven {

            url ALIYUN_REPOSITORY_URL
            url ALIYUN_JCENTER_URL
        }
    }
}
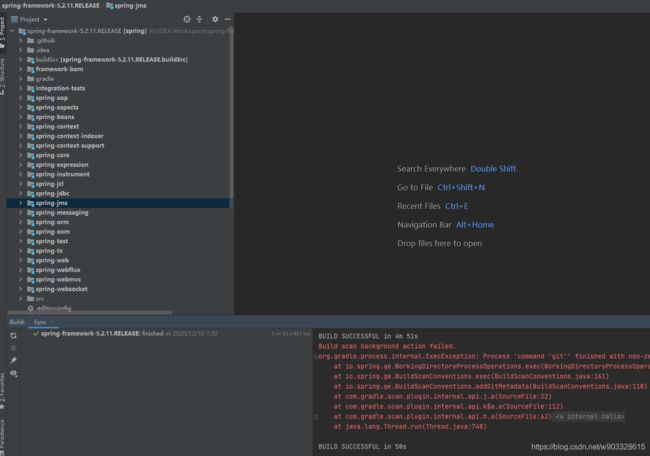
在源码项目目录下运行 gradle clean 接下来就是考验网速的时候了(该来的终究逃不过),耐心等待。出现 BUILD SUCCESSFUL 说明编译成功,下面的 git 可以忽略。

使用 IDEA 打开项目
file -> open -> open your spring project
等待 build
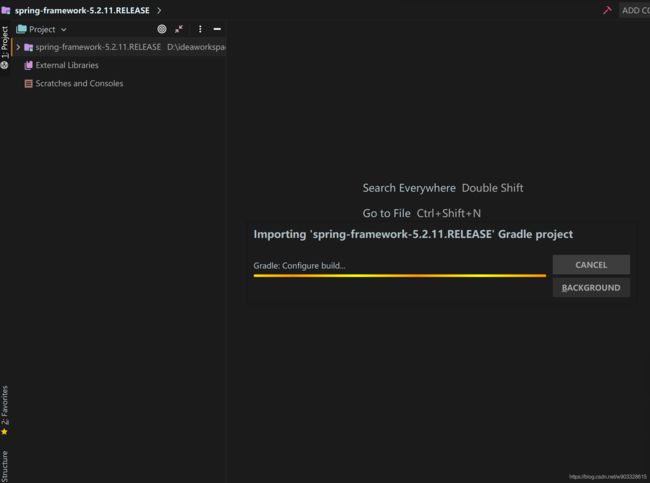
如果你网速极好,上面的流程会很顺利,所以建议找个网速好的地方搞,不然会很麻烦……
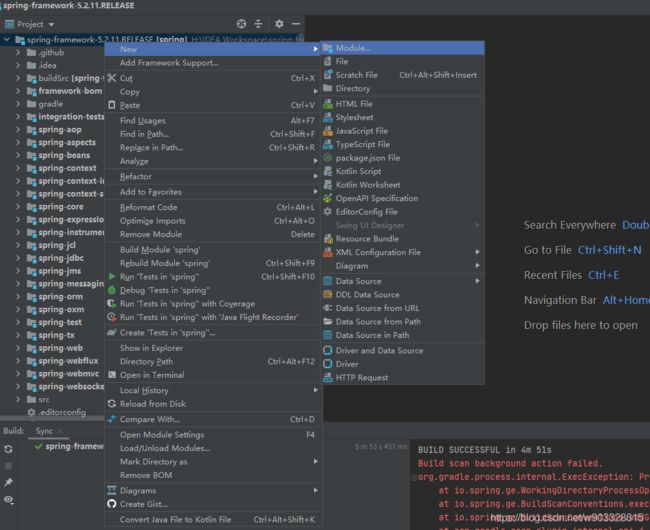
新建模块
dependencies {

    testCompile group: 'junit', name: 'junit', version: '4.12'
    compile(project(":spring-context"))
}
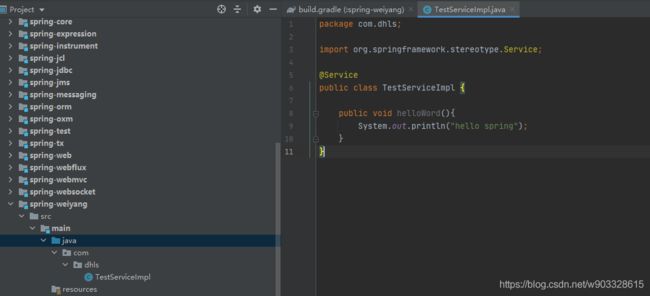
import org.springframework.stereotype.Service;

@Service
public class TestServiceImpl {


	public void helloWord(){

		System.out.println("hello spring");
	}
}
import com.dhls.TestServiceImpl;
import org.springframework.context.ApplicationContext;
import org.springframework.context.annotation.AnnotationConfigApplicationContext;
import org.springframework.context.annotation.ComponentScan;

@ComponentScan("com.dhls")
public class MainStat {


	public static void main(String[] args) {

		ApplicationContext applicationContext=new AnnotationConfigApplicationContext(MainStat.class);
		TestServiceImpl testService=applicationContext.getBean(TestServiceImpl.class);
		testService.helloWord();
	}
}
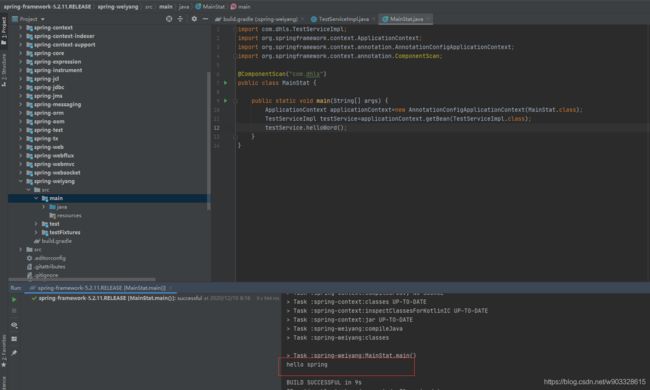
OK!! 到这里 Spring 源码就编译运行完成了,到 Spring 的海洋中畅游吧!
PS: 网速好真的很重要,网速好真的很重要,网速好真的很重要


