LNMP测试环境搭建(二)——各软件间的连接与整体测试
LNMP测试环境搭建(一)——各软件的安装
1.Nginx整合PHP
主要是要测试Nginx与PHP之间的连通性,Nginx主要是利用它的location区块实现动态请求和静态请求的分别处理,当用户是静态的请求就跳转到主页文件,动态请求的话就交给PHP软件来处理。
1.1修改nginx配置文件(首先还是把文件先拷贝一份,再修改)
[root@localhost ~]# cp /data/server/nginx/conf/nginx.conf /data/server/nginx/conf/nginx.conf-bak

[root@localhost ~]# vim /data/server/nginx/conf/nginx.conf
将以下内容替换原来的nginx.conf文件内容
user  www;
worker_processes  1;

#error_log  logs/error.log;
#error_log  logs/error.log  notice;
#error_log  logs/error.log  info;

#pid        logs/nginx.pid;


events {
    worker_connections  1024;
}


http {
    include       mime.types;
    default_type  application/octet-stream;

    #log_format  main  '$remote_addr - $remote_user [$time_local] "$request" '
    #                  '$status $body_bytes_sent "$http_referer" '
    #                  '"$http_user_agent" "$http_x_forwarded_for"';

    #access_log  logs/access.log  main;

    sendfile        on;
    #tcp_nopush     on;

    #keepalive_timeout  0;
    keepalive_timeout  65;

    #gzip  on;
	server {
			listen 80;
			server_name localhost;
			#静态请求处理的location
			location / {
			root html;
			index index.php index.html index.htm;
			}
			#动态请求处理的location
			location ~* .*\.(php|php5)?$  {
			root html;
			fastcgi_pass 127.0.0.1:9000;
			fastcgi_index index.php;
			include fastcgi.conf;
			}
	}

}
1.2检查语法并重新启动nginx服务
[root@localhost ~]# /data/server/nginx/sbin/nginx -t[root@localhost ~]# /data/server/nginx/sbin/nginx -s reload
编写一个PHP简单小程序测试一下吧!
[root@localhost php]# cd /data/server/nginx/html
[root@localhost html]# echo "你好,周杰伦'; ?>" > /data/server/nginx/html/test.php


// > /data/server/nginx/html/test.php  代表重定向到此目录下
用宿主机网页上打开虚拟机网址,并拼接上test.php,效果如下(记得关闭防火墙):
2.PHP整合mysql
主要是要测试mysql与PHP之间的连通性。
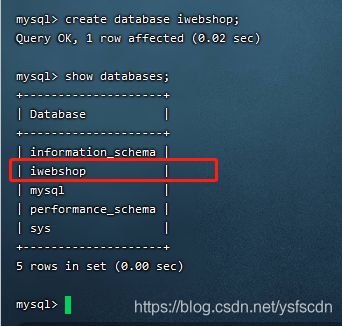
2.1创建一个iwebshop数据库
首先进入数据库中,创建一个iwebshop数据库
[root@localhost /]# mysql -uroot -p123456
2.2创建数据库用户
2.2.1创建一个用户iwebshop,权限为全部,并且设置允许登录的网段,和最后设置密码
mysql> create user 'iwebshop'@'localhost' identified by '123456';
mysql> grant all privileges on *.* to 'iwebshop'@'localhost' ;
2.2.2刷新数据库信息:
mysql> flush privileges;
2.2.3查看数据库内的用户信息,和对应可以登录的主机
mysql> select user,host from mysql.user;
2.3测试PHP与mysql之间的
在nginx的html文件下新建测试文件
[root@localhost /]# cd /data/server/nginx/html/
[root@localhost html]# touch test_mysql.php
[root@localhost html]# vim test_mysql.php
//注意安装的PHP版本,我安装的PHP版本是7.X,版本5.x中mysql_connect()语法在7.x中已经修改为mysqli_connect()
用宿主机网页上打开虚拟机网址,并拼接上test_mysql.php,效果如下(记得关闭防火墙):
3.部署iwebshop网站
前提:需要确保PHP、nginx和mysql都是在启动的状态下。
3.1解压iwebshop代码
[root@localhost ~]# cd /data/soft/
[root@localhost soft]# unzip iWebShop5.8临时试用版本.zip
解压后,查看soft目录,发现有新的iWebshop5.8文件夹生成,进入到该文件夹下,会发现有个index.php文件
3.2把index.php文件代码移动到nginx的html目录中
[root@localhost soft]# mv /data/soft/iWebShop5.8 /data/server/nginx/html
3.3修改权限
将文件移动成功后,打开html文件夹进行查看,会发现此时的iWebshop5.8文件为root用户权限,则表明该软件运行时它的权限我们使用不了,因为nginx软件在运行时我们之前给它配的用户权限是www,如果想在运行nginx时完全控制iWebshop5.8软件代码,则必须将iWebshop5.8改成www用户。
[root@localhost html]# chown -R www.www /data/server/nginx/html/iWebShop5.8/
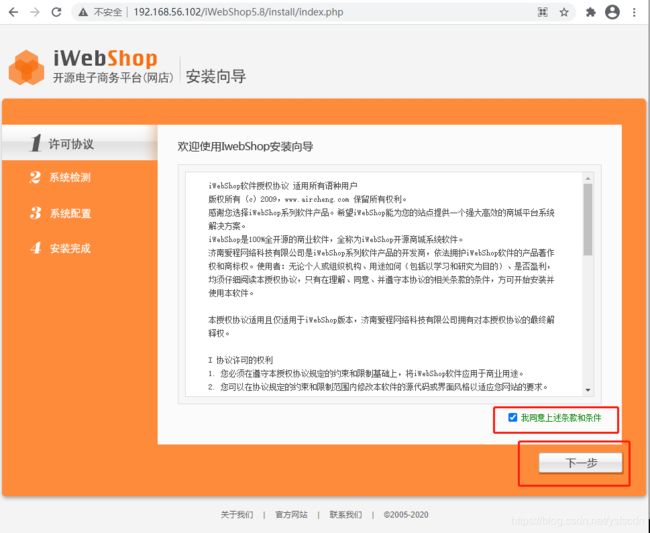
3.4在宿主机中访问网址
将192.168.56.102/iWebShop5.8输入到宿主机网页上,系统会自动定位到index.php首页,如下图:
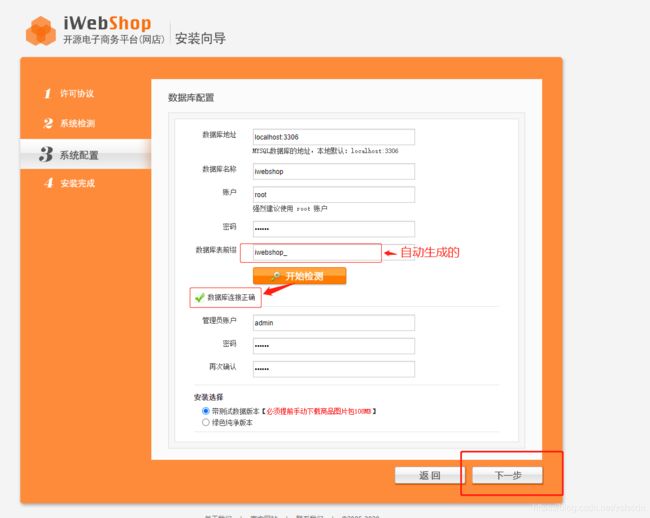
我在“2系统检测”这一步时发现‘文件可写权限’这一部分中的文件都没有过关,于是到/data/server/nginx/html/iWebShop5.8路径下将这些文件都增加了可写权限,系统配置审核通过。
前台页面
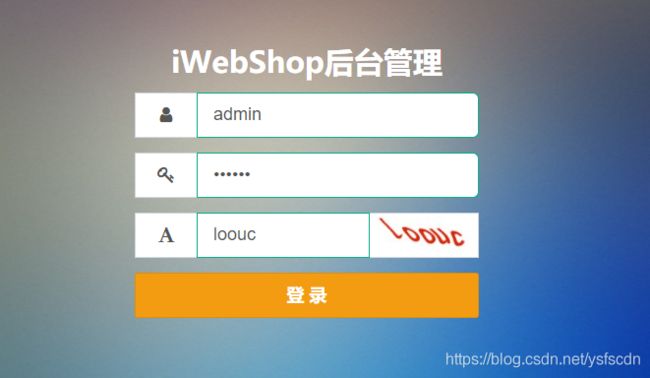
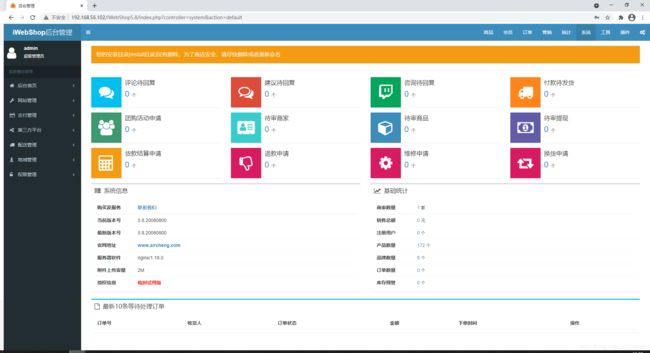
后台页面
4.部署禅道软件
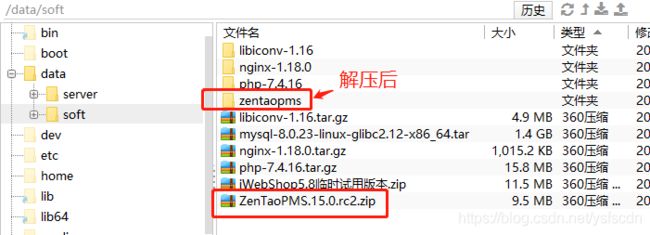
4.1解压代码
[root@localhost ]# cd /data/soft
[root@localhost soft]# unzip ZenTaoPMS.15.0.rc2.zip
4.2把代码移动到nginx下的html目录中
[root@localhost soft]# mv /data/soft/zentaopms/ /data/server/nginx/html/chandao
4.3修改权限
[root@localhost soft]# chown -R www.www /data/server/nginx/html/chandao/4.4禅道数据库配置
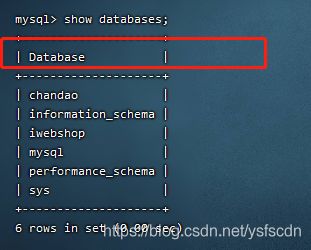
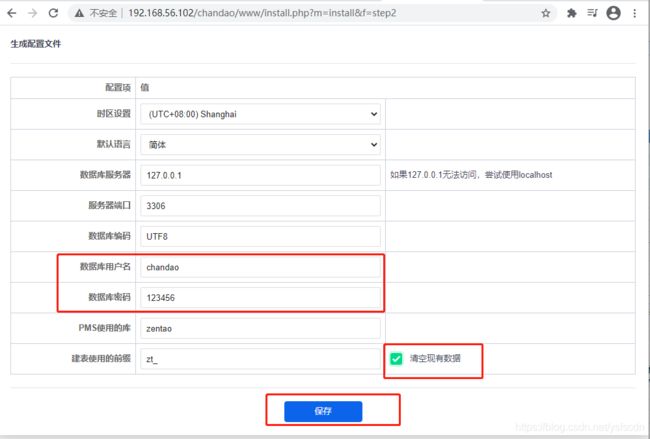
4.4.1登录数据库,创建一个chandao数据库
[root@localhost soft]# mysql -uroot -p123456
mysql> create database chandao;
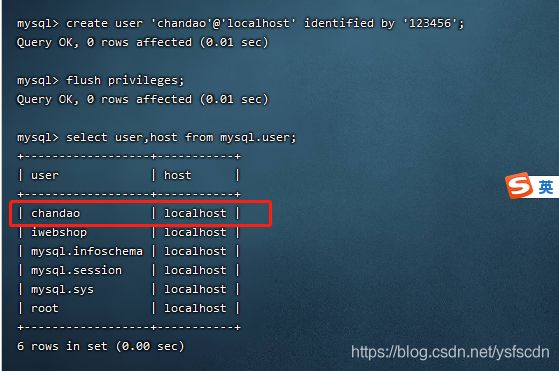
4.4.2创建一个用户chandao,权限为全部,并且设置允许登录的网段,和最后设置密码
mysql> create user 'chandao'@'localhost' identified by '123456';
mysql> flush privileges;
mysql> select user,host from mysql.user;
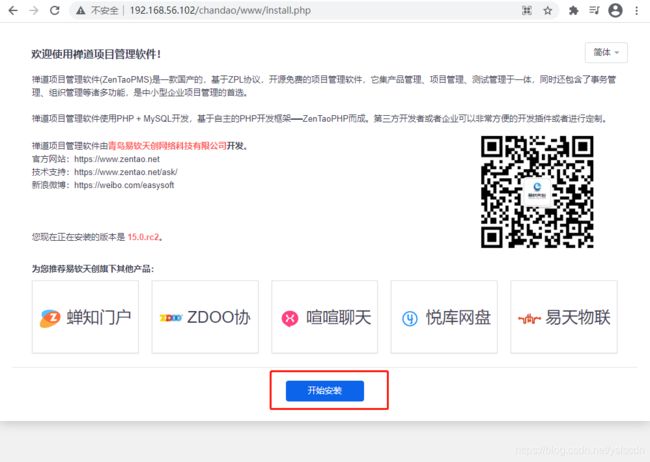
4.5 访问浏览器网址
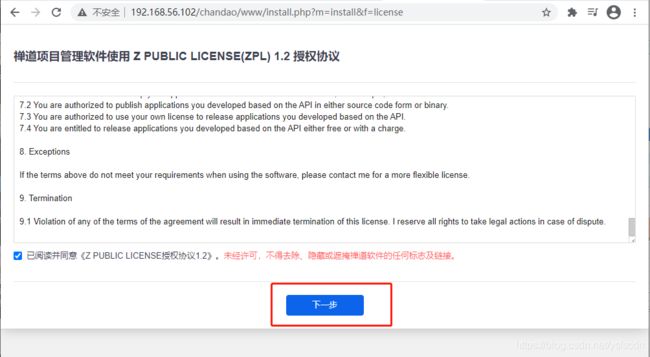
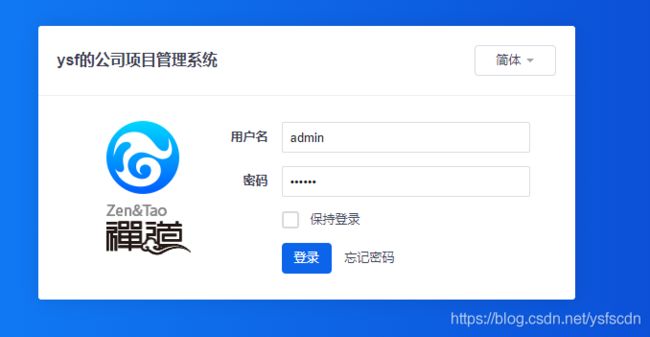
访问浏览器网址http://192.168.56.102/chandao/www,出现如下效果:
over!


