docker 安装nginx+php(多服务站点)+mysql
最近在在研究docker部署多站点的php web服务,在配置nginx时遇到很多坑,把配置过程分享给大家!!!
ps:
1-3是前期准备,如果虚拟机网络配置好可以忽略.....
4开始以此安装mysql,php,nginx
centos7下安装docker请查相关资料
1.使用的工具
(1).VMware Workstation Pro 16虚拟机
(2).CentOS-7-x86_64系统服务(docker支持CentOS-7以上版本)
(3).docker最新版(CentOS-7系统下安装docker过程忽略)
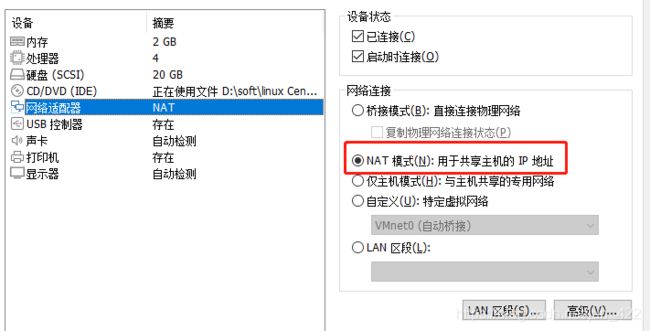
2.虚拟机网络配置
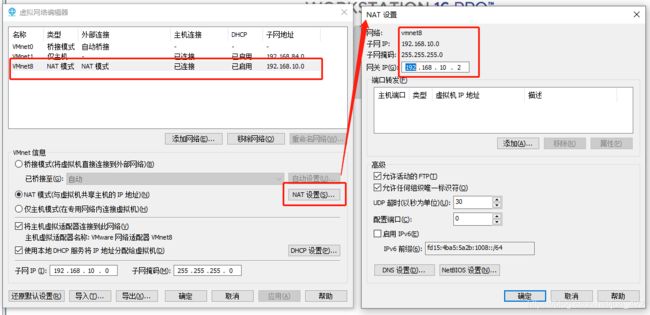
我采用的是网络地址转换模式(NAT)
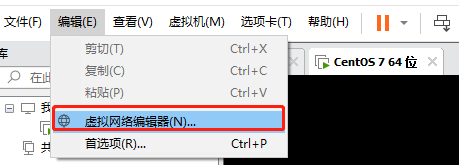
(1)打开虚拟网络编辑器
(2)设置NAT
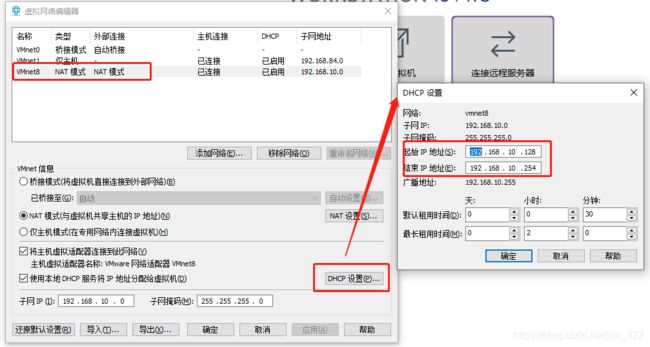
(3).设置DHCP
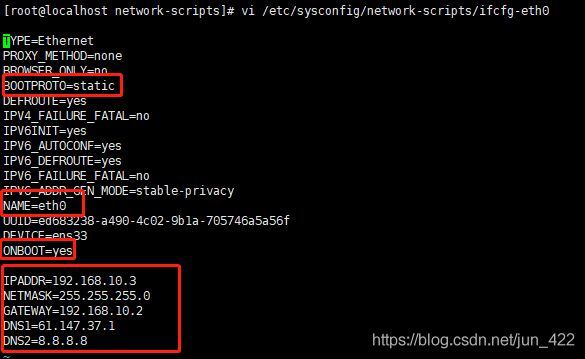
(4).设置centos7系统编辑网卡配置文件
命令为vi /etc/sysconfig/network-scripts/ifcfg-eth0
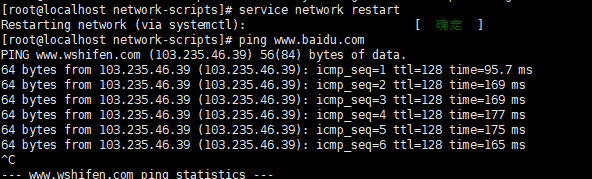
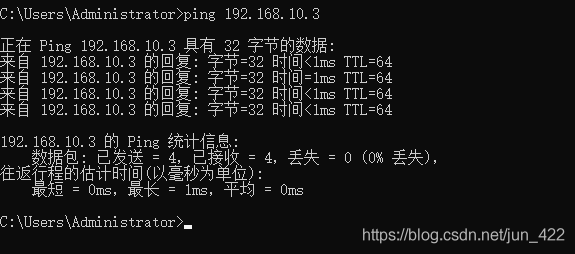
(5)编辑完成,保存退出,然后重启虚拟机网卡,动态获取ip地址,使用ping命令ping外网ip,测试能否联网
(6)本机系统ping linu系统IP
3.设置本机域名映射虚拟机系统
(1)本机电脑打开C:\Windows\System32\drivers\etc文件夹,用记事本打开hosts文件
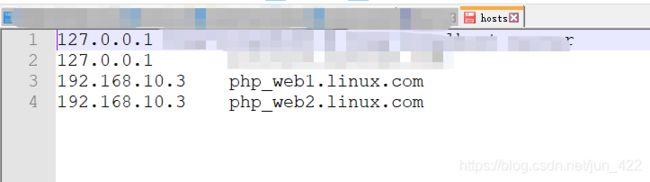
php_web1.linux.com和php_web2.linux.com分别访问虚拟机linux系统中的两个php站点
docker下载的镜像

4.docker安装mysql
(1).构建mysql容器
docker run -d -p 3306:3306 -e MYSQL_ROOT_PASSWORD=123456 -v /opt/mysql:/var/lib/mysql --name mysql_php mysql(2)建议虚拟机linux开放3306端口,在本机装一个mysql链接客户端可以直接查看,更方便
5.docker安装php-fpm
(1).构建php-fpm容器,因为需要创建php多站点服务,此处构建两个php-fpm容器
docker run -p 81:9000 --name  php_56_1 -v /opt/www1:/var/www -v /opt/www1/phpfile:/usr/local/etc/php  --link mysql_php:mysql  -d php:5.6-fpm  --容器1
docker run -p 82:9000 --name  php_56_2 -v /opt/www2:/var/www -v /opt/www2/phpfile:/usr/local/etc/php  --link mysql_php:mysql  -d php:5.6-fpm  --容器2
此处需要注意:
a.容器name不能重名;
b.虚拟机linux系统的81,82端口映射容器的9000端口;
c./opt/www1:/var/www 将主机中项目的目录 /opt/www1 挂载到容器1的 /var/www
d./opt/www2:/var/www 将主机中项目的目录 /opt/www2 挂载到容器2的 /var/www
6.docker安装nginx
(1)构建nginx容器
docker run -p 80:80 --name nginx_test -v /opt/www1:/var/www -v /opt/nginx/conf:/etc/nginx/conf.d -d nginx这个地方需要注意:
-v /opt/nginx/conf:/etc/nginx/conf.d 文件夹挂载,这个地方吃了不少苦,刚开始映射-v /opt/nginx/conf/nginx.conf:/etc/nginx/nginx.conf,配置了多次两个php服务站点均访问不到,下次再了解深一些啥原因。
(2).创建nginx配置文件siteA.conf,使用php_web1.linux.com域名访问php容器1中的服务
server {
	listen			80;				# 监听端口
	server_name		php_web1.linux.com;    # 站点域名
    root		/var/www;              	# 站点根目录
    index index.html index.htm index.php;   # 默认导航页
    location / {        # WordPress固定链接URL重写
        if (!-e $request_filename) {
            rewrite (.*) /index.php;
        }
    }
    # PHP配置
    location ~ \.php$ {
        include fastcgi_params;
        fastcgi_param SCRIPT_FILENAME $document_root$fastcgi_script_name;
        fastcgi_pass 192.168.10.3:81;
        try_files $uri =404;
    }
}
这个地方需要注意:
server_name php_web1.linux.com; # 站点域名
root /var/www; # 站点根目录
fastcgi_pass 192.168.10.3:81;
这三个的配置,刚开始我配置root为/opt/www1,一直不能访问到php页面;fastcgi_pass需要注意配置端口为容器1站点的主机映射端口;
这个文件直接配置server节点,不需要在配置http{ server{ }}节点
(3).创建nginx配置文件siteB.conf,使用php_web2.linux.com域名访问php容器1中的服务
server {
	listen			80;				# 监听端口
	server_name		php_web2.linux.com;    # 站点域名
    root		/var/www;              	# 站点根目录
    index index.html index.htm index.php;   # 默认导航页
    location / {        # WordPress固定链接URL重写
        if (!-e $request_filename) {
            rewrite (.*) /index.php;
        }
    }
    # PHP配置
    location ~ \.php$ {
        include fastcgi_params;
        fastcgi_param SCRIPT_FILENAME $document_root$fastcgi_script_name;
        fastcgi_pass 192.168.10.3:82;
        try_files $uri =404;
    }
}
注意点同上
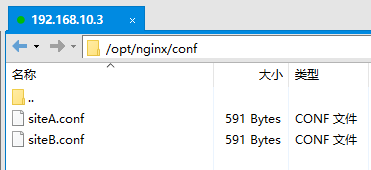
(4).把创建的siteA.conf,siteB.conf文件通过fpt上传到虚拟主机/opt/nginx/conf文件下,重新启动nginx_test容器

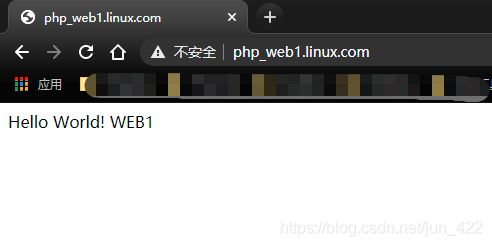
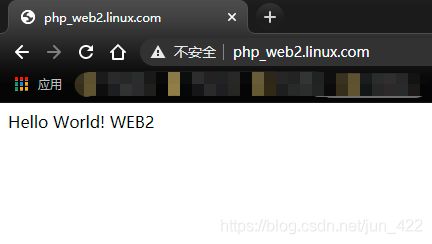
7.通过域名访问站点
分别在虚拟主机/opt/www1和/opt/www2文件夹中创建index.php,在本机通过域名可以直接访问到网站内容