给图像添加噪声(椒盐噪声,高斯噪声)
1、椒盐噪声是比较常见的噪声(salt and pepper noise),为什么叫椒盐噪声?因为图像的像素点由于噪声影响随机变成了黑点(dark spot)或白点(white spot)。这里的“椒”不是我们常见的红辣椒或青辣椒,而是外国的“胡椒”(香料的一种)。我们知道,胡椒是黑色的,盐是白色的,所以才取了这么个形象的名字。
接下来我们来实现一下椒盐噪声
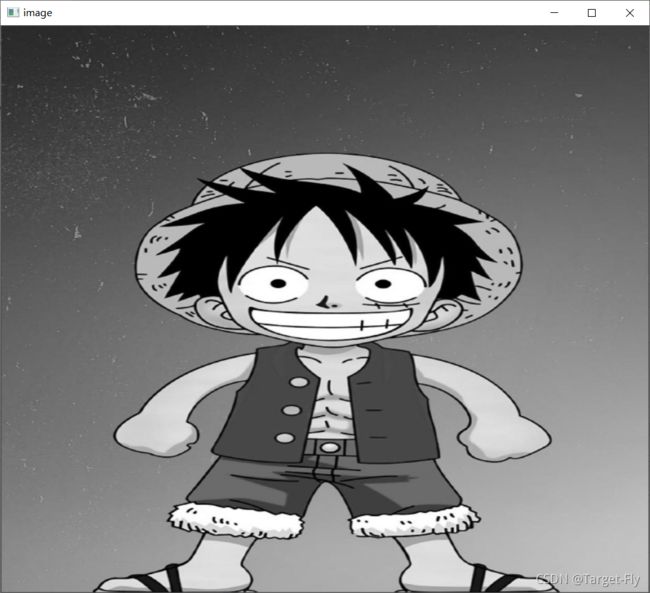
首先看一下原始图片
椒盐噪声有两种(slat or pepper)也就是黑点和白点,实现起来是类似的,这里值对slat进行说明
import cv2
import numpy as np
def imshow(x):
    cv2.imshow('image',x.astype('uint8'))
    cv2.waitKey(0)
    cv2.destroyAllWindows()

x = cv2.imread('4.jpg',0)
y = cv2.resize(x,dsize = (800,700))#原图太大,修改一下大小
#生成随机噪声
noise = np.random.randint(0,256,size = y.shape)#注意这个函数是下闭上开的
#设定一个阈值,大于的取255,小于的取0
noise = np.where(noise>250,255,0)

noise = noise.astype('float')
y = y.astype("float")
y = y + noise
#读入的图像的数据类型是uint8,相加的话不会截取,而是自动对256取余,所以我们需要转换为float后再相加
#这时候图像的数据都是float,并且有的是大于255的,对于大于255的,我们进行截取
y = np.where(y>255,255,y)
y = y.astype('uint8')
imshow(y)
效果图:
2、高斯噪声
import cv2
import numpy as np
def imshow(x):
    cv2.imshow('image',x.astype('uint8'))
    cv2.waitKey(0)
    cv2.destroyAllWindows()

x = cv2.imread('4.jpg',0)
y = cv2.resize(x,dsize = (800,700))#原图太大,修改一下大小
#生成随机噪声
noise = np.random.normal(0,30,size = y.shape)# 0 是均值,30是方差
y = y.astype("float")
y = y + noise
y = np.where(y>255,255,y)
y = np.where(y<0,0,y)
y = y.astype('uint8')
imshow(y)
效果图
np.where(condition,x,y)符合条件输出x,不符合条件返回y
例子:
x = np.random.randint(0,50,size = (3,3))
y = np.where(x>20,50,0)
y

输出:
array([[ 0,  0,  0],
       [ 0,  0, 50],
       [ 0, 50,  0]])