ESP32用I2C驱动aht10并显示在TFT屏上
一、用到的材料及软件
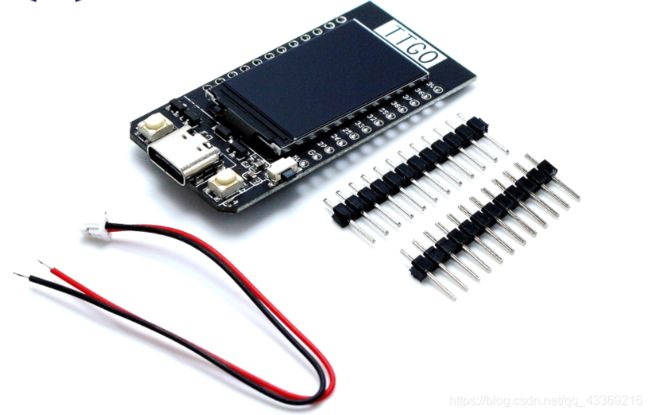
1.TTGO T-Display ESP32WiFi蓝牙模块1.14英寸LCD开发板
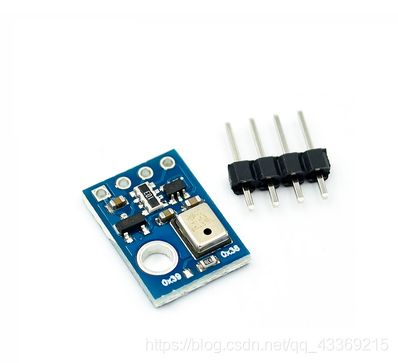
2.AHT10 温湿度传感器模块 可替代SHT20 高精度湿度传感器
3.Arduino IDE
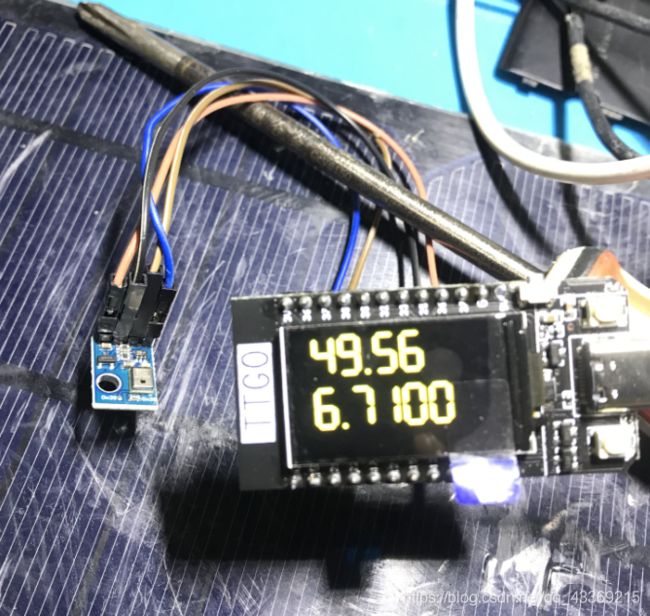
二、成品演示
地标,湖南怀化夜郎国2021/1/10晚上10点,上面是湿度,下面是温度,有点小冷,主要是没有暖气。
三、驱动代码
/*
An example digital clock using a TFT LCD screen to show the time.
Demonstrates use of the font printing routines. (Time updates but date does not.)
For a more accurate clock, it would be better to use the RTClib library.
But this is just a demo.
This examples uses the hardware SPI only. Non-hardware SPI
is just too slow (~8 times slower!)
Based on clock sketch by Gilchrist 6/2/2014 1.0
Updated by Bodmer
A few colour codes:
code color
0x0000 Black
0xFFFF White
0xBDF7 Light Gray
0x7BEF Dark Gray
0xF800 Red
0xFFE0 Yellow
0xFBE0 Orange
0x79E0 Brown
0x7E0 Green
0x7FF Cyan
0x1F Blue
0xF81F Pink
*/
#include
#include
#include
TFT_eSPI tft = TFT_eSPI(); // Invoke library, pins defined in User_Setup.h
uint32_t targetTime = 0; // for next 1 second timeout
byte omm = 99;
boolean initial = 1;
byte xcolon = 0;
unsigned int colour = 0;
static uint8_t conv2d(const char* p) {
uint8_t v = 0;
if ('0' <= *p && *p <= '9')
v = *p - '0';
return 10 * v + *++p - '0';
}
uint8_t hh=conv2d(__TIME__), mm=conv2d(__TIME__+3), ss=conv2d(__TIME__+6); // Get H, M, S from compile time
//ath10
uint8_t adress = 0x38; //设备地址 默认7位2进制数
float T;
float RH;
int data[6];
void setup(void) {
Wire.begin(21,22);
Serial.begin(115200);
tft.init();
tft.setRotation(1);
tft.fillScreen(TFT_BLACK);
tft.setTextColor(TFT_YELLOW, TFT_BLACK); // Note: the new fonts do not draw the background colour
targetTime = millis() + 1000;
}
void loop() {
AHT10_measure();
}
void AHT10_measure()
{
Wire.beginTransmission(0x38);
Wire.requestFrom(0x38, 6);
while (Wire.available())
{
for (int i = 0; i < 6; i++)
{
data[i] = Wire.read();
// Serial.println(data[i]);
}
if (data[0] & 0x08 == 0)
{
// Serial.println("进行初始化");
// Serial.println(Wire.read());
Wire.write(0xE1);
Wire.write(0x08);
Wire.write(0x00);
}
else
{
Serial.println("不需要初始化");
// Serial.println(Wire.read());
Wire.write(0xAC);
Wire.write(0x33);
Wire.write(0x00);
delayMicroseconds(75);
if (data[0] & 0x80 == 0)
{
Serial.println("需要等待完成");
// Serial.println(Wire.read());
}
else
{
Serial.println("不需要等待");
// Serial.println(Wire.read());
}
}
}
Wire.endTransmission();
RH = ((data[1] << 12) | (data[2] << 4)) | (data[3] >> 4);
T = ((data[3] & 0x0f) << 16) | (data[4] << 8) | data[5];
RH = (RH / pow(2, 20)) * 100;
T = (T / pow(2, 20)) * 200 - 50;
Serial.print("湿度为");
Serial.println(RH);
tft.drawFloat(RH,2,20,0,7);
Serial.print("温度为");
Serial.println(T);
tft.drawFloat(T,2,20,60,7);
}
代码已上传
https://github.com/yelangyyx/esp32_ath10.git


