【Opencv】1—图片视频的加载和显示
目录
1.1 创建和显示窗口
1.2 显示图片
1.3 保存图片
1.4 视频采集
1.1 创建和显示窗口
等待 waitKey()
显示窗口 inshow()
摧毁窗口 destroyAllwindows()
改变窗口大小 resizeWindow()
创建命名窗口 namedWindow()
import cv2

cv2.namedWindow('window', cv2.WINDOW_NORMAL)
#WINDOW_NORMAL enables you to resize the window
#WINDOW_AUTOSIZE adjusts automatically the window size to fit the displayed image
#【WINDOW_AUTOSIZE不允许更改窗口大小】
cv2.resizeWindow('window', 800, 600)
#(winname: Any, width: Any, height: Any)
cv2.imshow('new', 0)
#(winname: Any, mat: Any)
cv2.waitKey(0)
#Waits for a pressed key. (delay: ... = ...)
#【waitKey(0)会接受任意按键】【若给其他整数,则表示按键等待时间(ms)。eg.waitKey(5000)表示5s后结束代码运行】
#【waitKey会返回按键ASCII码值】【python中用ord()函数计算ASCII码值】
key = cv2.waitKey(0)
if key == ord('q'):
        print('准备销毁窗口')
        cv2.destroyAllWindows()
#destroys all of the opened HighGUI windows
#【可利用waitKey与destroyAllWindows来销毁窗口】
#【if key == ord('q')亦可写做:if key & 0xFF == ord('q')因key为int型,至少16位,但ASCII码值为8位】
1.2 显示图片
import cv2
import matplotlib.pyplot as plt
beauty = cv2.imread('D:/AAA_code/OpencvProjects/001 Loading and display of images and videos/1.jpg')
#Loads an image from a file. (filename: str, flags: int = ...)
print(beauty)
print(beauty.max())
#plt.imshow(beauty)
#【matplotlib显示的图片与真实的图片颜色不一样,是因为opencv读进来的图片数据的通道不是默认的RBG,而是BGR】
cv2.imshow('beauty', beauty)
cv2.waitKey(0)
cv2.destroyAllWindows()
输出结果:
[[[167 164 160]
[165 164 160]
[165 164 160]
...
[255 255 255]
[255 255 255]
[255 255 255]][[167 164 160]
[165 164 160]
[165 164 160]
...
[255 255 255]
[255 255 255]
[255 255 255]][[166 163 159]
[164 163 159]
[165 164 160]
...
[255 255 255]
[255 255 255]
[255 255 255]]...
[[181 180 176]
[181 180 176]
[181 180 176]
...
[160 162 162]
[160 162 162]
[159 161 162]][[179 178 174]
[180 179 175]
[180 179 175]
...
[159 161 161]
[159 161 161]
[159 161 161]][[178 177 173]
[179 178 174]
[179 178 174]
...
[159 161 161]
[159 161 161]
[159 161 161]]]
255
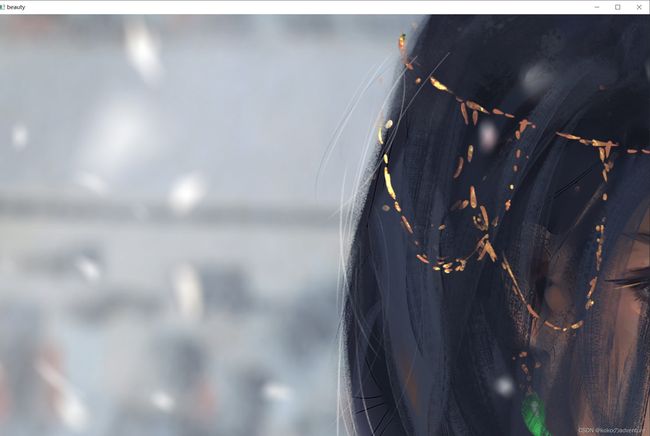
会发现这张图片没有显示完整,此时可在 cv2.imshow('beauty', beauty) 前添加一段代码如下:
cv2.namedWindow('beauty', cv2.WINDOW_NORMAL) 而添加的依据可从imshow()的函数解释得知:If you need to show an image that is bigger than the screen resolution, you will need to call namedWindow("", WINDOW_NORMAL) before the imshow.这样就可得到与屏幕一样大小的图片,且可对图片窗口手动调节大小(下图为调节后),或者用 cv2.resizeWindow() 提前设置好适宜大小。
可把展示图片代码封装为一个函数
import cv2
def cv_show(name, img):
        cv2.imshow(name, img)
        cv2.waitKey(0)
        key = cv2.waitKey(0)
        if key & 0xFF == ord('q'):
            cv2.destroyAllWindows()
1.3 保存图片
import cv2
cv2.namedWindow('img', cv2.WINDOW_NORMAL)
cv2.resizeWindow('img', 996, 579)

img = cv2.imread("D:/AAA_code/OpencvProjects/001 Loading and display of images and videos/2.jpg")

while True:
    cv2.imshow('img', img)
    key = cv2.waitKey(0)
    if(key & 0xFF == ord('q')):
        break
    elif(key & 0xFF == ord('s')):
        cv2.imwrite("D:/AAA_code/OpencvProjects/001 Loading and display of images and videos/2.png", img)
        #Saves an image to a specified file (filename: str, img: Mat, params: List[int] = ...)
    else:
        print(key)

cv2.destroyAllWindows()
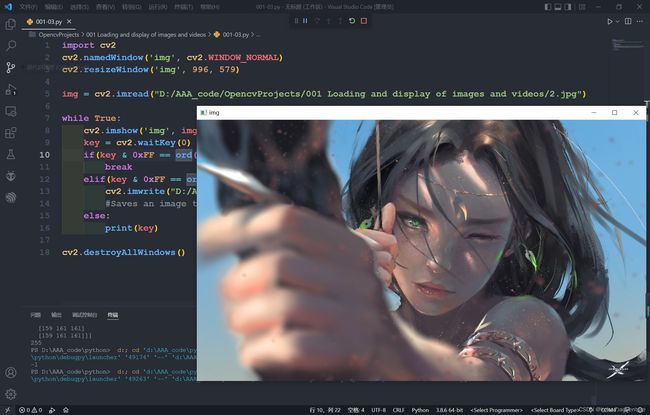
可从文件夹中看到已有图片保存:
1.4 视频采集
import cv2

cv2.namedWindow('video',cv2.WINDOW_NORMAL)
cv2.resizeWindow('video', 640, 480)

cap = cv2.VideoCapture(0)

#循环读取摄像头的每一帧
while True:     #或写成while cap.isOpened():
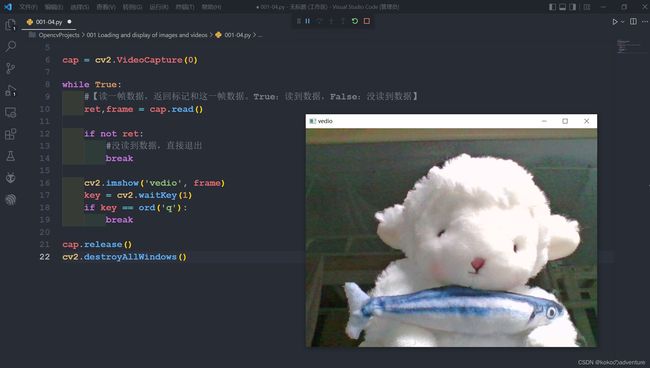
    #读一帧数据,返回标记和这一帧数据。True:读到数据,False:没读到数据
    ret, frame = cap.read()

    if not ret:
        #没读到数据,直接退出
        break

    #显示数据
    cv2.imshow('vedio', frame)

    key = cv2.waitKey(1)
    if key == ord('q'): break

cap.release()
cv2.destroyAllWindows()
import cv2
cv2.namedWindow('video',cv2.WINDOW_NORMAL)
cv2.resizeWindow('video', 640, 480)
cap = cv2.VideoCapture('D:/AAA_code/OpencvProjects/001 Loading and display of images and videos/sekiro.mp4')
#循环读取摄像头的每一帧
while True: #或写成while cap.isOpened():
#读一帧数据,返回标记和这一帧数据。True:读到数据,False:没读到数据
ret, frame = cap.read()
if not ret:
#没读到数据,直接退出
break
#显示数据
cv2.imshow('vedio', frame)
key = cv2.waitKey(1000 // 60)
if key == ord('q'): break
cap.release()
cv2.destroyAllWindows()【有空更新……】


